…or how I disassembled and reassembled my PS5, and lived to tell the tale.
NO I DIDN’T! Three days after I wrote the following article, my PS5 “crashed and burned.” I won’t go into details, but almost certainly the cause was a flaw in my repair. I’ve given up and ordered a PS5 Pro.
I purchased my Playstation 5 in March 2021. I put it vertically in my entertainment center:

In the five years I’ve owned it, while I’ve experienced minor software problems from time to time, they were always solved with a restart. I never had a hardware problem.
Bear in mind that, in recent months, the only games I’ve played are Baldur’s Gate 3 with some No Man’s Sky on the side. Otherwise I use it for media consumption, mostly YouTube. None of these are known for making heavy demands on machine hardware.
Two or three weeks ago, the PS5 displayed the message: “Your PS5 is too hot. Turn off your PS5, and wait until temperature goes down.”
I did the obvious sysadmin thing: I walked over to my PS5 and put my hand on it. The temperature felt normal. That is, it felt warm, but no warmer than any other item of entertainment equipment that had been left on for a long time.
So I ignored the message and continued playing.
I got the message again the next day, later in that same day, and the day after that.
After five years of normal operation, something had changed. I searched the web for probable causes.
There were two possibilities I saw over and over again:
-
The PS5 had become clogged with dust. Given the presense of two cats in the household, I wouldn’t be surprised.
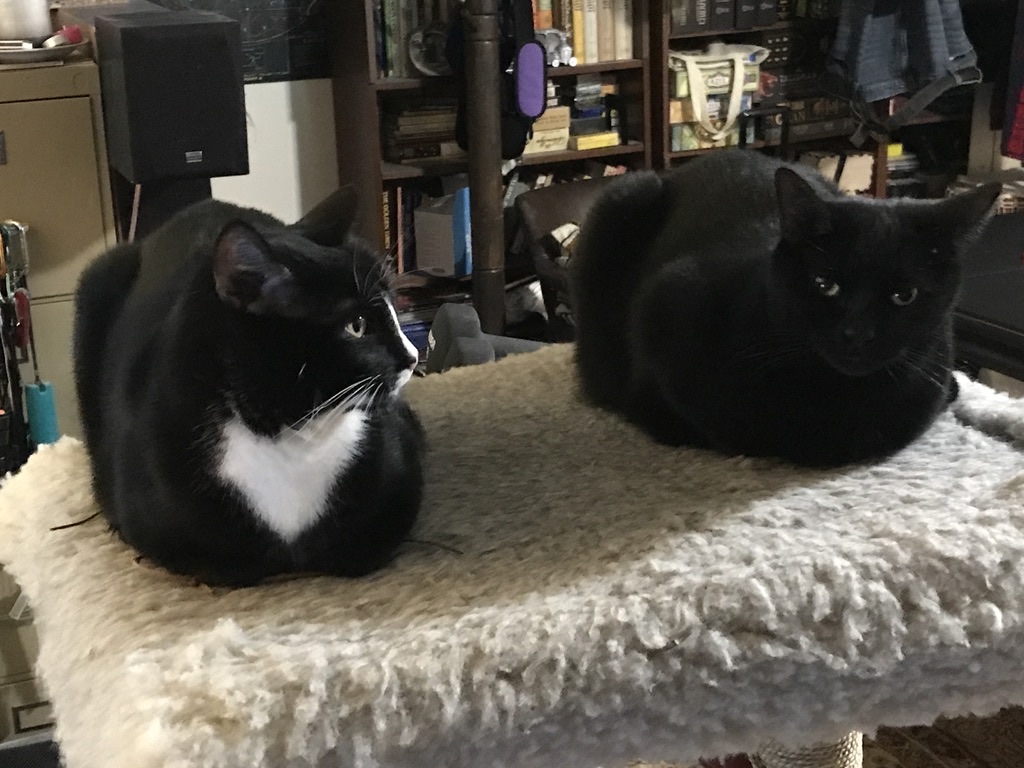
“We’re innocent!” “Yeah, don’t blame us!” -
The PS5 uses “liquid metal” instead of “thermal paste” to cool its APU (the main processing chip). The liquid metal can oxidize over time, reducing its ability to transfer heat from the APU. Liquid metal is supposed to last at least five years… and I purchased my PS5 five years ago.
There’s a notion going around that storing a PS5 vertically is supposed to affect the liquid metal in some way. When I dug a bit deeper in my web searches, I saw that it was just a story.
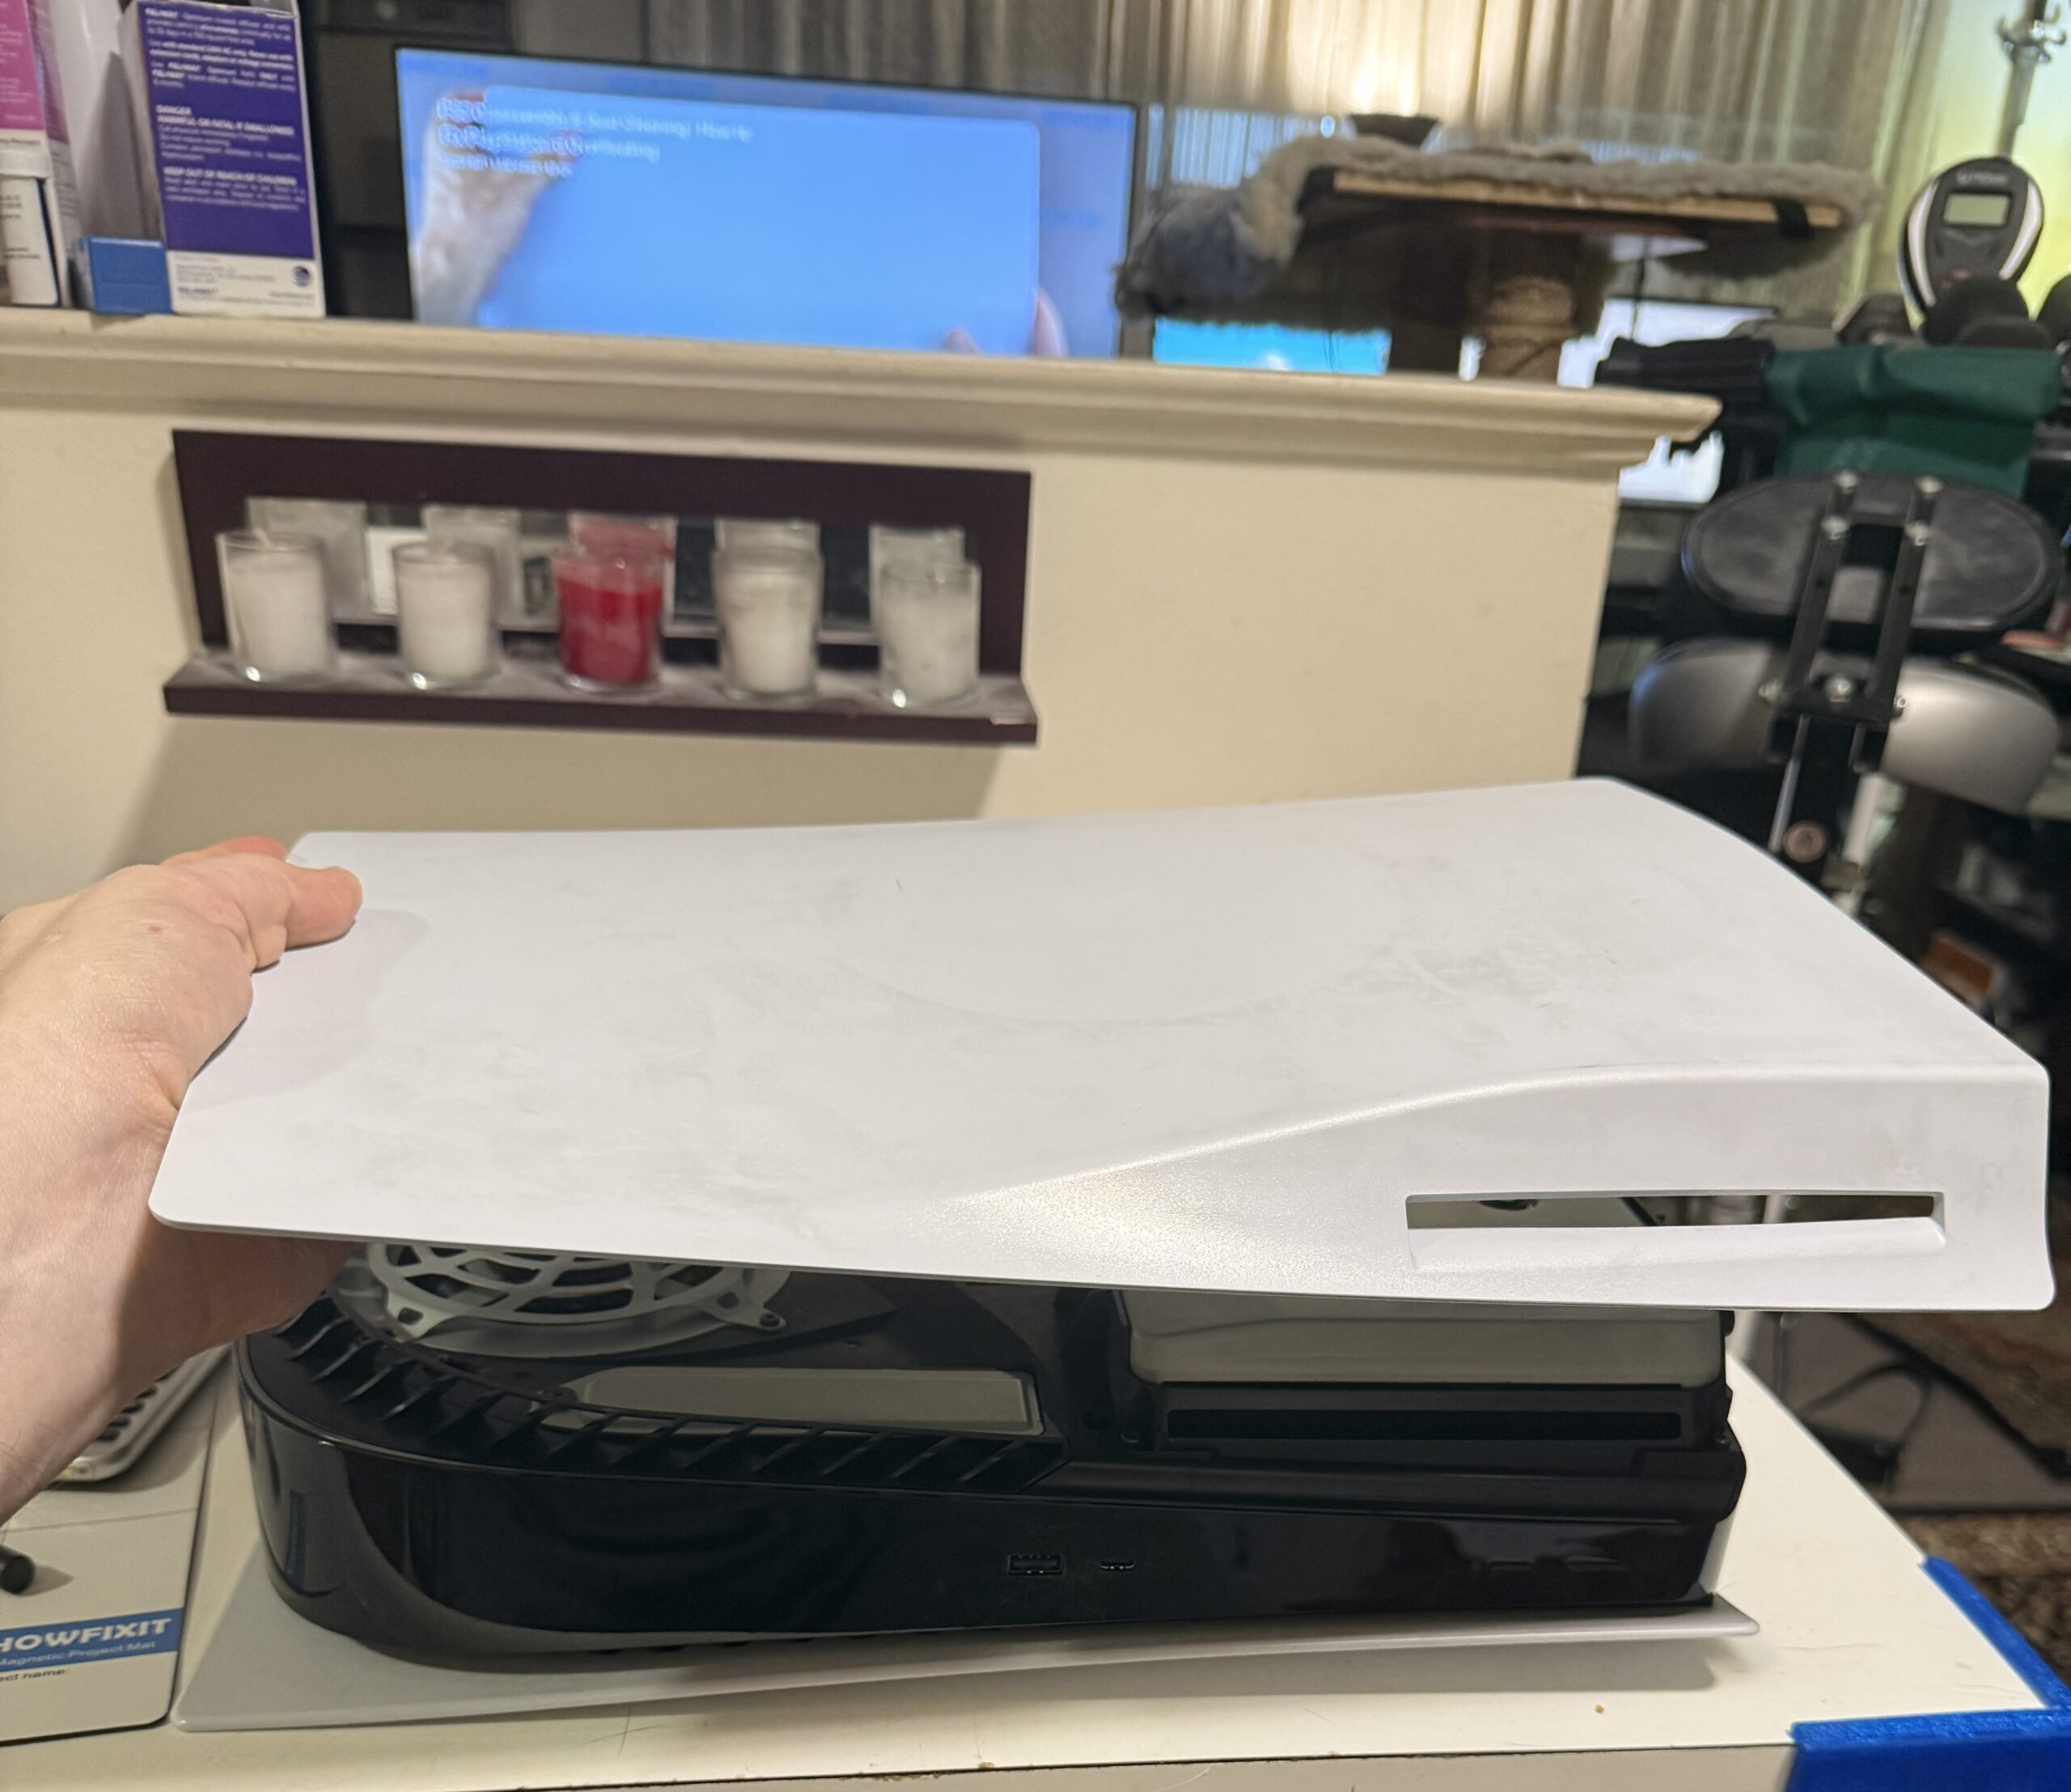
Replacing the liquid metal seemed like an involved process. I went with a simple approach to the first option: I took the sides off my PS5 (I’d done this before to install my M.2 solid-state drive) and used a powerful blower to send air through the holes in the case.
The next day, I got the message again. Blowing air through small holes did not look like it was enough. Also, I hadn’t seen much dust come out of the PS5 during the process.
If the problem were dust, it would be that it had accumulated in the fins of the radiators on the PS5’s mother board. That required a major disassembly:
When I first watched that video, my reaction was, “OK, I gotta take my PS5 to a professional. Look at all those screws!” But there doesn’t seem to be any place that does this kind of work near where I live.
I decided to bite the bullet and give it a try. At least there was no soldering involved. If there had been, I would have made a different decision.
What I needed were the tools. The key items I didn’t have were a Torx T8 security screwdriver, and a set of plastic widgets for separating the pieces of the PS5. I went ahead and ordered all the materials in the description of the above video.
I figured it was a reasonable investment. I’ve occasionally done other computer repairs. For any future work, it would be nice to have a good set of screwdriver tips instead of improvising as I’d done in the past.
I also got some liquid metal. If that turned out to be the problem, I wanted to be prepared.
All of the repair tools arrived by Thursday night. I queued up the above YouTube video on my Apple TV and went to work.
The process was tedious, but not especially difficult. Yeah, there’s a point at which you have to remove 42 screws at the same time, but that took less time than I thought it would.
The only snag (and it was a minor one) was that neither the video nor the instructions on iFixIt took into account that I might have an M.2 SSD installed. It wasn’t hard to figure out what I had to do.
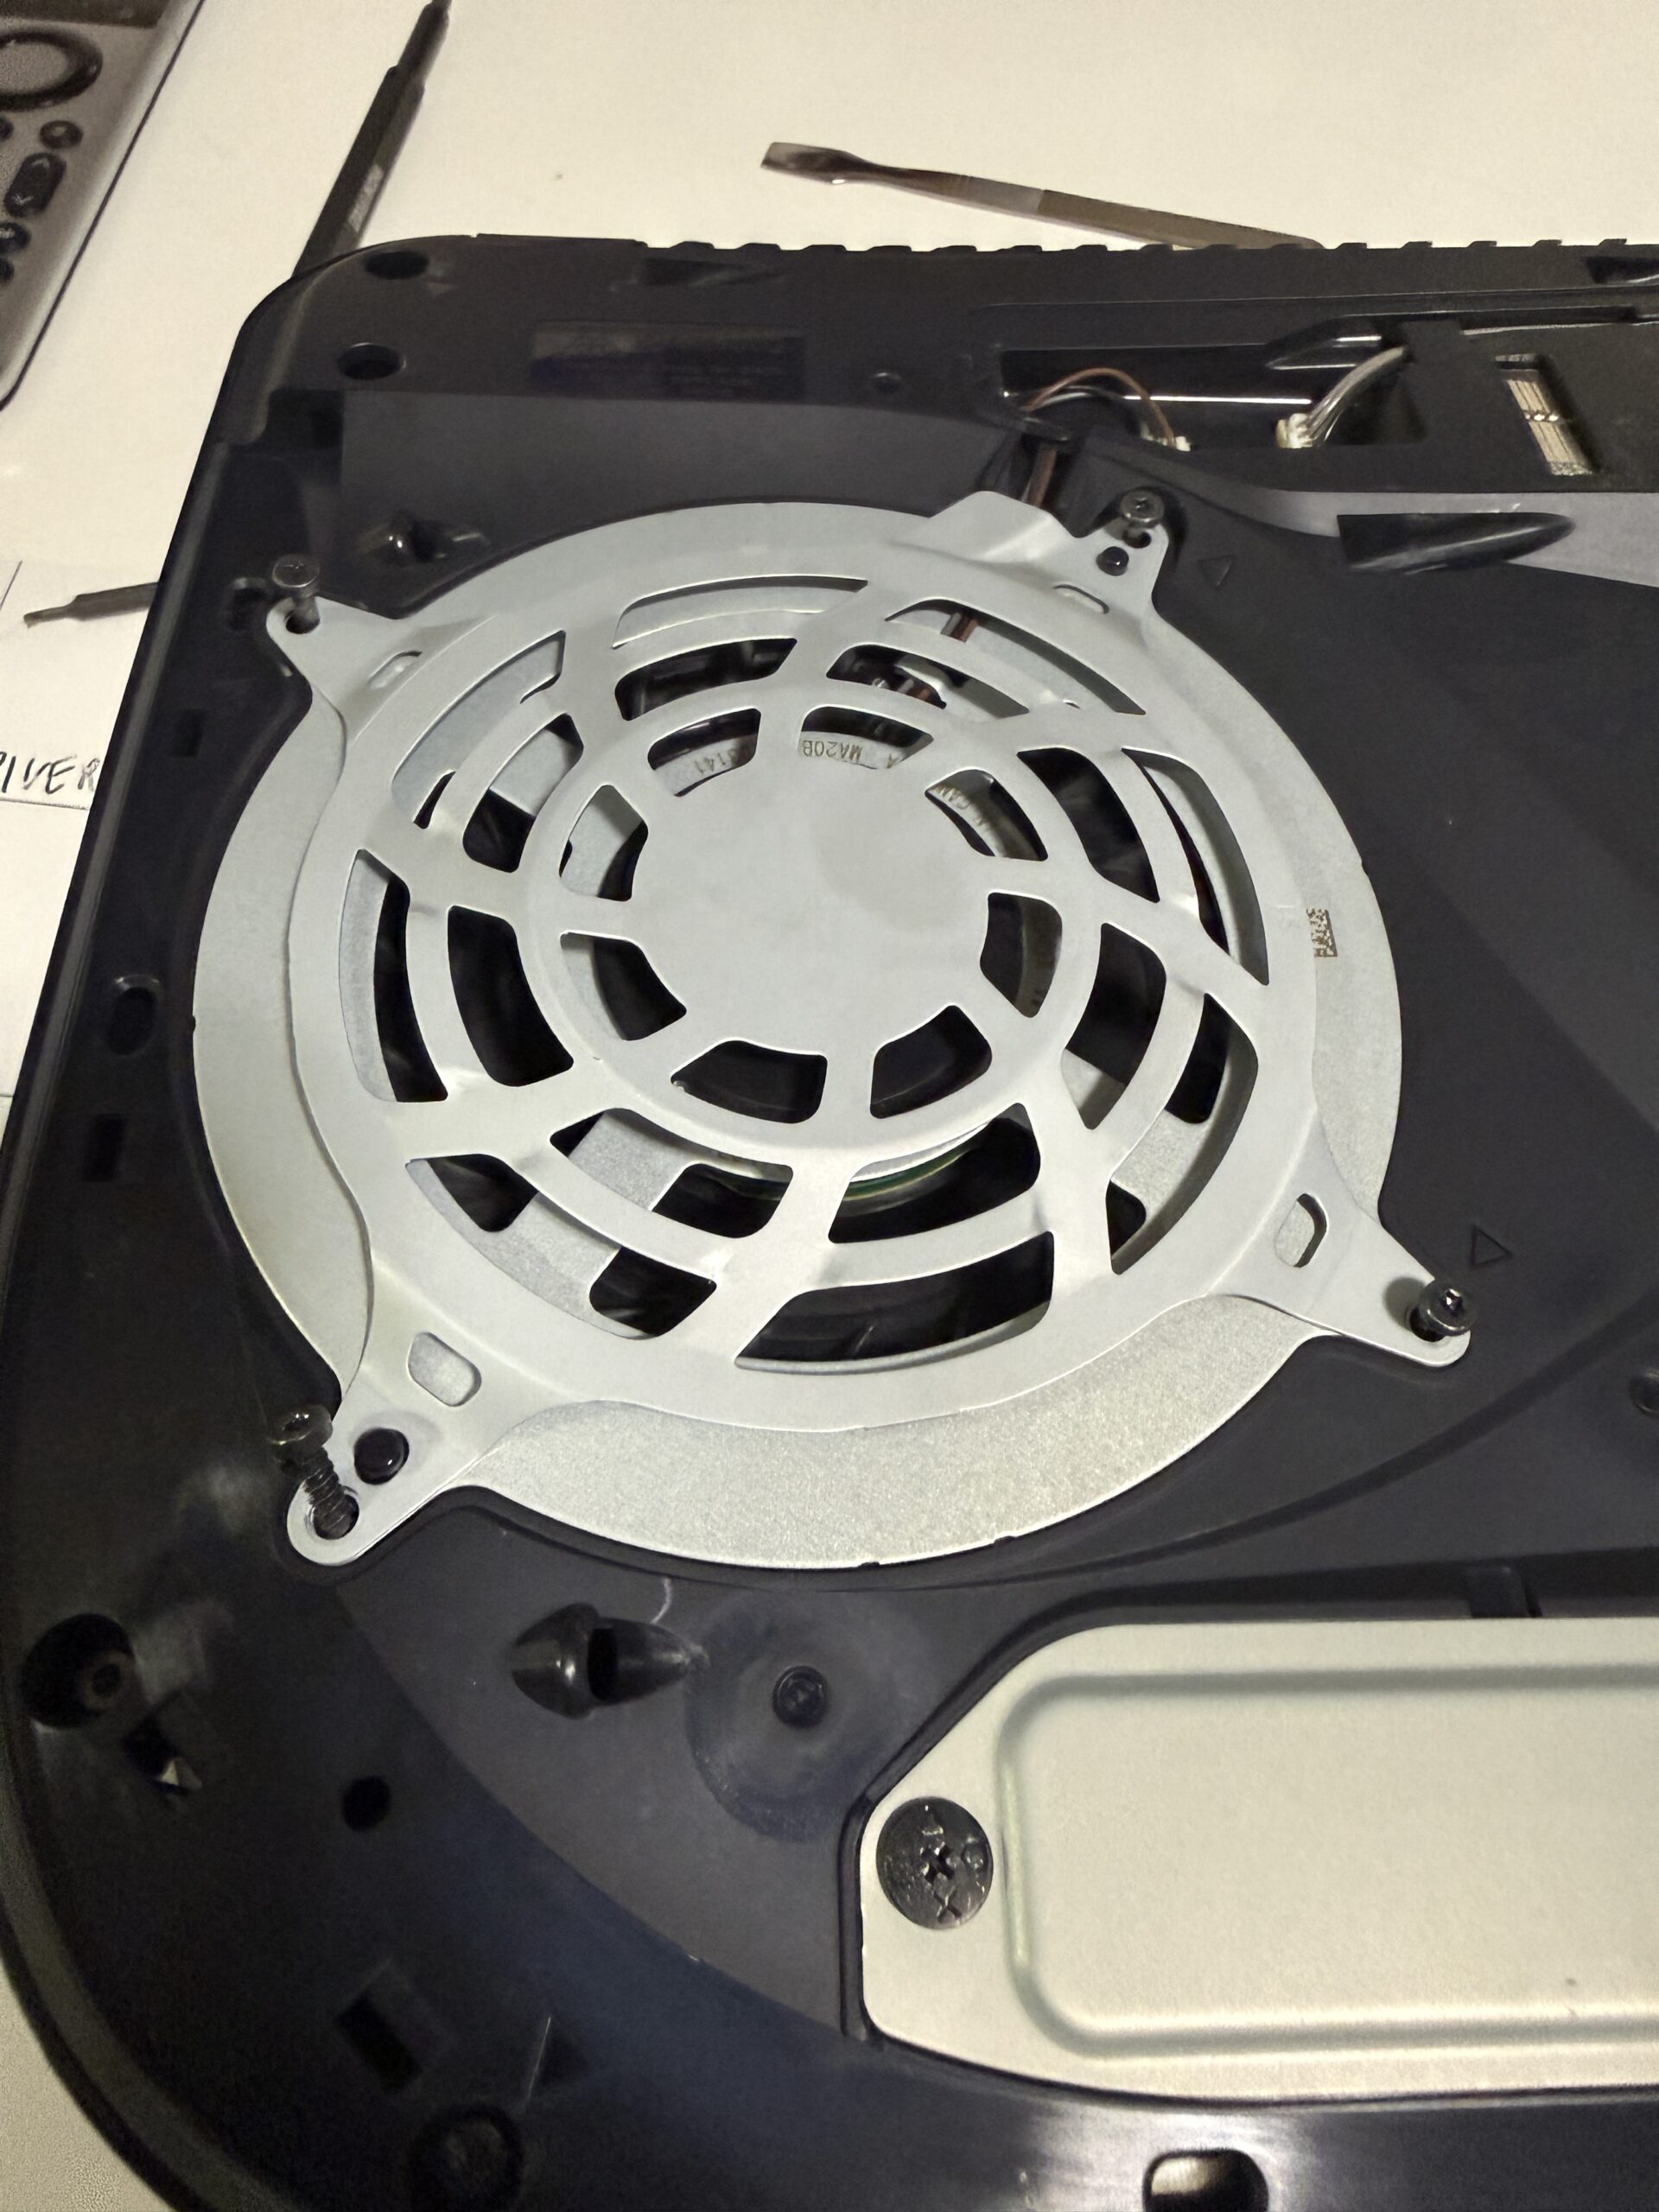
I only took pictures during the disassembly of the PS5, since my goal at the time was to remind myself of which cable went where during re-assembly. So I can’t offer photographic evidence of the following:
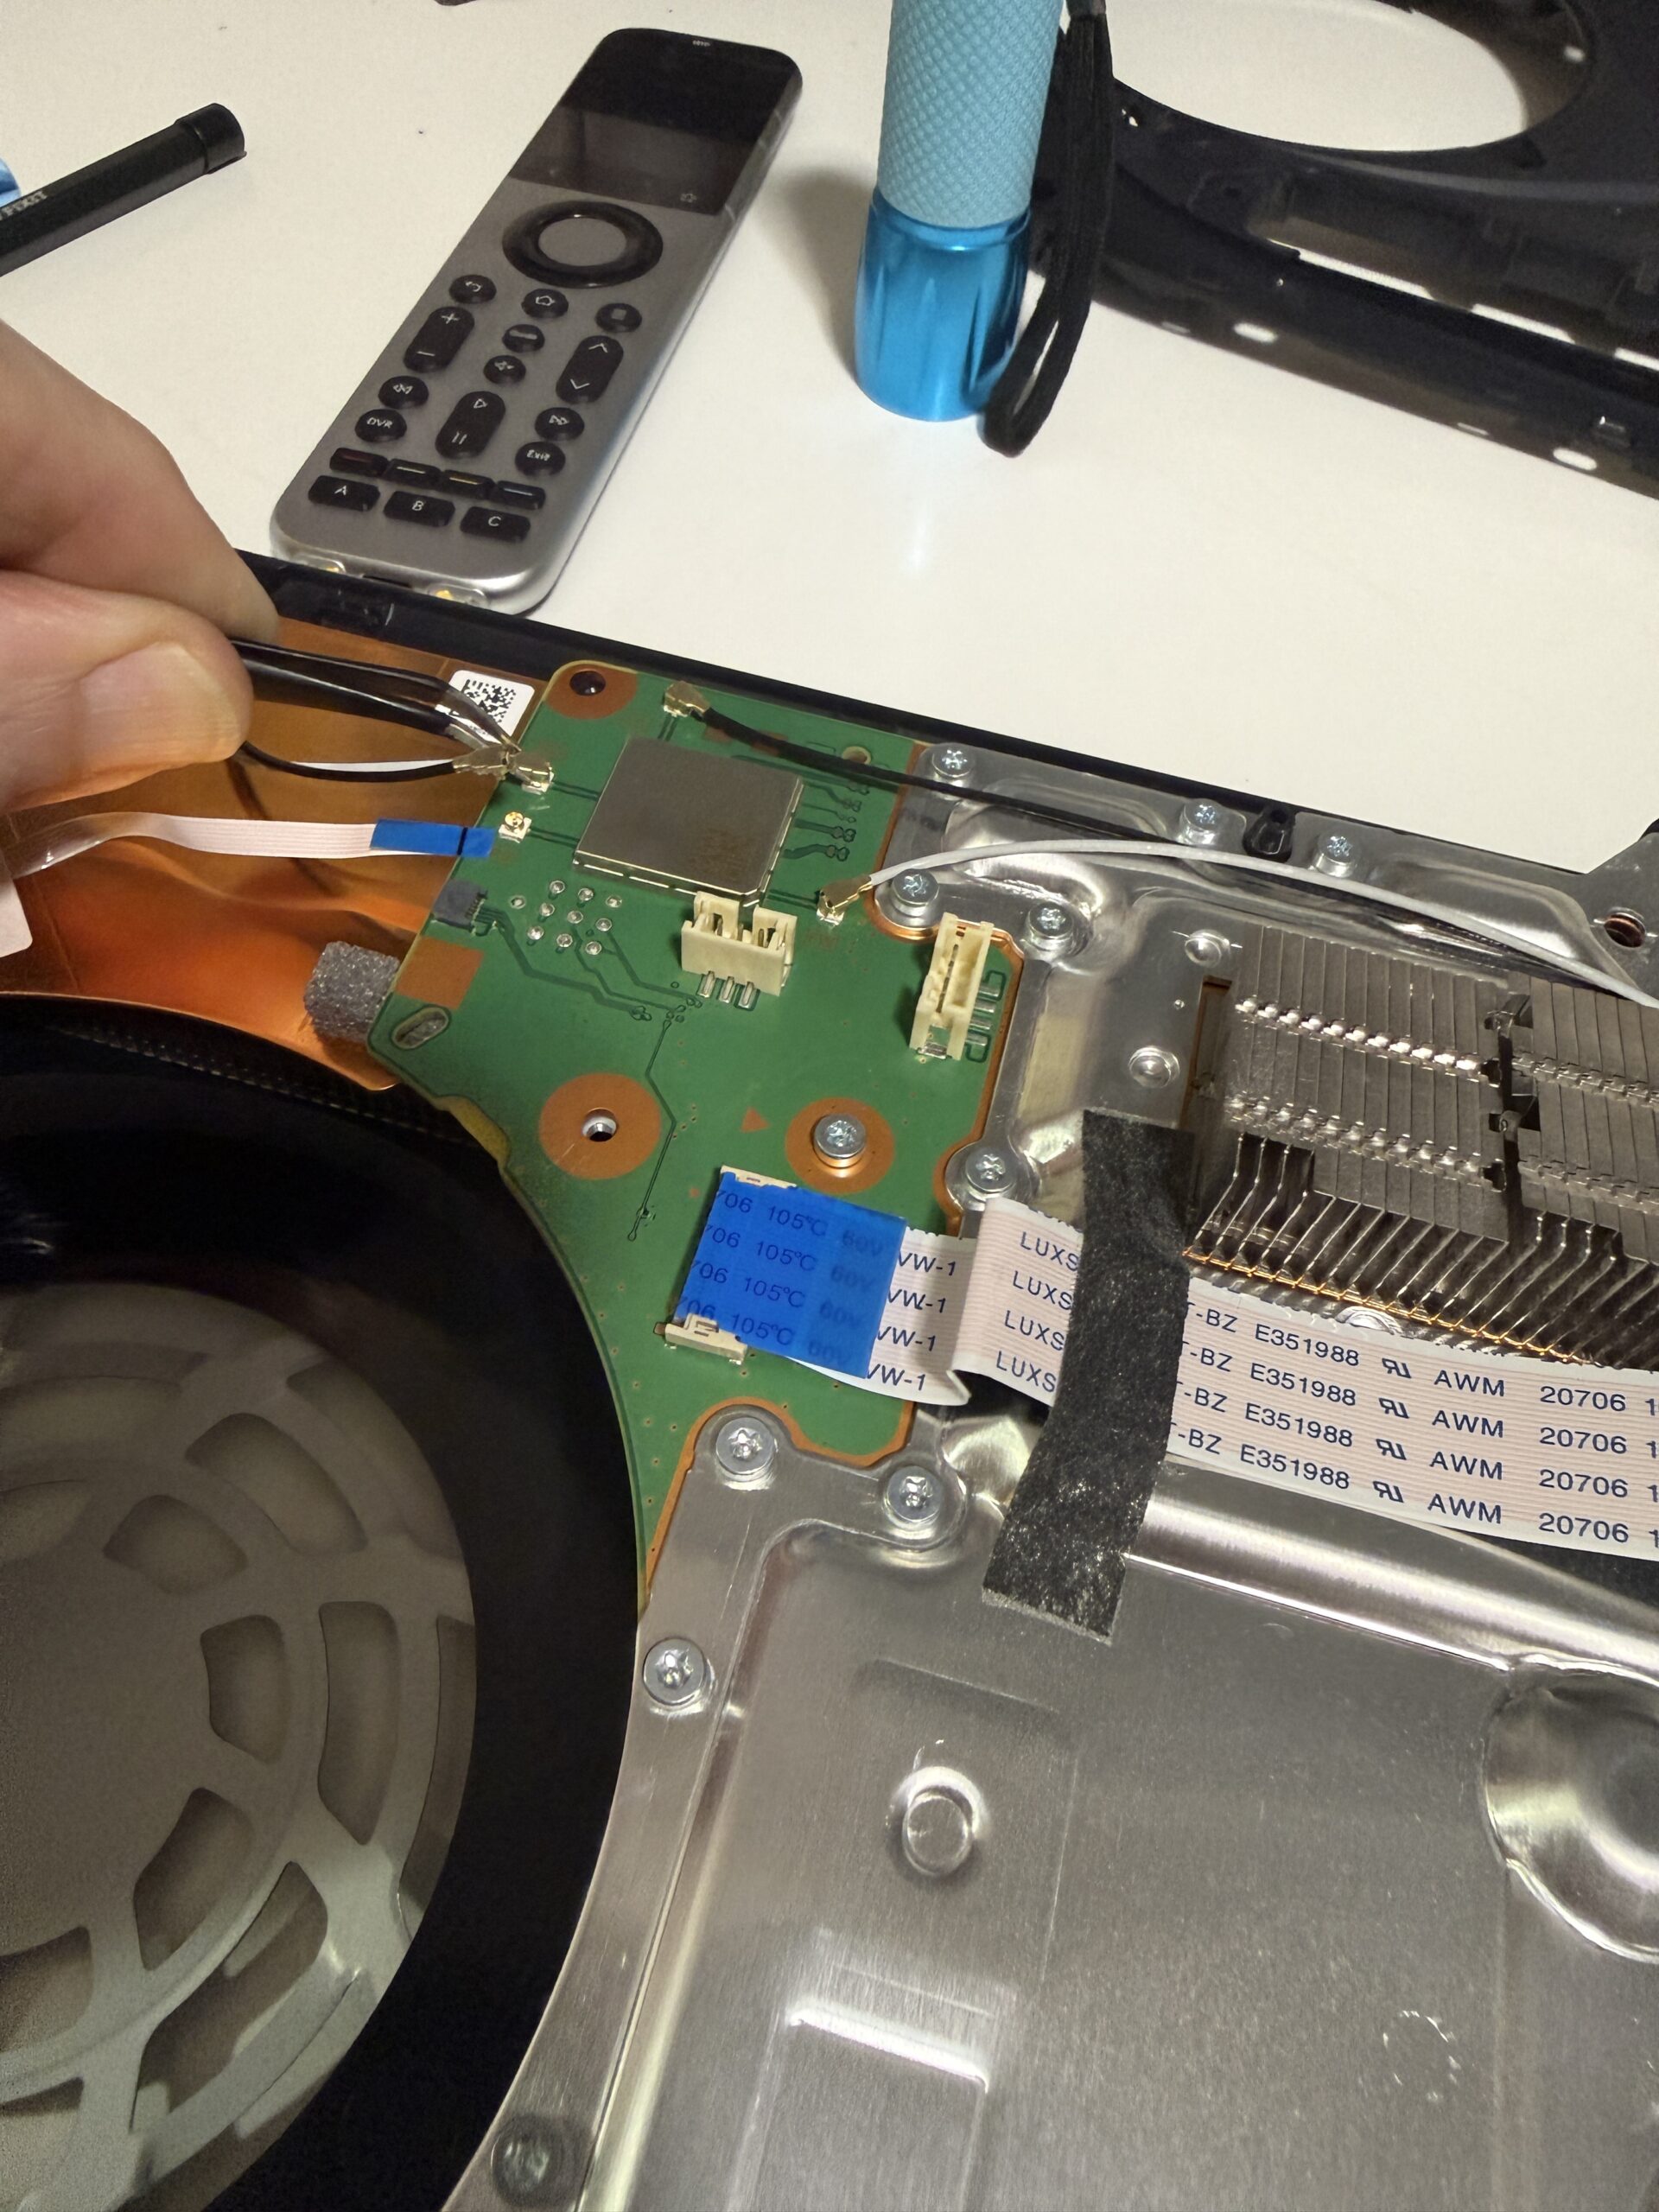
When I took out the fan, and later when I exposed the full radiator, there was no dust worth mentioning.
Oh, I used the air blower and an anti-static brush over all the surfaces. But I didn’t see any sign of the dust shown in the video. There wasn’t even the amount of dust that I’ve seen accumulate in the hard-drive enclosure on my desk.
OK, if there was no dust, that left the liquid metal as the source of the heat problem. I separated the board layers to expose the APU, and…
The liquid metal was nice and shiny and smooth. There was no sign of oxidation. I decided to leave well enough alone. I put everything back together.
Re-assembling the PS5 was harder than taking it apart. I didn’t lose any screws, but there were a couple I couldn’t get back in. Also, some of plastic pieces seriously resisted being forced back into place.
Finally, I got it all together. With a brief prayer to Hecate and Hermes, I plugged the PS5 back in. And…
Everything works.
It’s been two days since the repair. I haven’t seen the error message again.
That means nothing, of course. There were intervals longer than that when I didn’t see the message previously.
I still have no idea what caused the heat message in the first place.
I may see the message again. If so, I’ll have to hunt for a shop that can handle repairs. It’s possible Best Buy could do it.
If worse comes to worse, and it would be annoying, I have enough resources to get a new PS5.
At least now I have a better set of computer repair tools.
Anyone need some liquid metal for their CPU?
Pingback: A Windows hater buys a Windows machine – The Argothald Journal