Let’s shift to an interesting topic, with lots of fun pictures: Painting the miniatures that came with the second wave of Tainted Grail.
What’s a “Tainted Grail Wave”?
Tainted Grail is a massive role-playing board game published by Awaken Realms. The game was funded as a Kickstarter project. The overall game was so massive that Awaken Realms decided to publish it in two “waves” of content; this is not uncommon in today’s large-scale crowd-funded games.
I received Wave 1 of Tainted Grail in November 2019:
In case you missed it, you can read my post (with lots of pictures, like this one) about painting the Tainted Grail wave 1 miniatures.
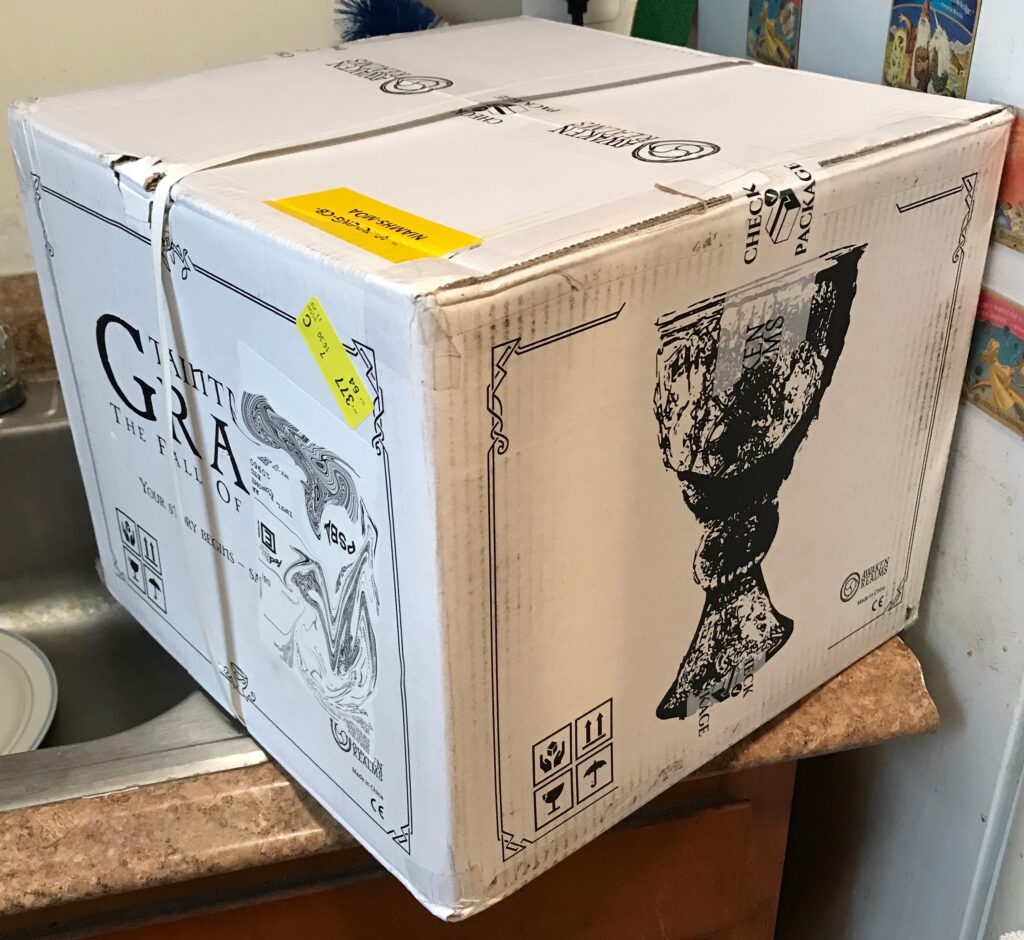
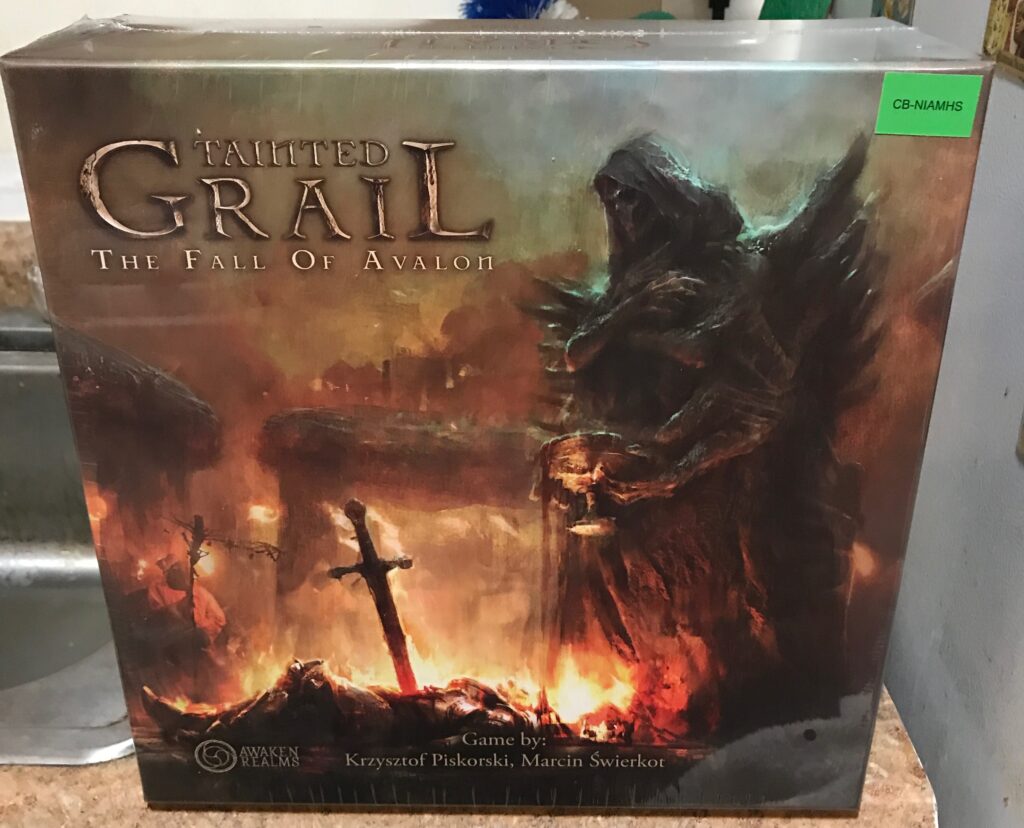
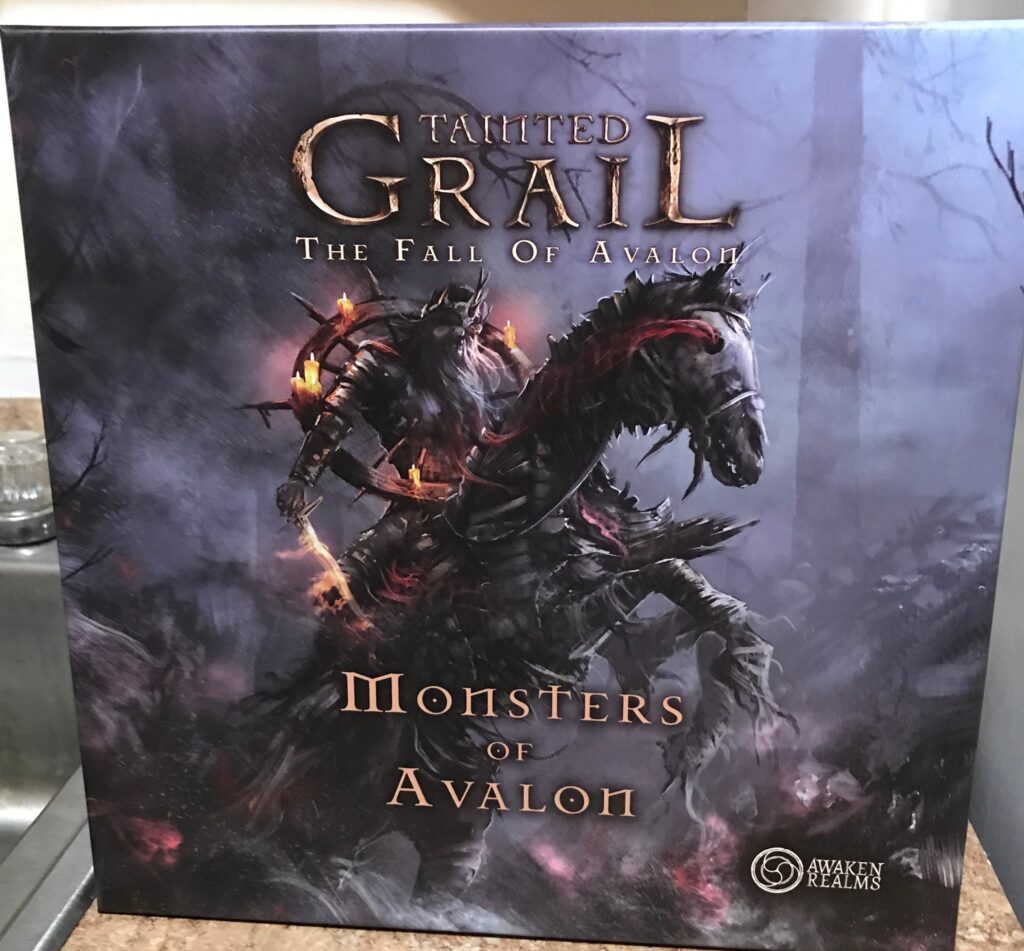
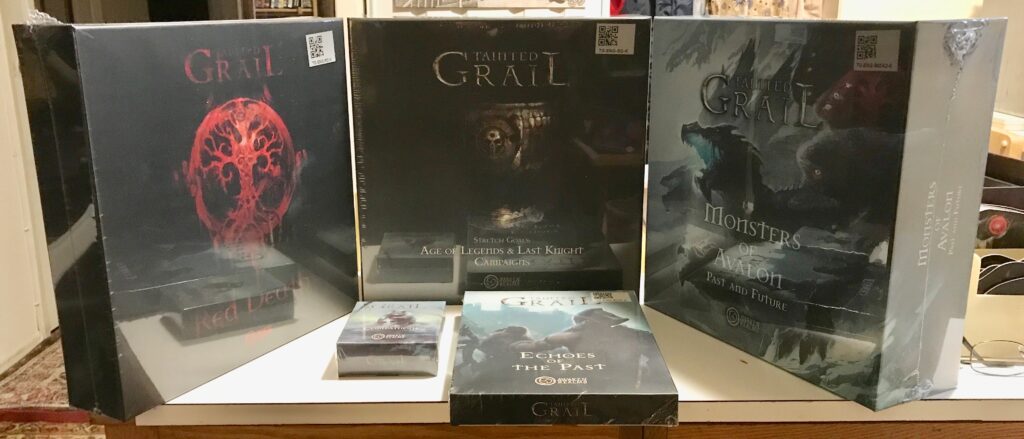
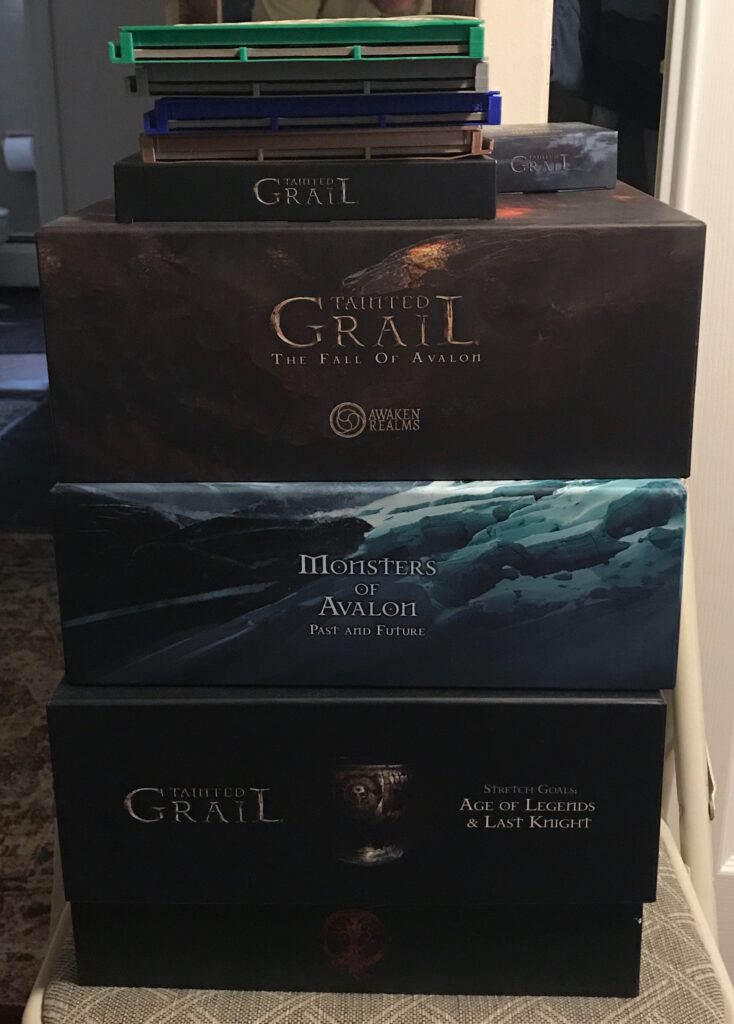
It took more than a year for the Wave 2 content to arrive; you can probably make an educated guess as to one of the main reasons for the delay. But there were other reasons. In particular, wave 2 was massive, consisting of three other additional games:
When will I have the chance to play all these games? I don’t know. I’ve played through the base Fall of Avalon one-and-a-half times. I want to explore Etherfields a little bit more before I embark on the additional Tainted Grail campaigns.
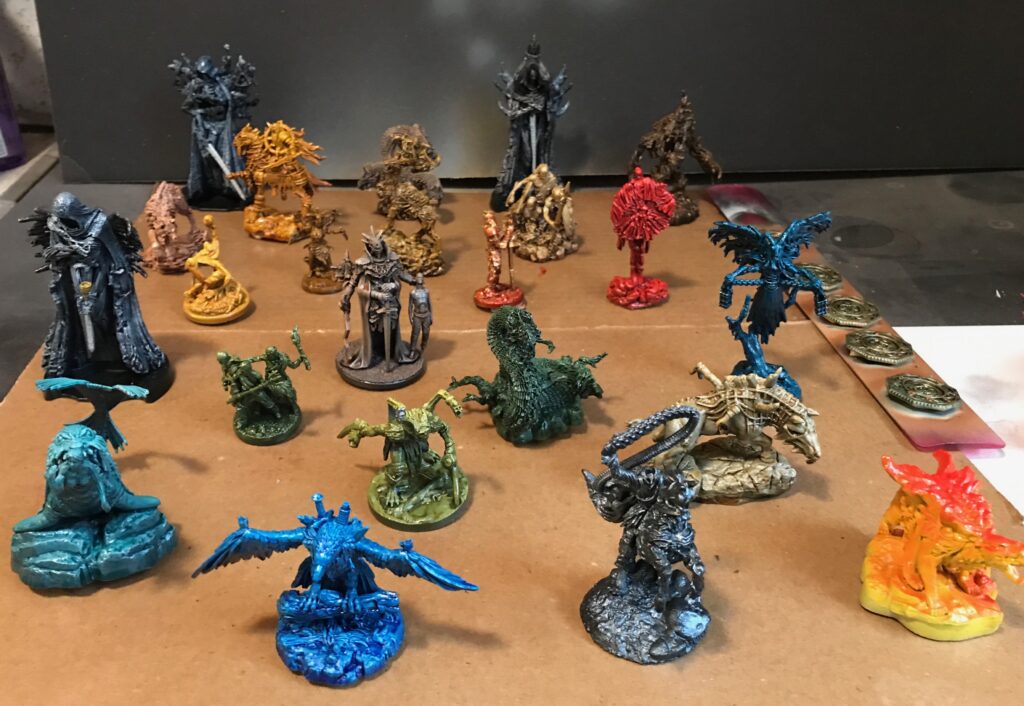
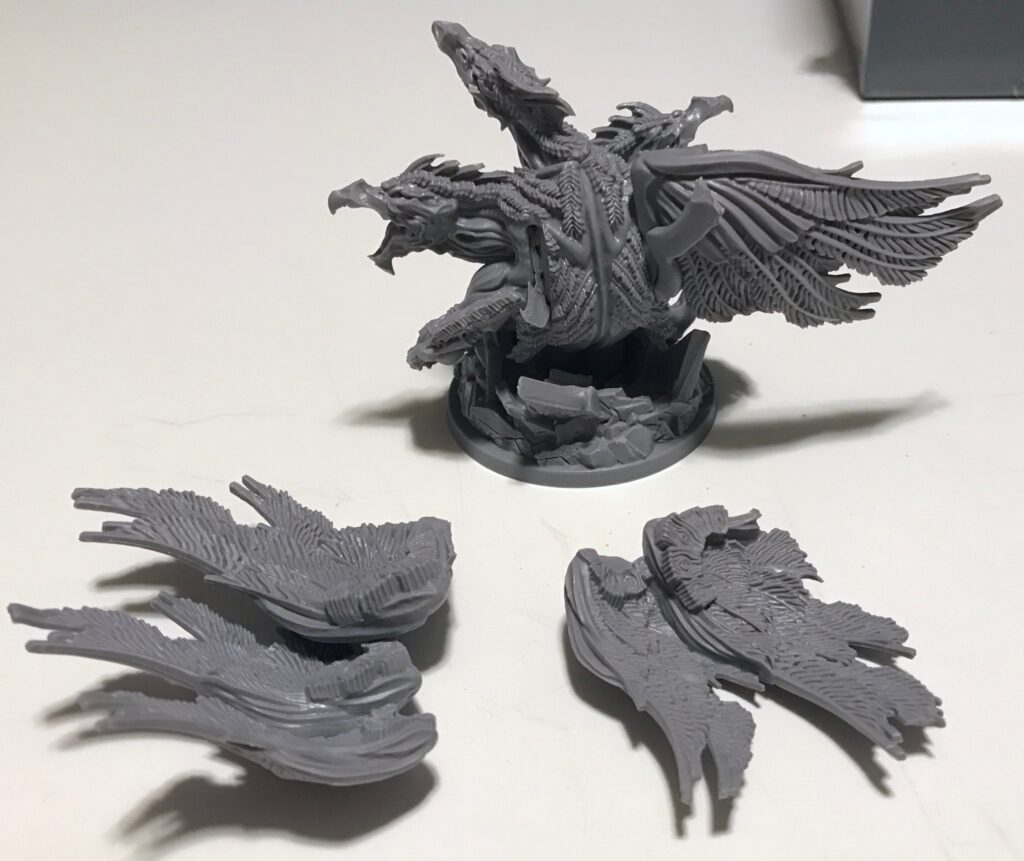
In the meantime, as you’ve guessed, there are miniature figures to paint!
Choices
Here are some of the miniatures I painted for wave 1:
They’re not all bad, but many of them came out a little too garish or cartoony for my taste. I can’t help but compare them to Awaken Realms’ own approach to shading their minis, a style they call “sundrop”:
As I looked over the miniatures from my past painting projects, I decided that the ones I like the best were just pale pastel-like shades over zenithal prime. My plan was to put my emphasis on getting good contrast in the initial shading of the miniatures. I’d still use my collection of Citadel Shades and Contrast Paints, but I would thin them down to the point where they’d just be a “filter” on top of the zenithal shading. I could use my airbrush to apply this filter, saving myself the time and mess of slopping on paint and hoping it would pool in the crevices.
Airbrush woes
In my last post on mini painting, I mentioned that I’d have to wait until the weather got warmer and dryer until I could apply spray varnish on them. I decided not to wait several months (I needed the table space), so I used my airbrush to apply Vallejo airbrush-ready acrylic polyurethane on those minis.
That went fine, but when I took out the airbrush three months later for these wave 2 Tainted Grail minis, I discovered that the airbrush was gunked up. I thought I’d thoroughly cleaned the airbrush before, but apparently I was wrong. So I started taking the airbrush apart for an intensive cleaning, pulling gunk out of all sorts of places. Finally, I used a special nozzle wrench to remove the sprayer tip…
The tip broke off, just as it had with my first airbrush when I tried to remove its nozzle. The gunk was mightier than the wrench.
This is when I was glad that I had purchased a cheap airbrush instead of investing in an expensive one. I purchased a new airbrush for just $30, losing nothing more than a few days of waiting until it arrived.
The first day of airbrushing with the new brush went fine. But on the second day the airbrush began clogging, just as my previous airbrushes had. I thought I had learned something from past experience; I was thinning down the paints by at least 50%. But it seemed that no matter how much I thinned the shades and washes, the airbrush would still get into a state in which I could only spray for about 15 seconds before it would clog again.
I consulted with my airbrush expert, Vann. His suggestions: I’d been using a 0.3mm needle and sprayer, so try a 0.5 mm needle; increase the pressure on the compressor to 25 PSI. The idea was to make it easier for any chunks of material to pass through the airbrush.
It worked!
I acknowledge that these are not good ideas for someone who wants to do detailed airbrushing. However, all of my work involves non-precision painting or highlighting of large areas. With this setup I can’t paint eyeballs in my minis, but my skill wasn’t good enough to do that before I started pushing paint through the airbrush.
Metal color
I had experimented with metallic paints before. But those where Vallejo’s Metallic Game Colors. Those paint brushed on fairly well, but it took a lot of thinning to get them through the airbrush.
Vince Venturella strongly recommended Vallejo’s Acryllic Metal Color. Despite the similarity in the names, these are a different formulation than Vallejo’s other metallic paints. For one thing, they’re specifically designed for airbrushes. I decided to give them a try, mainly because in the future I anticipate painting spaceship minis for ISS Vanguard.
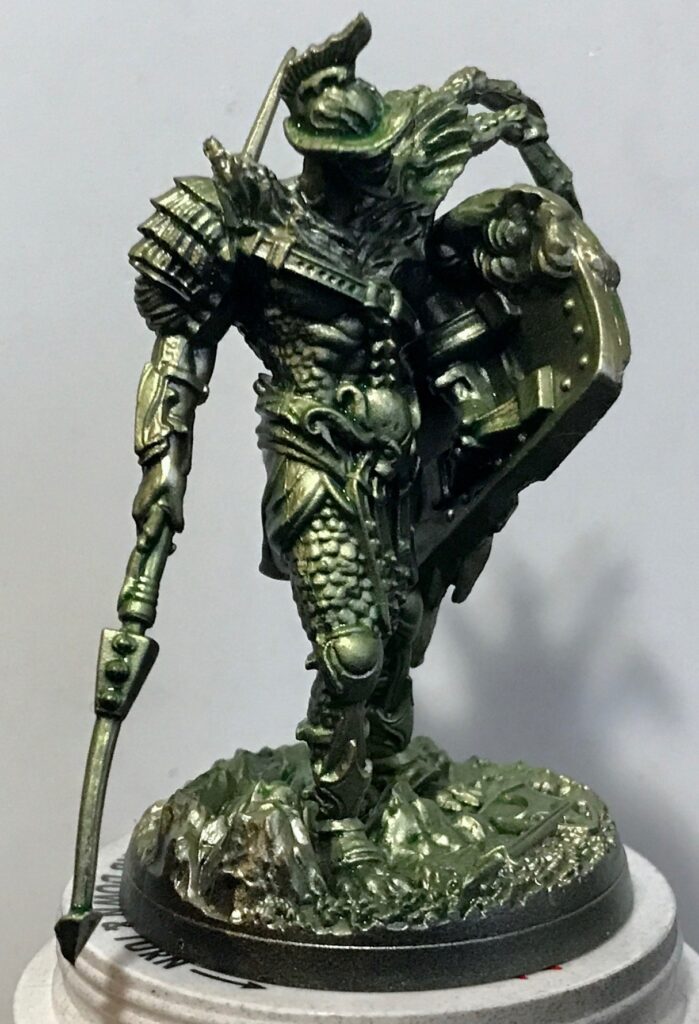
For many of Vallejo’s other paints, I found that the “ready for airbrush” label to be more advertising than reality; although they were thinner than their regular paints, I still needed to thin them to use them in my airbrush. However, I found that the Metal Colors were the genuine deal. You’ll see a couple of minis below painted with metallic colors for which I used Metal Color.
The only warning I’d give is that the Metal Color paints use teeny flakes of aluminum to achieve their sheen. Any variations in color (from magnesium to silver to gold) come from pigments added to the aluminum base. In particular, the colors aluminum and white aluminum are identical; I wish I hadn’t purchased both of them.
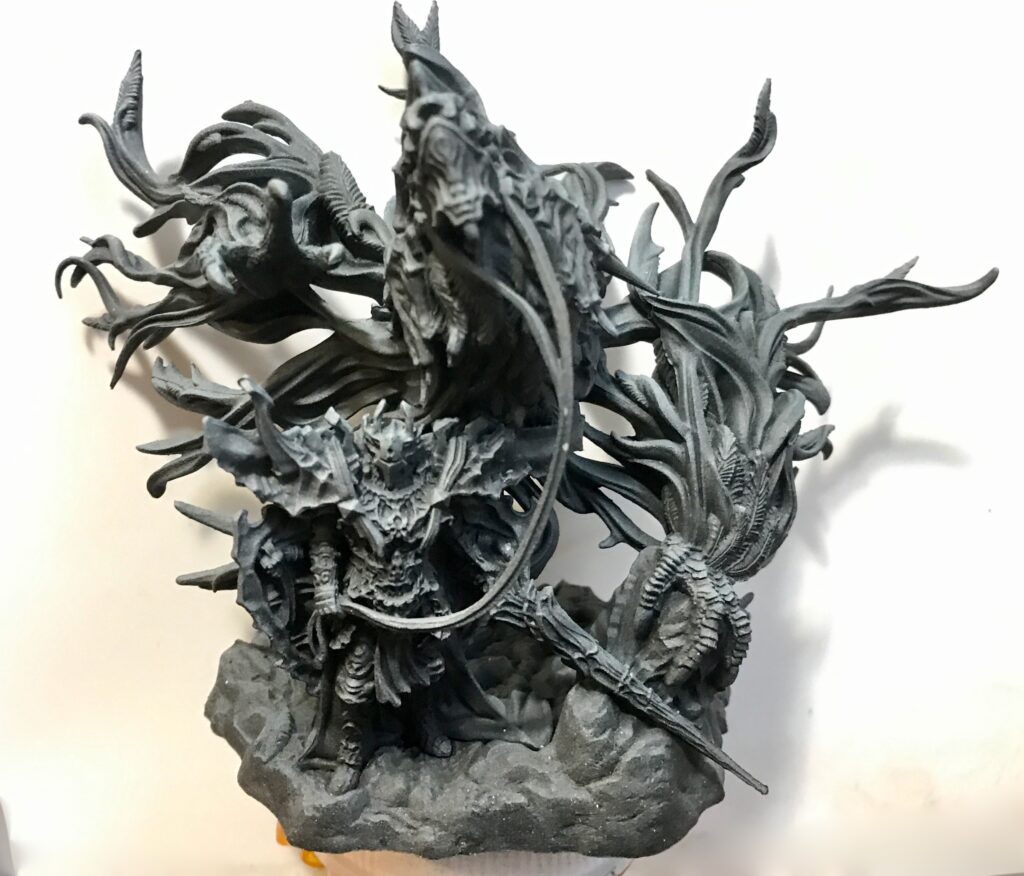
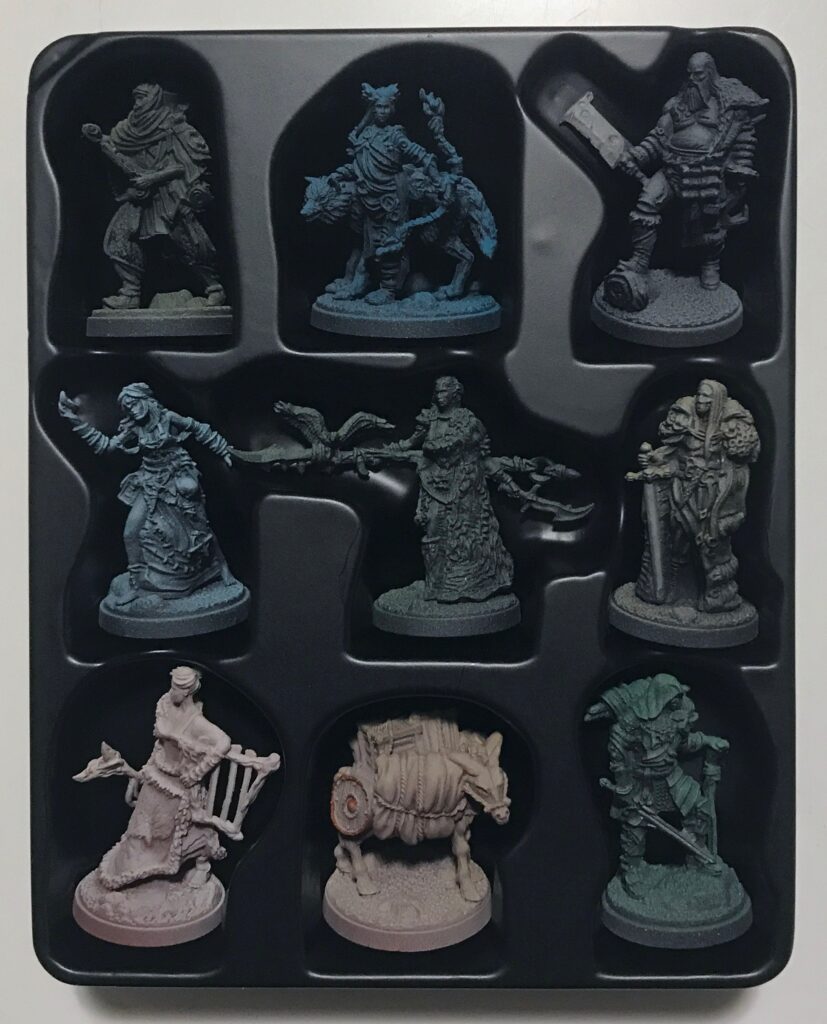
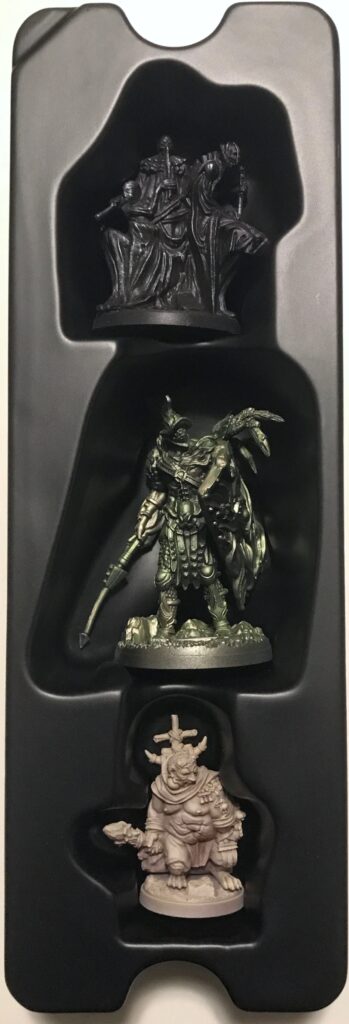
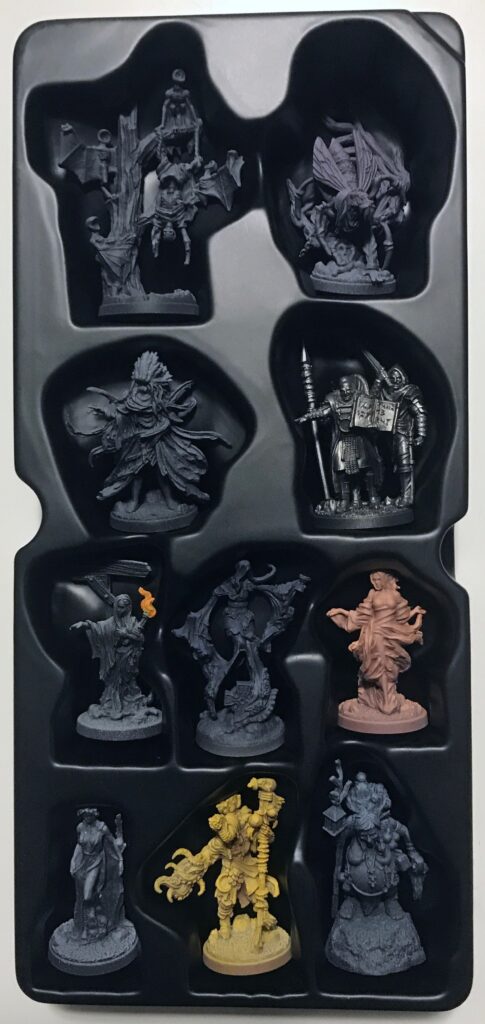
Let’s get to the pictures already!
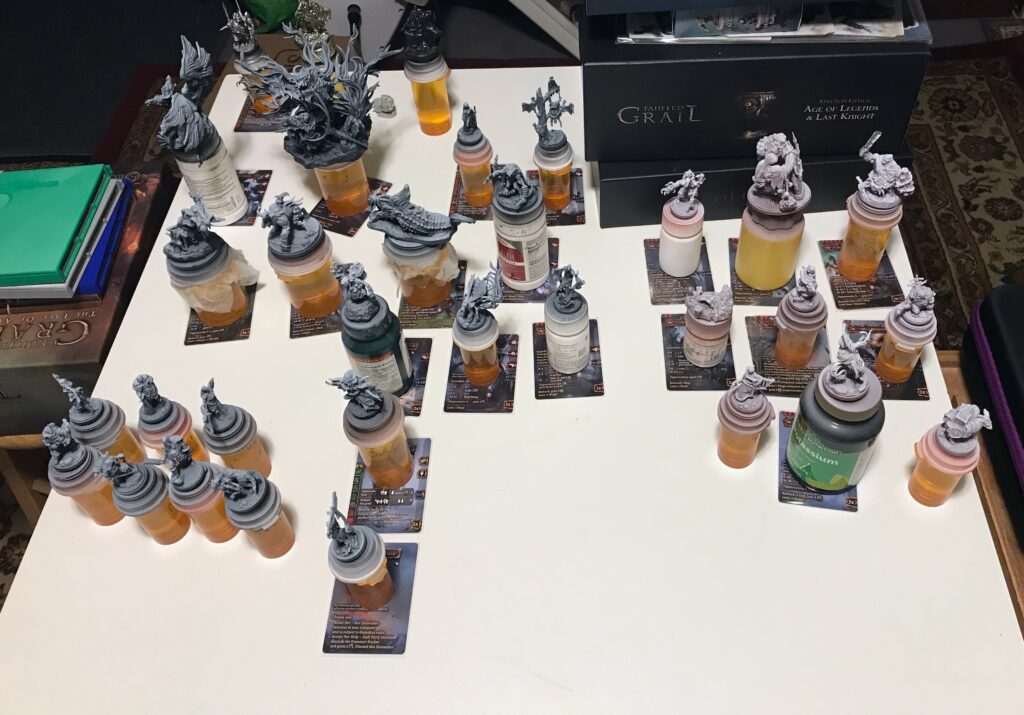
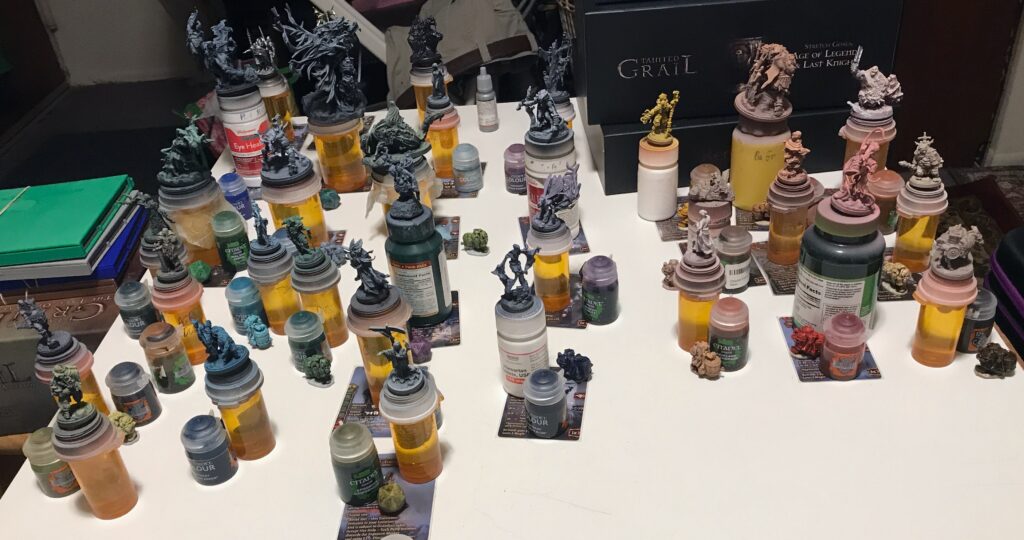
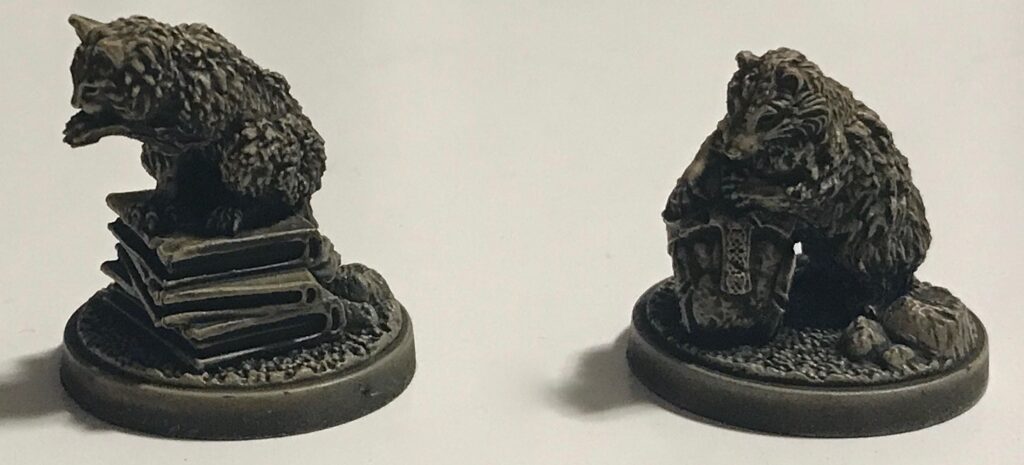
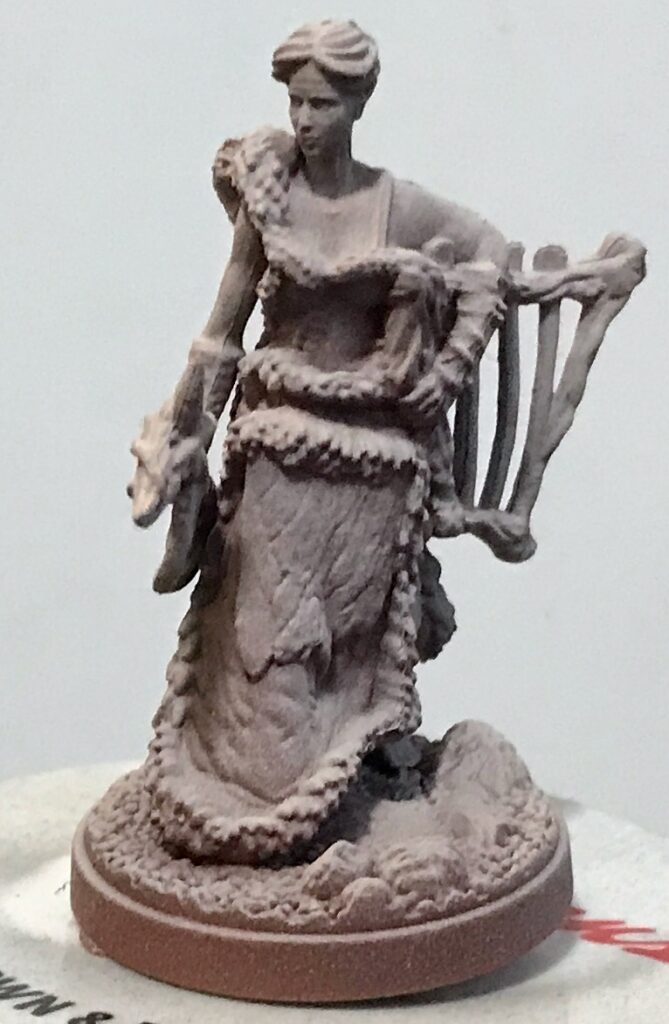
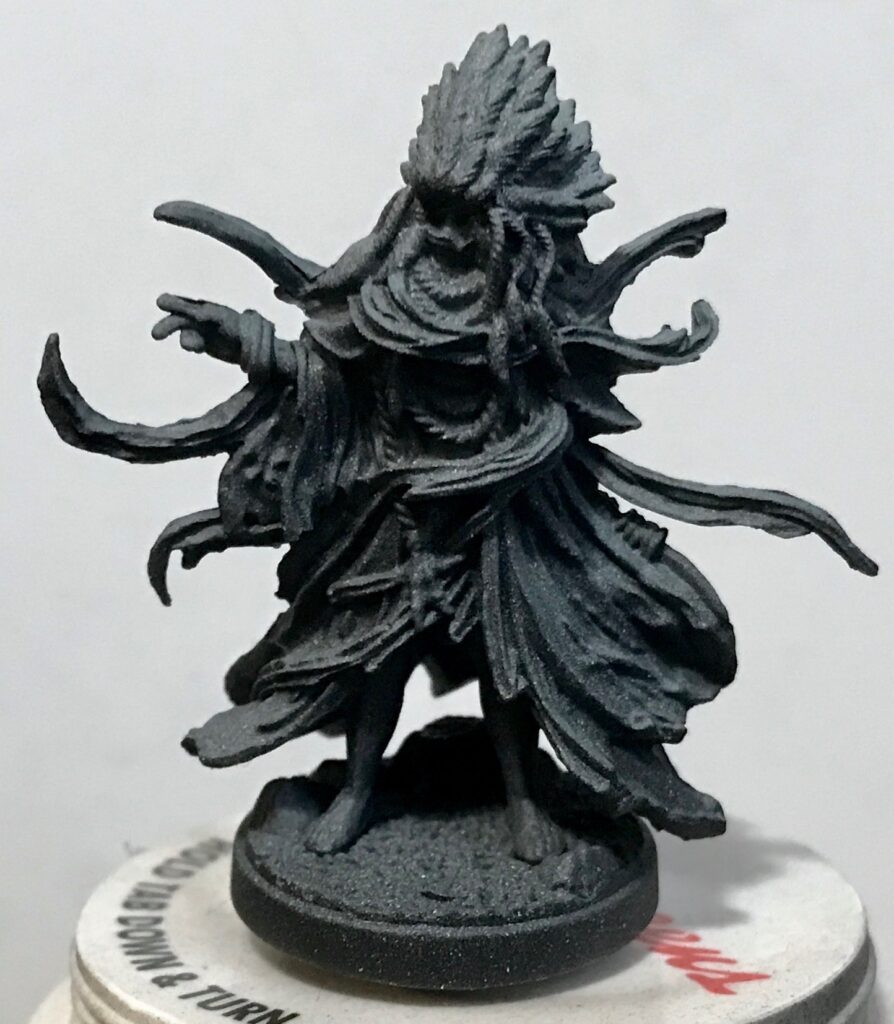
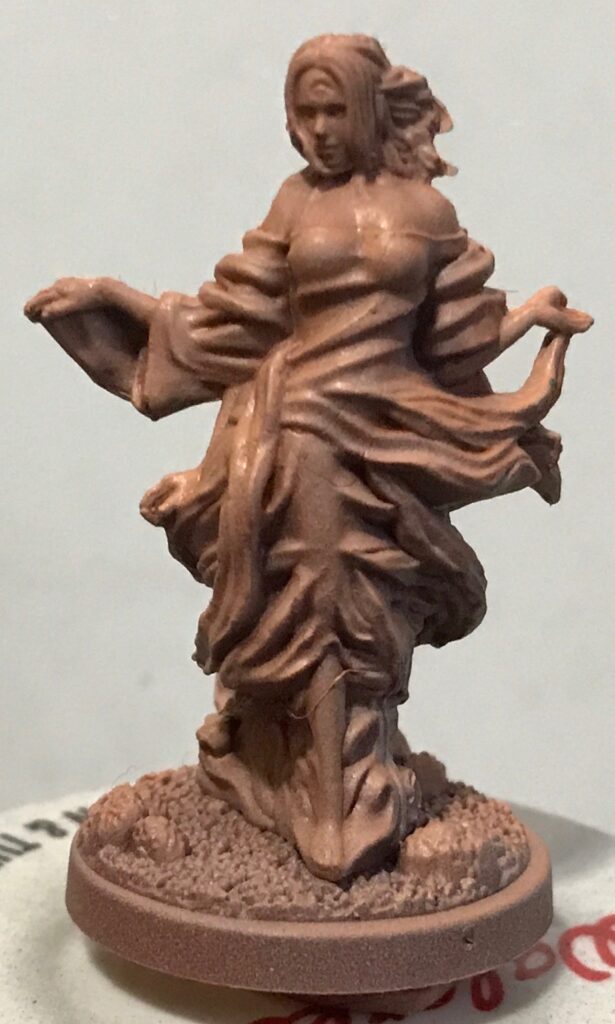
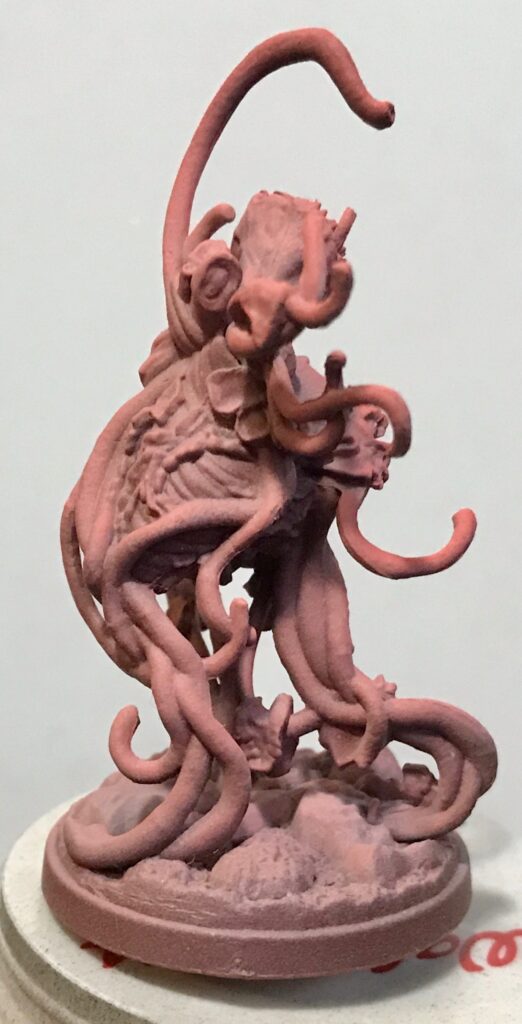
Individual miniatures
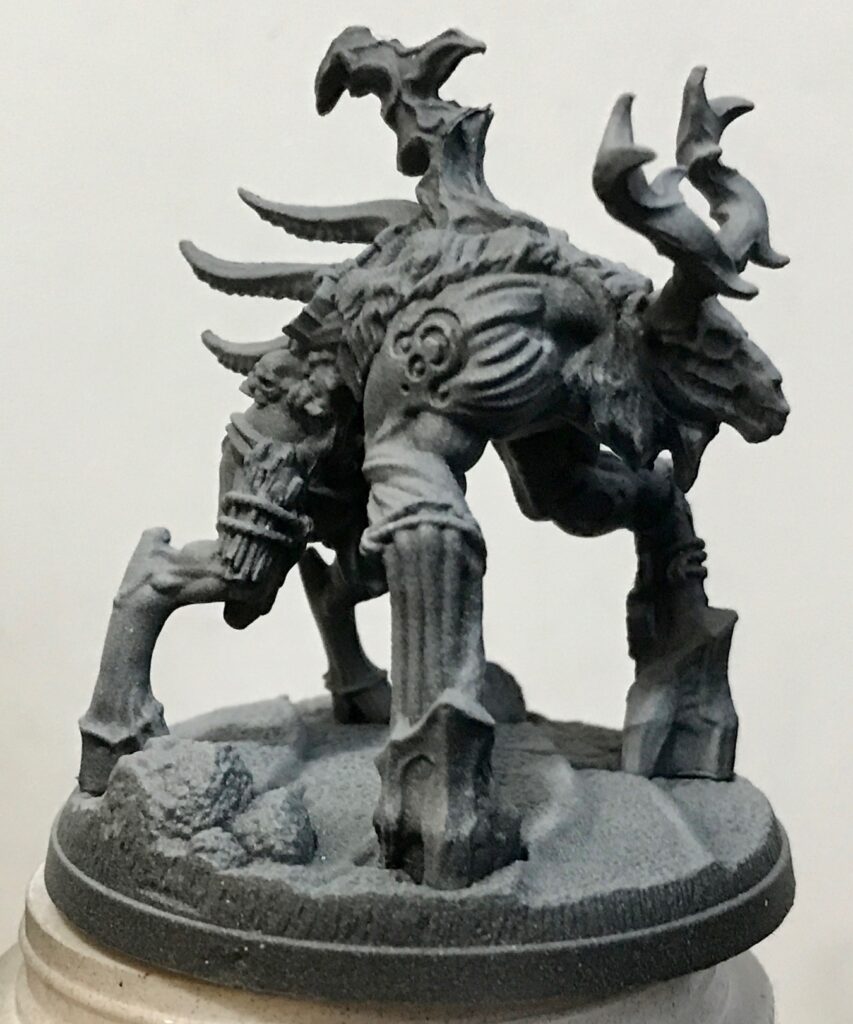
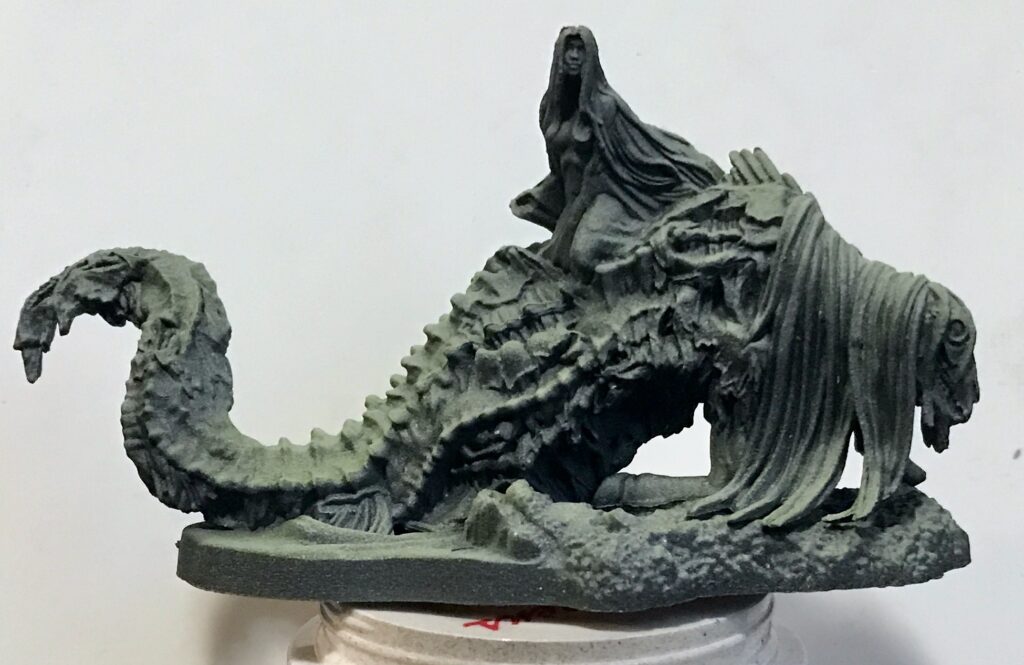
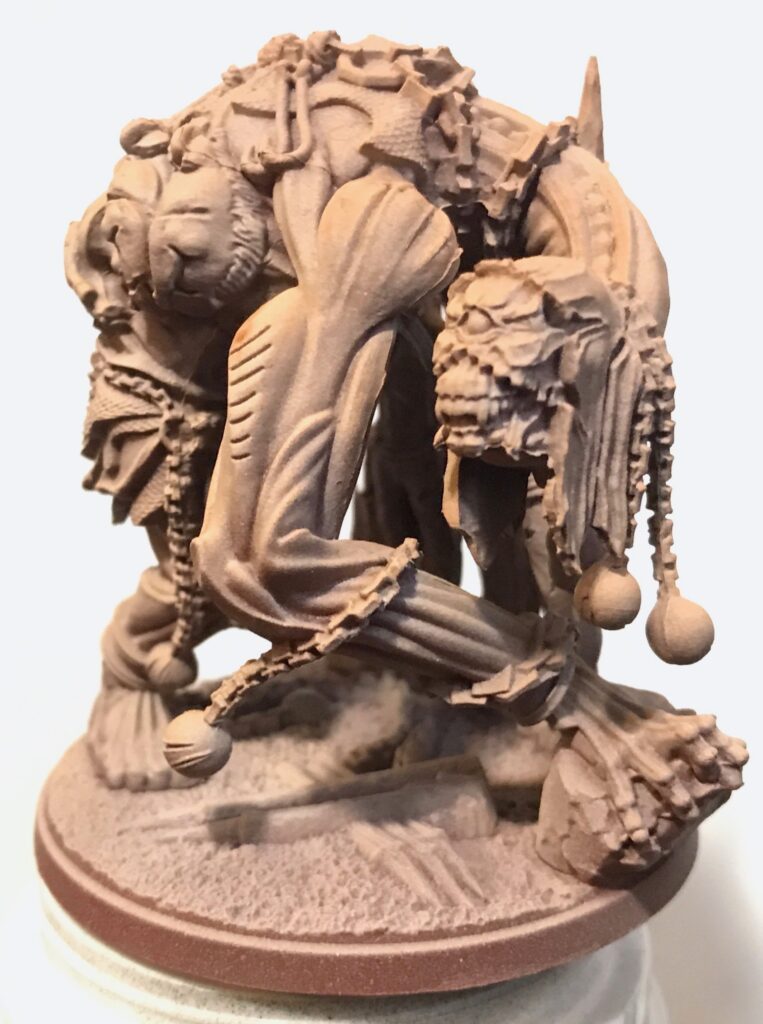
For these pictures of the individual minis, I enlarged and cropped the photos for this blog post, so they all look about the same size. However, they’re all posed on top of the same Walgreen’s pill container; this may help you judge their relative sizes.


What’s next?
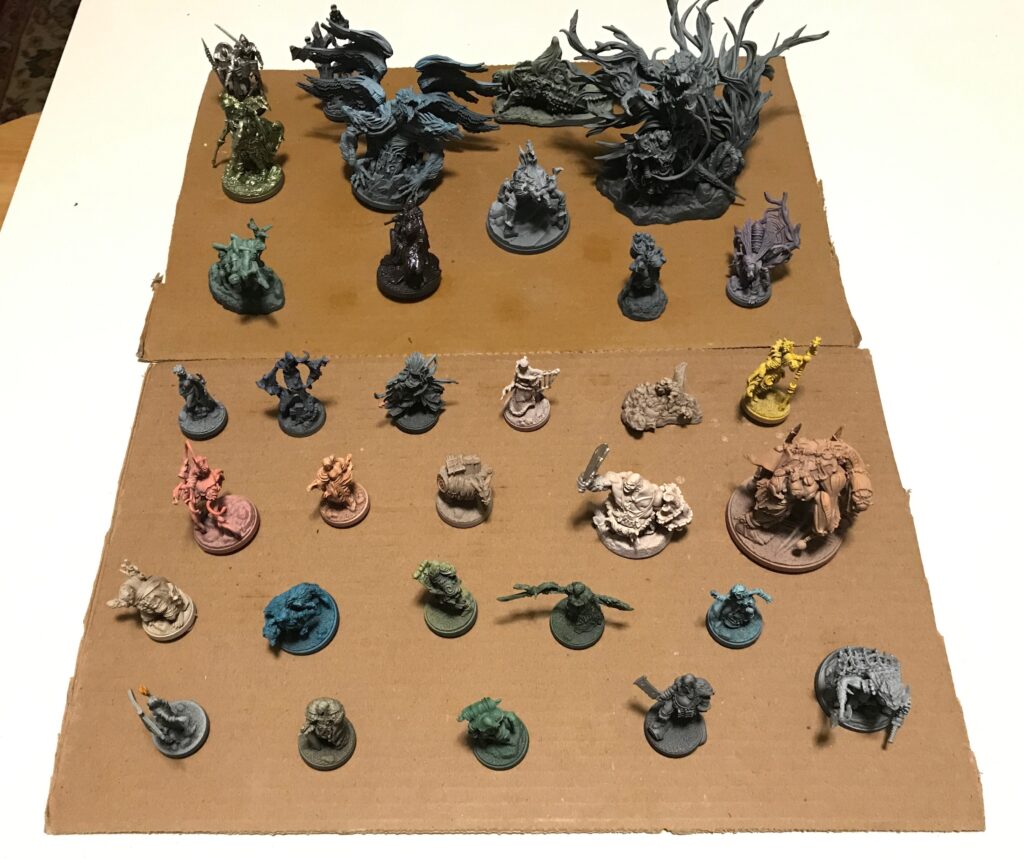
Once again, I used my airbrush for the final coats of varnish on the miniatures. After a week of drying/curing, I’ve put them back in their boxes:
![]()
My airbrush and paints are put away in their respective closets. It will probably be months before I take them out again.
When I do, it will be for one of two shipments from Awaken Realms: Wave 1 of ISS Vanguard or Wave 2 of Etherfields. It’s hard to predict which will arrive first, due to the production schedules and shipping issues for these large complex games.
Hopefully I’ve learned something from my experiences so the minis for the upcoming games will look better!
As you may guess, the Amazon links in this post are monetized. If you buy something through them, I may get a pittance of store credit someday.
Pingback: Etherfields Wave 2: Zenithal Prime and Contrast Paints – The Argothald Journal
Pingback: Vallejo shifters, space dwarves, and ISS Vanguard – The Argothald Journal