This is a description of a game topper from GameToppersLLC. It’s not meant as a review per se, but a tale of my experience.
TL;DR: The Watson Game Topper is a great product, but I wish I’d spent more time thinking about its physical properties: size, weight, etc.
Tables and toppers
I’ll start by stating the obvious: a game table is a luxury item. You don’t need one to play games, even those that require a lot of table space. I’ve seen perfectly good game areas constructed of a large piece of plywood resting on a couple of sawhorses.
With that said:
For the past few years, as I’ve gotten more involved in high-end strategy games, I’ve wanted to get a game table. Some features that distinguish a game table from an ordinary table are:
- In recent years, high-end strategy games have required more table space. A gaming table is normally larger than a card table, closer to that of a dining-room table or even larger. (To be be fair, you can also get smaller game tables meant for card games like poker.)
- A sunken area or “vault” in the top of the table for the main gaming space. This helps prevent game elements (such as dice) from falling off the edge of the table. The raised area around the vault provides a comfortable space for gamers to rest their arms, and to place player boards and other auxiliary game components.
- Attachments for cup-holders (gamers like their beverages while gaming), additional player-board space, and auxiliary desk space for gamesmasters to use during table-top role-playing games.
- A slot along the edge into which cards can be placed. In a game in which you’re keeping your cards private, you can stand the cards up. This means you don’t have to clench cards in your hand, and lets you look at all of them at once instead of fanning them. It also helps the cards last longer.
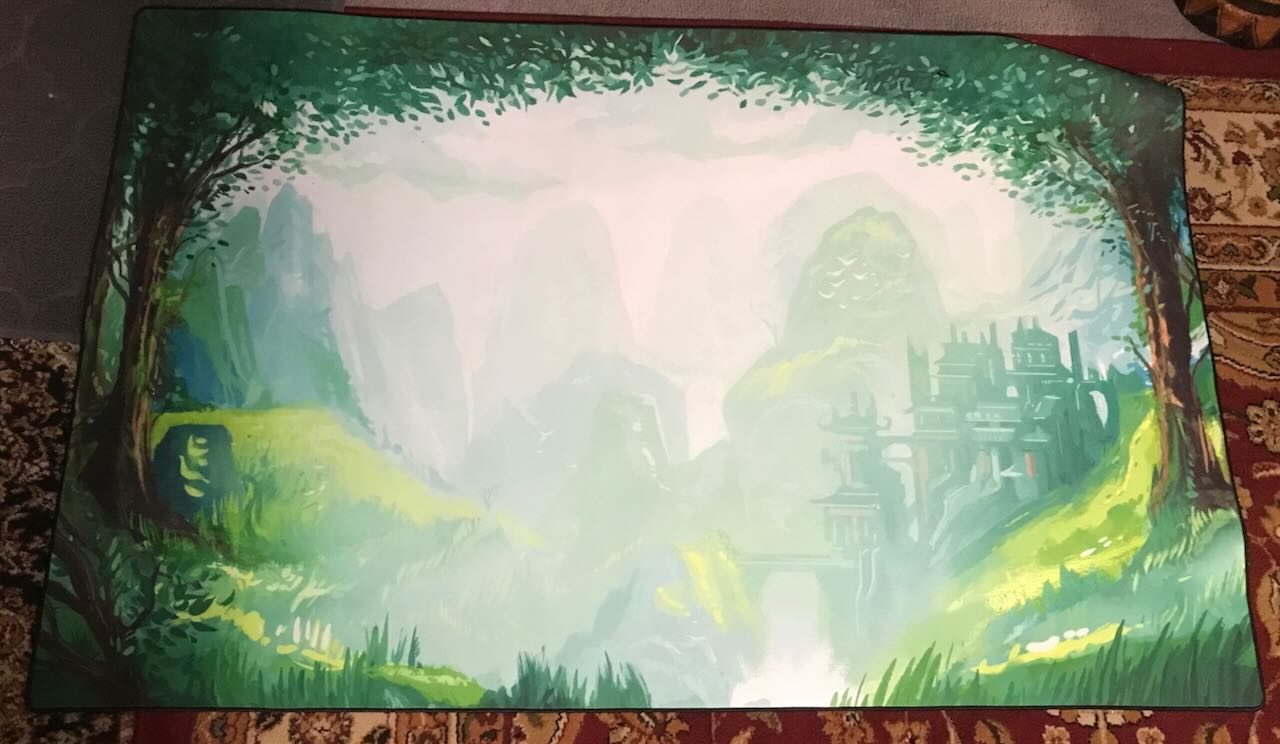
- Optionally, a game mat placed on the floor of the vault. This mat, typically made of neoprene, keeps game components from sliding around. It also makes it easier to pick up cards, since your fingers can dip slightly into the neoprene.
- An increasing number of game tables come with covers for the vault, so the table can be used as a conventional table for dining. The cover can also preserve the game if you have to leave it in place between sessions (which can be useful for long campaigns); this is especially handy if you have pets, children, or relatives for whom you wish to keep your gaming hobby private.
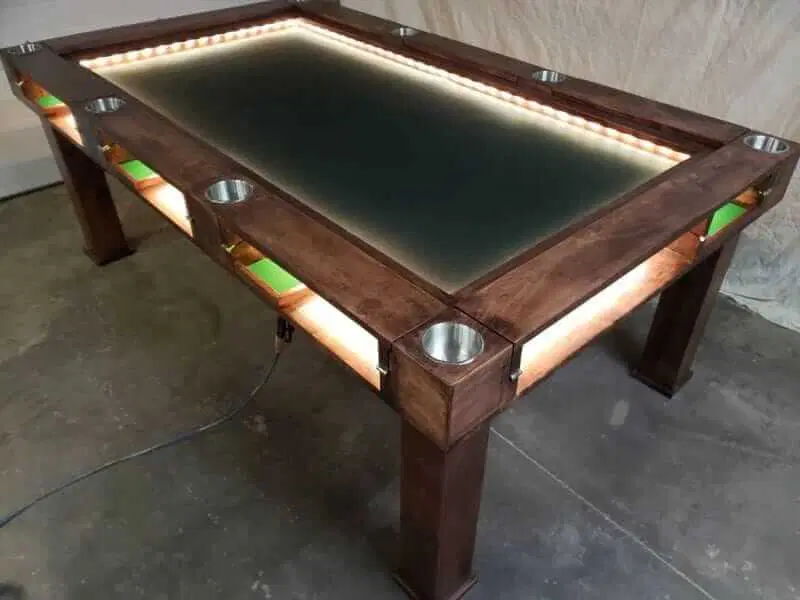
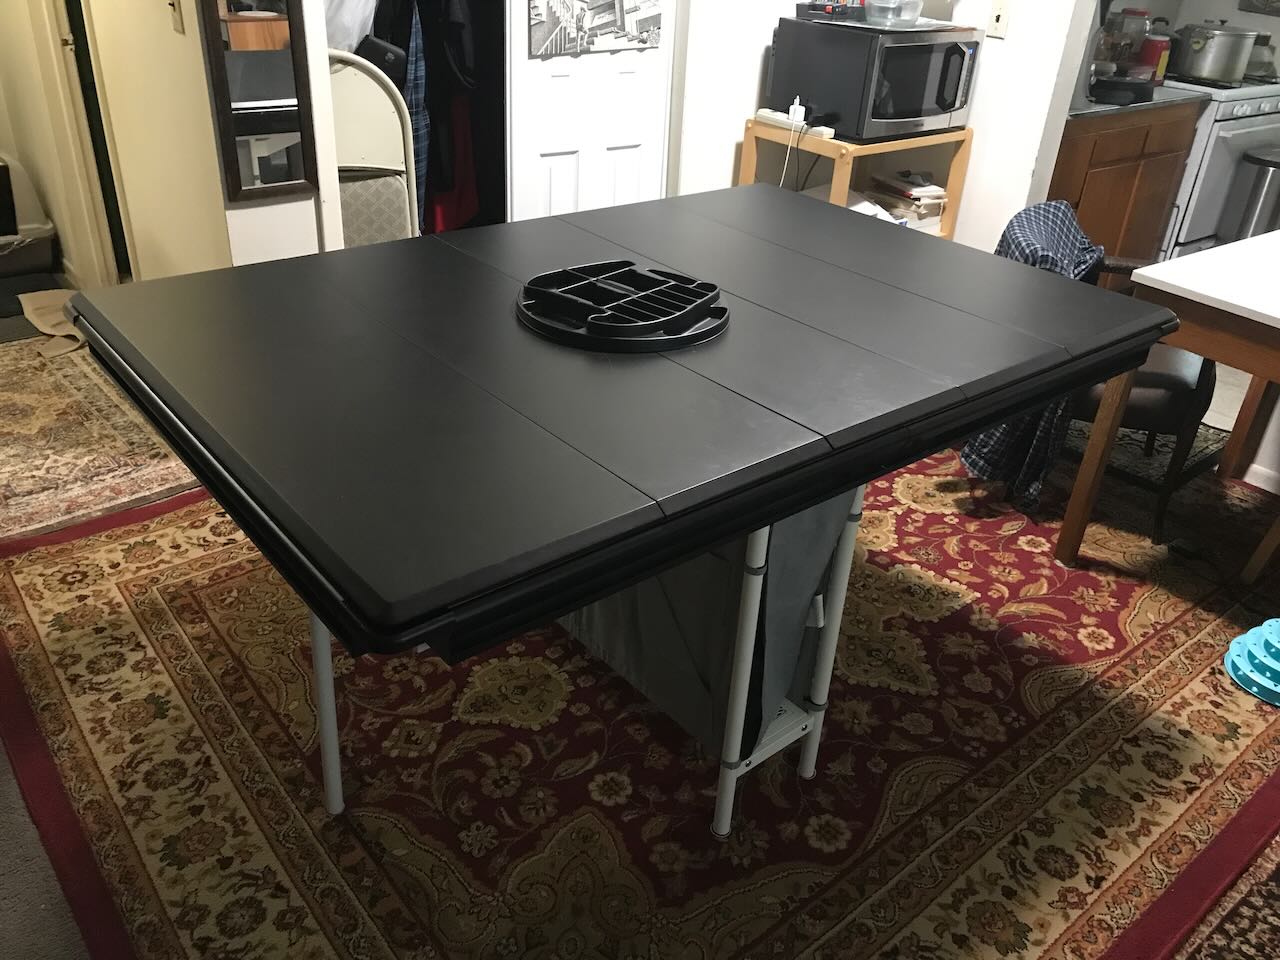
- Other optional features, as shown in the picture above, include compartments for gaming stuff (or anything else, I suppose) and LED lights to enhance the view.
However, game tables have their disadvantages:
- They are expensive. Their prices can easily reach into the mid four figures and up, especially with accessories like covers (which would be mandatory in my case, or so my cats informed me).
- Their high price is due to the fact that most gaming tables are custom-made pieces of wooden furniture. This means they’re heavy. Once you place a game table in your home, it’s staying put for a while, unless you’ve got a lot of help.
I didn’t have enough disposable income for such a table, but the second point was relevant to me too. I use the “living room” of my apartment as both a gaming area and for religious purposes. Any furniture I put in that space has to be able to be moved out of the way. There was no space in my rooms to move a big, heavy gaming table so that it would not interfere with my other activities.
That didn’t stop me from occasionally web-surfing to pick my favorite designs. Many gamers like Wyrmwood tables. As long as I was dreaming, I settled on the Dresden from bandpass.
My income situation changed when my father left me some money. There was enough so that I could set aside some “play money” on a luxury like a gaming table. At one point, I hoped that I could move into a place with more room, but a complicated set of circumstances has put any thought of moving on hold for a few years.
That left me point #2: I could get a gaming table, but how would I move it? A friend of mine suggested looking for a “collapsible gaming table.” It was then I remembered that game toppers existed.
A “game topper” is just the top of a gaming table. You put it on top of a table that you already have. The advantages of a topper over a table is:
- They’re much less expensive than a whole table.
- The reason why they’re less expensive is that they’re typically made of aluminum and fiberboard (MDF). They’re much, much lighter than a sturdy wooden table.
A bit of web searching led me to a choice:
- Make my own game topper. This video shows how:
- A topper from GameToppersLLC.
From the first paragraph of this post, you know I chose to buy a pre-made topper. But even as I type these words now, I wonder if I made the best choice. If I had made my own, I would have had complete control over the size of the table. I wouldn’t have had to actually cut anything, since I could have ordered the aluminum rails cut to size, and I could have had the wood cut at my local hardware store.
In the end, it was my lack of mechanical competence that made me go for the second option. Perhaps I underestimated myself. But as we’ll see from the rest of this post, I’m capable of many forms of stupidity. I might have constructed a good-quality topper that would have been the equivalent of what I purchased. Or I might have built a flimsy cheap piece of junk. I decided not to risk it.
What size to get?
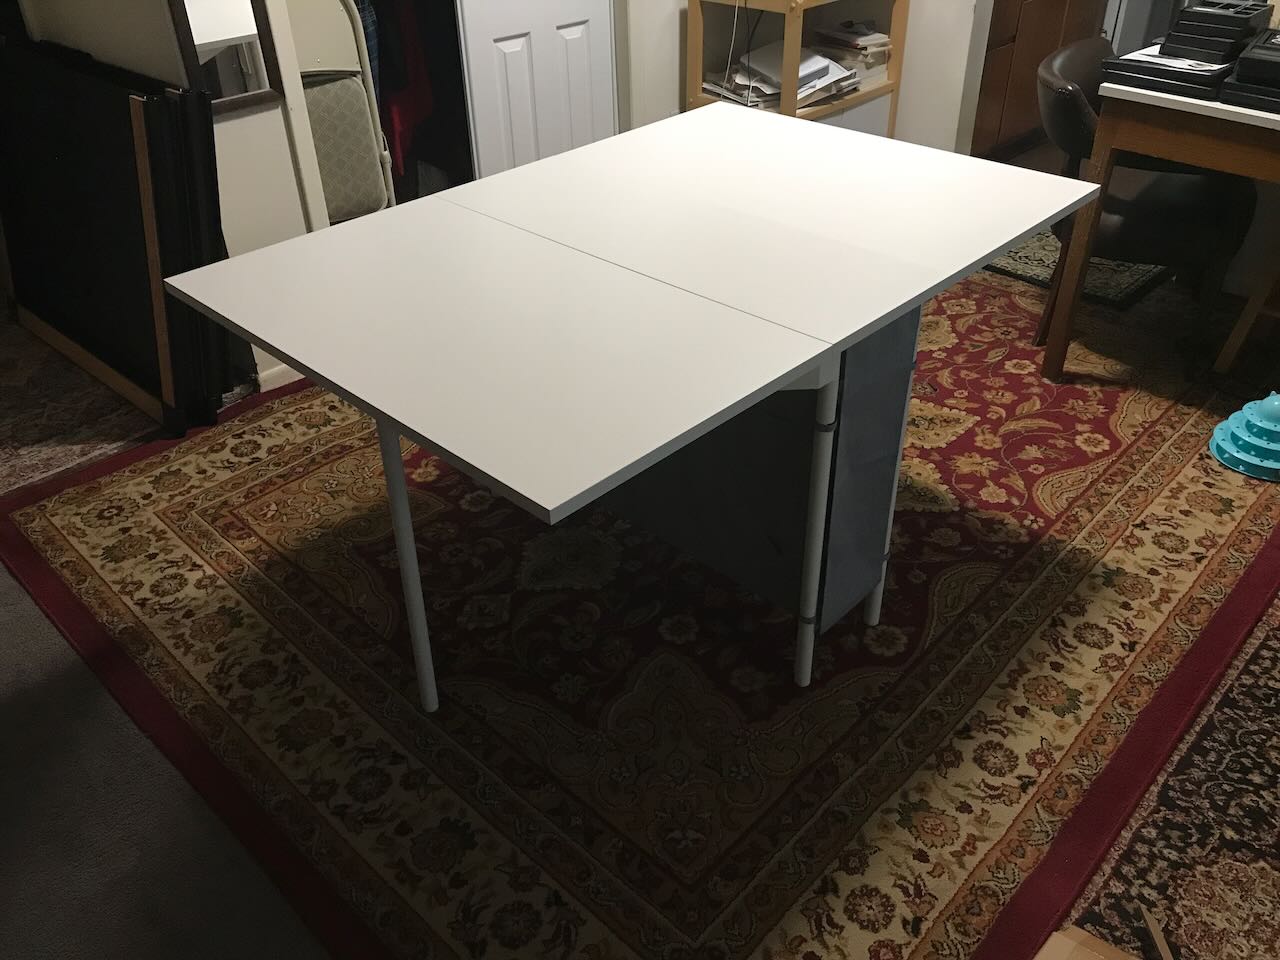
GameToppersLLC offers several sizes of toppers. The game table that I already had was this:
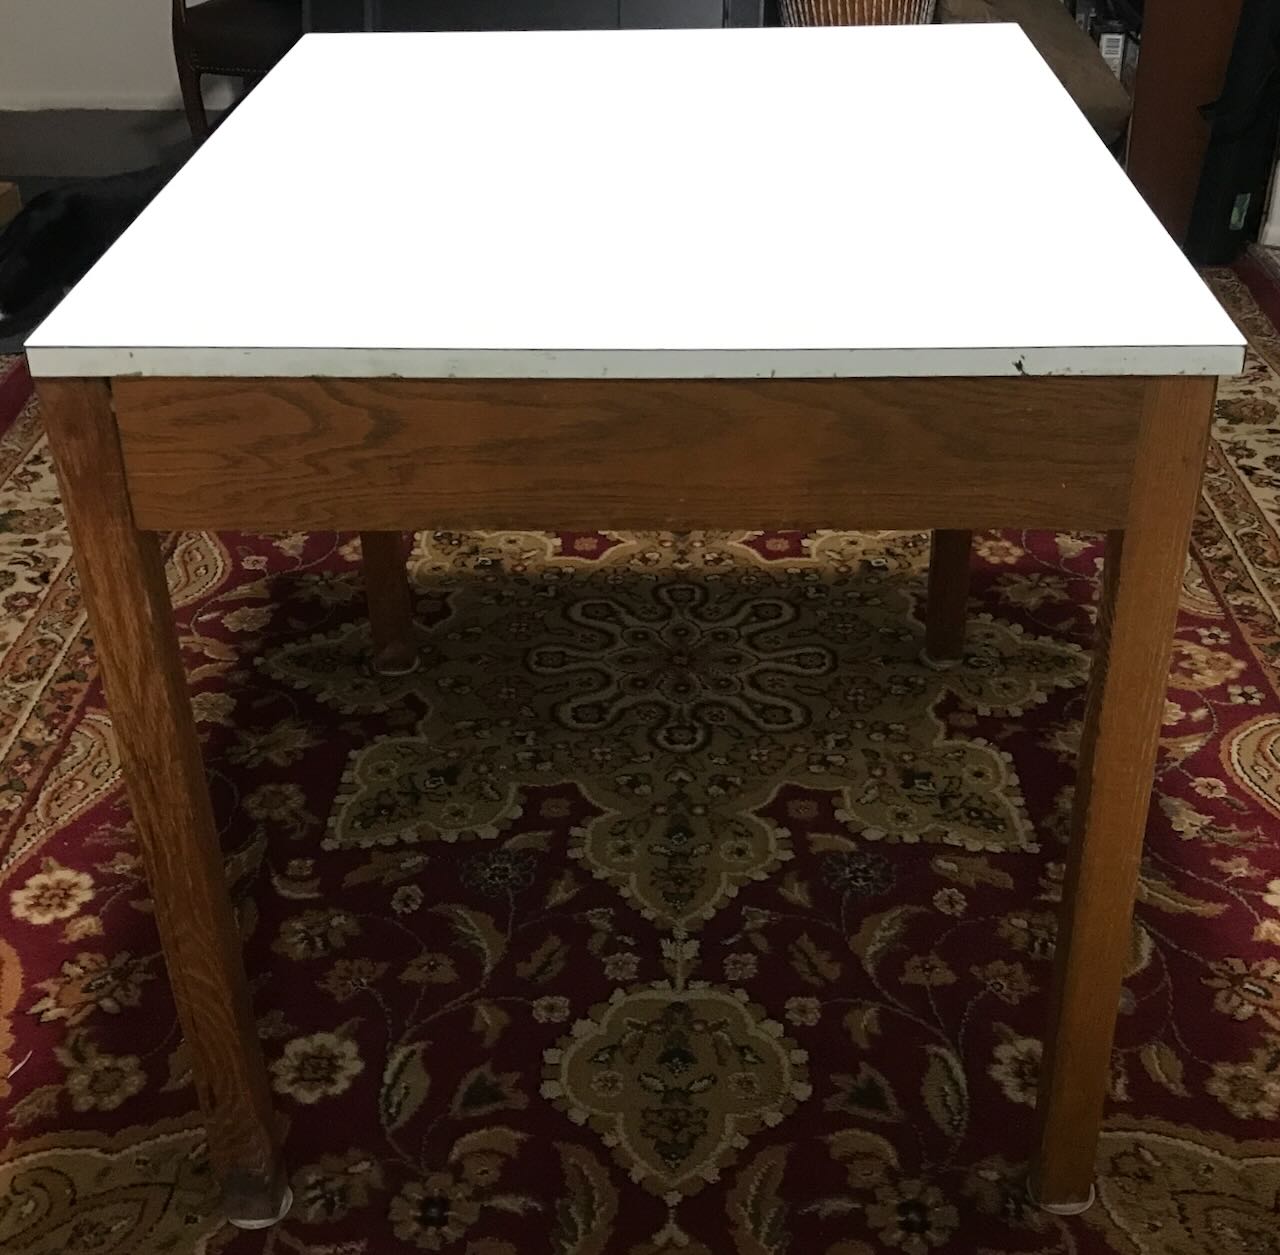
The size of this table is 37″ by 31″. For some of the games that my friends and I played, it was a tight fit. We often had to bring out a couple of dining trays and footstools to have a place to rest playmats, cards, and such. However, it is small enough that it can fit into my kitchen when I want to clear out my living-room space.
That was the table on which I planned to place the topper. (Cue ominous music.)
Next I had to consider the size of my living room. I got out a tape measure to determine how much actual space I could use, excluding things like my microwave oven and the bookshelves (containing games, of course; the books are in the bedroom). I got 123″ x 85″.
I looked over the sizes of the toppers on GameToppersLLC, considered toppers that offered more play area than my white table, compared the topper dimensions to the size of my living area, and allowed space for me to move around the table. That narrowed my choices down to two:
Again, even as I’m typing this, I’m second-guessing my choice. As we’ll see later in this post, I wouldn’t have had the same problems putting the Adler on my white table as I did with the Watson (though I did not know that when I made my choice).
In the end, what decided me was not size, but weight. The Adler comes in one piece that weighs 55 pounds. The Watson comes in two pieces that weigh 31.5 pounds each.
I have to be careful about how much weight I deadlift. I lifted too much weight back in 2012, which (after a complicated chain of events) led to me having a permanent health issue; remember when I wore an eye patch? I’ve been weight-training on my own, and knew I could handle thirty-ish pounds without a problem. Could I handle 55 pounds? I wasn’t sure, and did not care to take the risk.
There is also a space advantage to the Watson: Even if I could handle the Adler, I’d have to find a place to lay it on its side in my apartment when I moved the gaming center out of the way. I wasn’t sure there would be room for the Adler. I knew there would be room for the two pieces of the Watson.
Finally, there was the issue of an available features. I wanted the “Luxuriant Oak” style for the side rails. The reason was a complaint that I saw in this in this review video and in other reviews of game toppers made from aluminum rails: the rails could get cold. If I was going to spend this kind of money, I wanted the table to be comfortable.
I put in an order for the entire Scotland Yard package, which included the topper and a bunch of accessories. It’s been a month since I placed the order; at this time, the GameToppersLLC site only permits you to purchase their toppers as part of a bundle. In retrospect, I wish I could have purchased it separately, even if the bundle offered a discount; we’ll get to my reason near the end of this post.
I also ordered some extras:
- The dining covers. I mentioned above how they were mandatory for me.
- An accessory rail. This is a rail that can be put on one side of a half-piece of the Watson, to effectively create a “half-Watson” with a 38″ x 30″ gaming area. I also ordered a mat to fit that area. I didn’t know if I’d ever want a half-size table, but I wanted the option. (So far, haven’t used it, but I’ve only owned the table for a couple of weeks.)
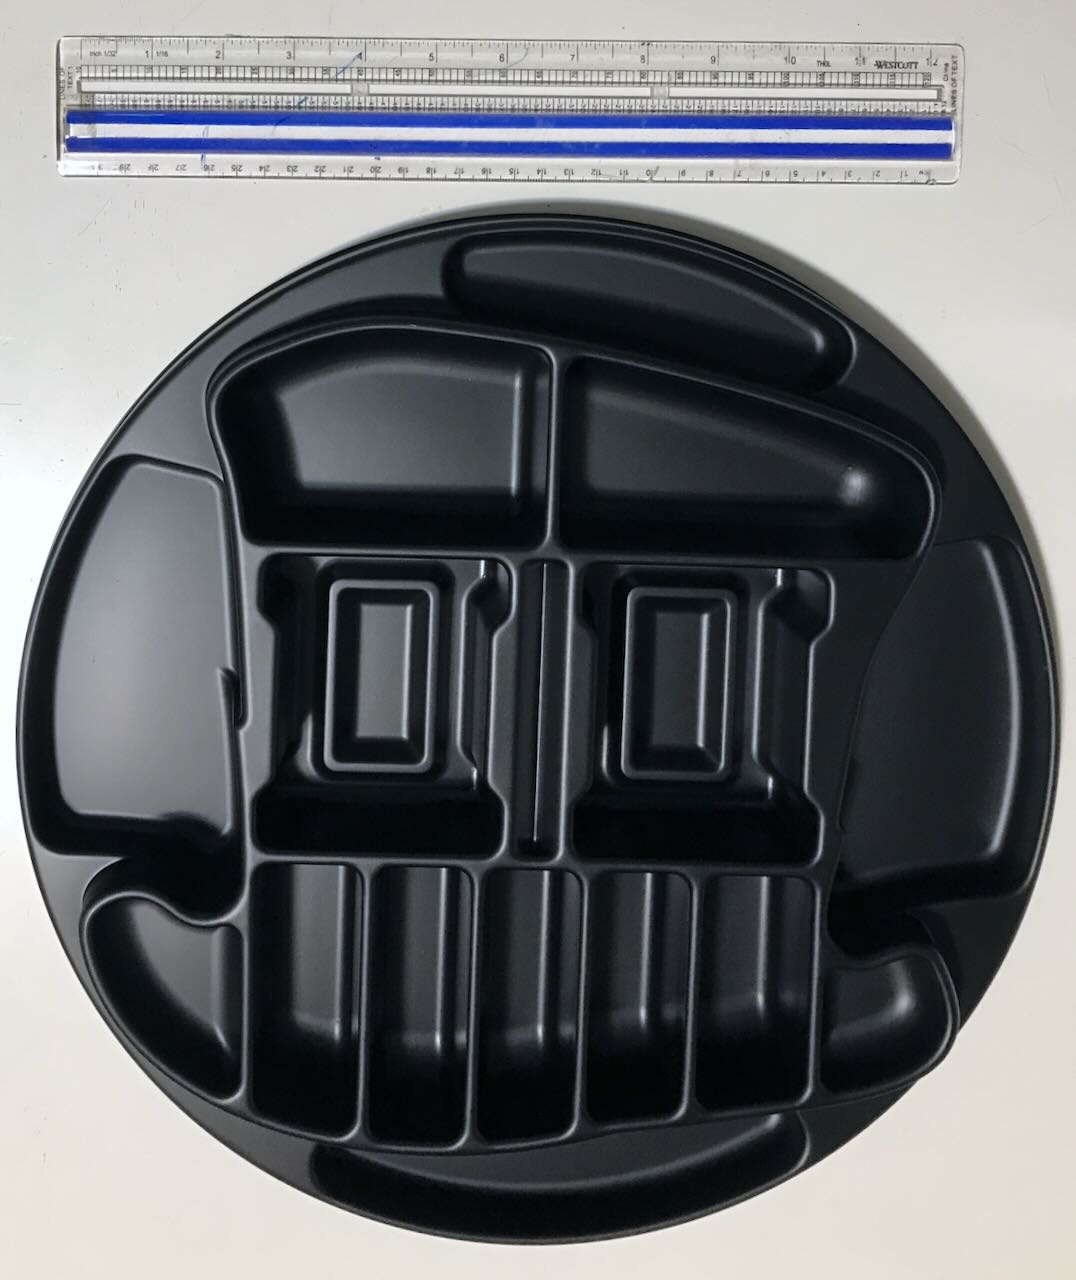
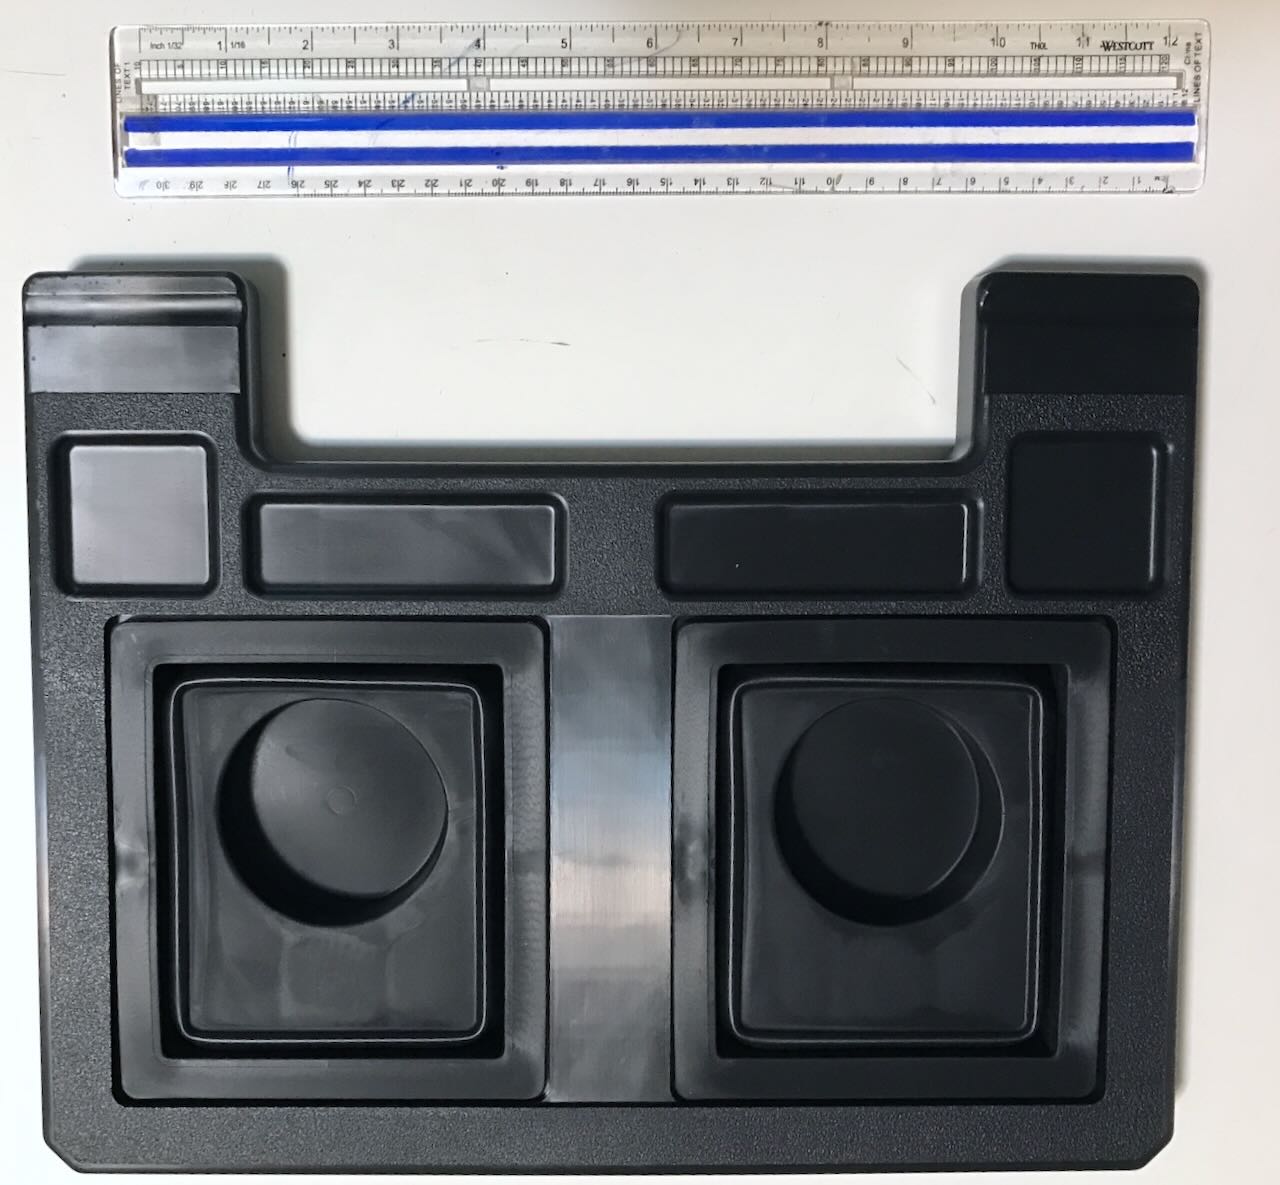
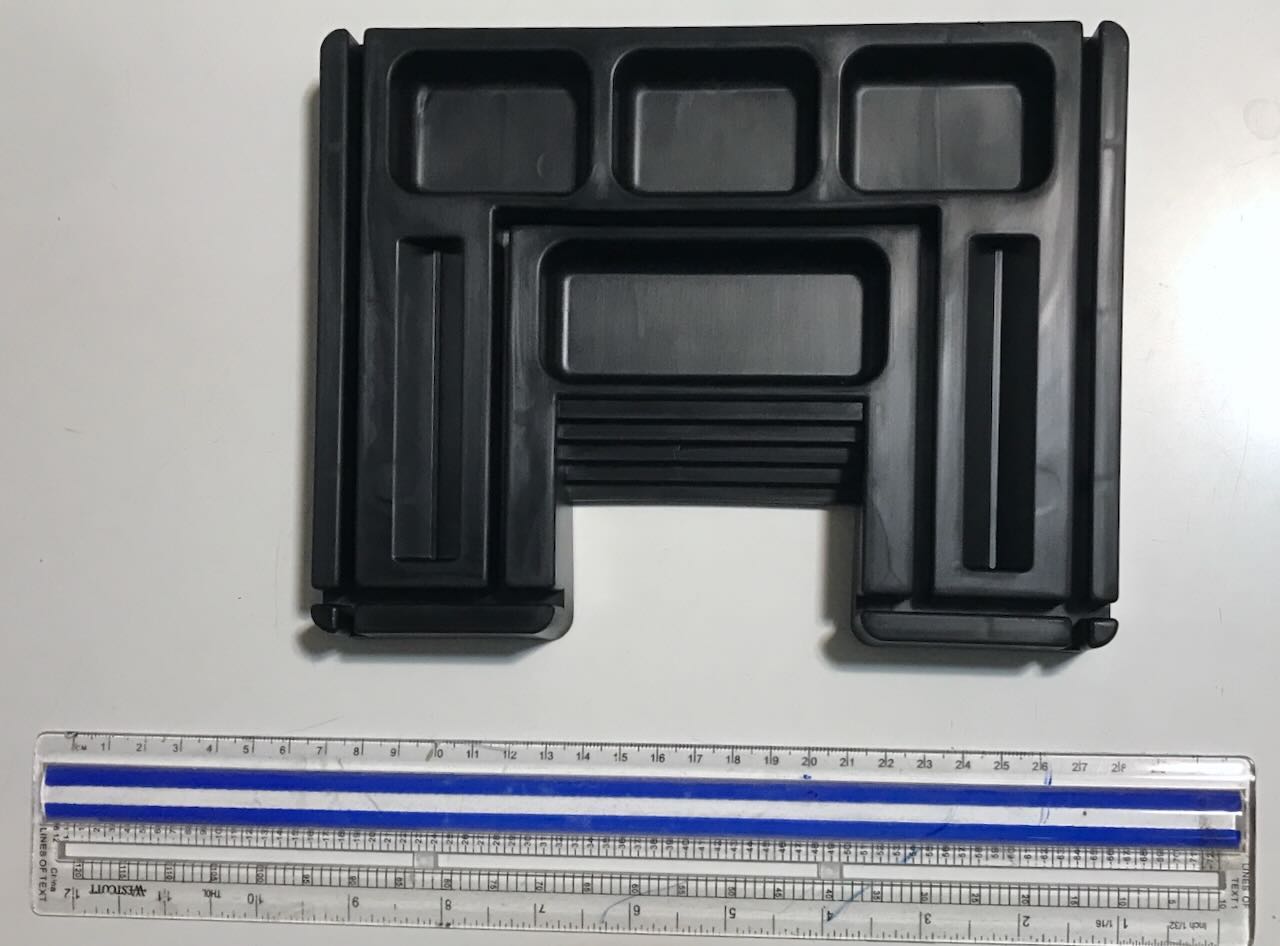
- Four trays for holding game components, along with the legs needed to hold the trays on the rails. (I didn’t order the dice towers designed to fit the trays. I have at least one dice tower already, and my friends are never inclined to use it.)
I didn’t worry about LED lights. For one thing, GameToppersLLC doesn’t sell any. For another, I backed the AdapTableTop with LED lights and modular panels on Kickstarter a couple of years ago. That will arrive eventually, and provide all the LED game lights I could use.
Did I overbuy? Almost certainly. I’ll show what I purchased below, and you can decide for yourself if you’d’ve made the same choices.
Here’s the GameToppersLLC video that informed my purchasing decisions. As we’ll see later, I wish I’d watched it more carefully.
Shipping and unpacking
The folks at GameToppersLLC were almost too efficient for me. I received the first shipment within three days of placing the order. I was having friends visit on one of the days that the packages were scheduled to arrive. I had anticipated that the packages would take a week or so to get here, so there’d be no conflict between the package arrivals and the visit. As it was, I had to make sure everything was out of the way before my friends came.
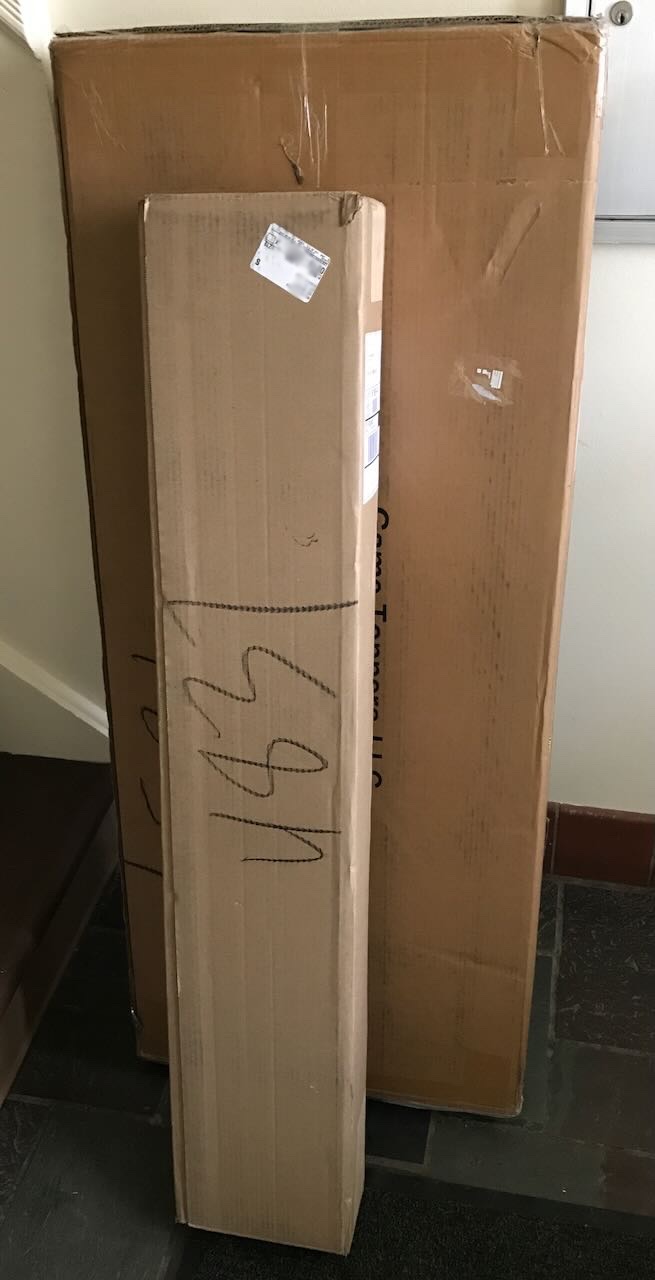
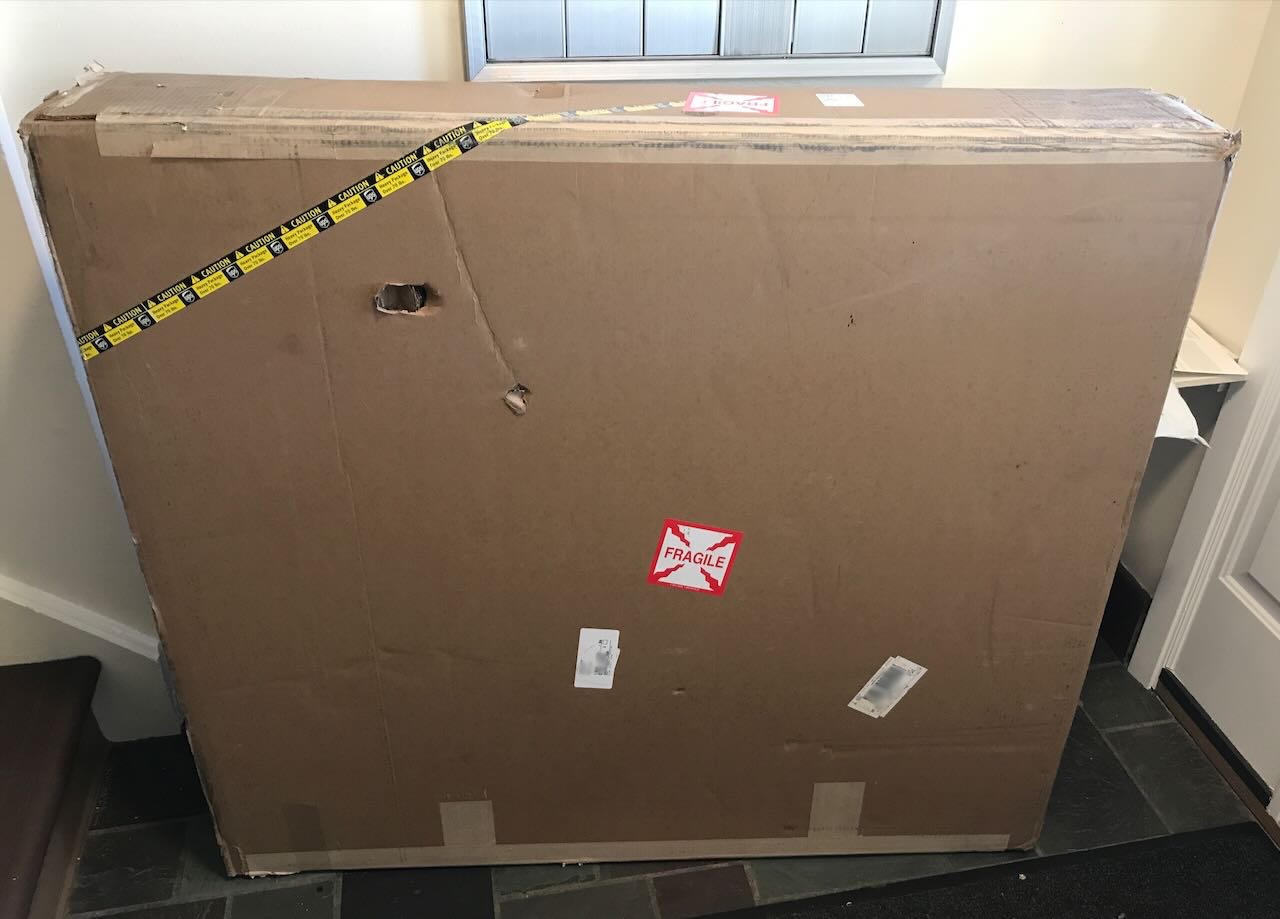
The shipment arrived in three boxes. Let’s call them Boxes 1, 2, 3. Boxes 1 and 2 arrived on a Saturday; Box 3 arrived on the following Monday. The reason for the delay for 3: Boxes 1 and 2 weighed 15 pounds and 72 pounds respectively; Box 3 weighed a whopping 110 pounds! UPS probably had to arrange for a special hand-truck to deliver the heavy box.
I had not anticipated that the shipping boxes would weigh that much. I knew that the Watson topper weighed about 63 pounds, but I didn’t realize it would ship in a 110-pound box.
One shipment at a time:
Box 1 posed no problem. Since I didn’t want to risk anything, I got Box 2 into my apartment by sliding and rolling it end-over-end down the stairs (I live in a basement apartment).
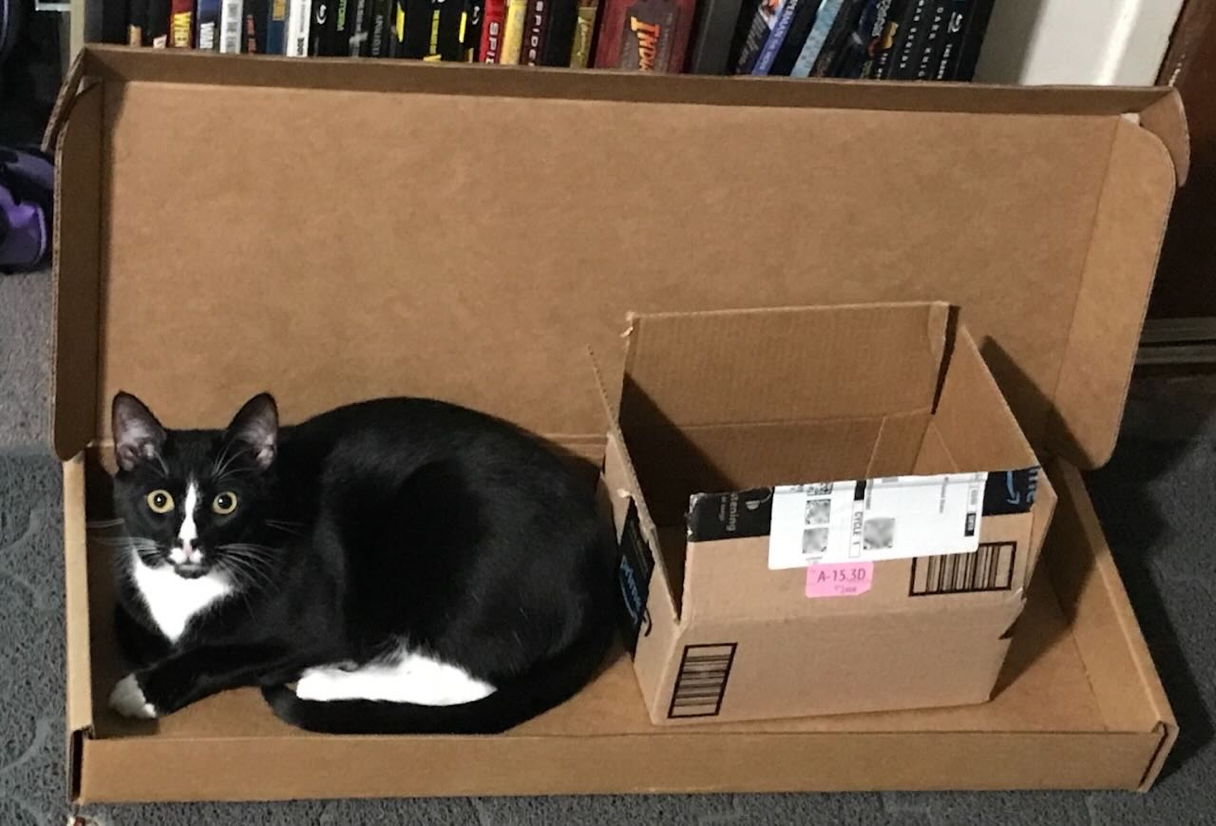
I started with Box 1. As I half-expected, it contained the accessory side rail and the mat for the “half-Watson”.
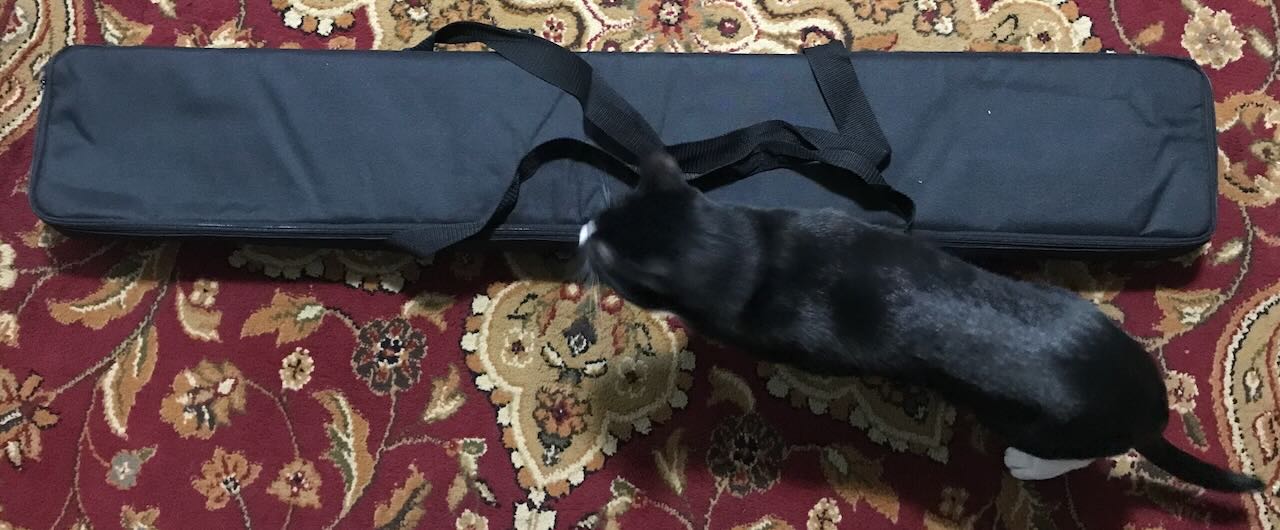
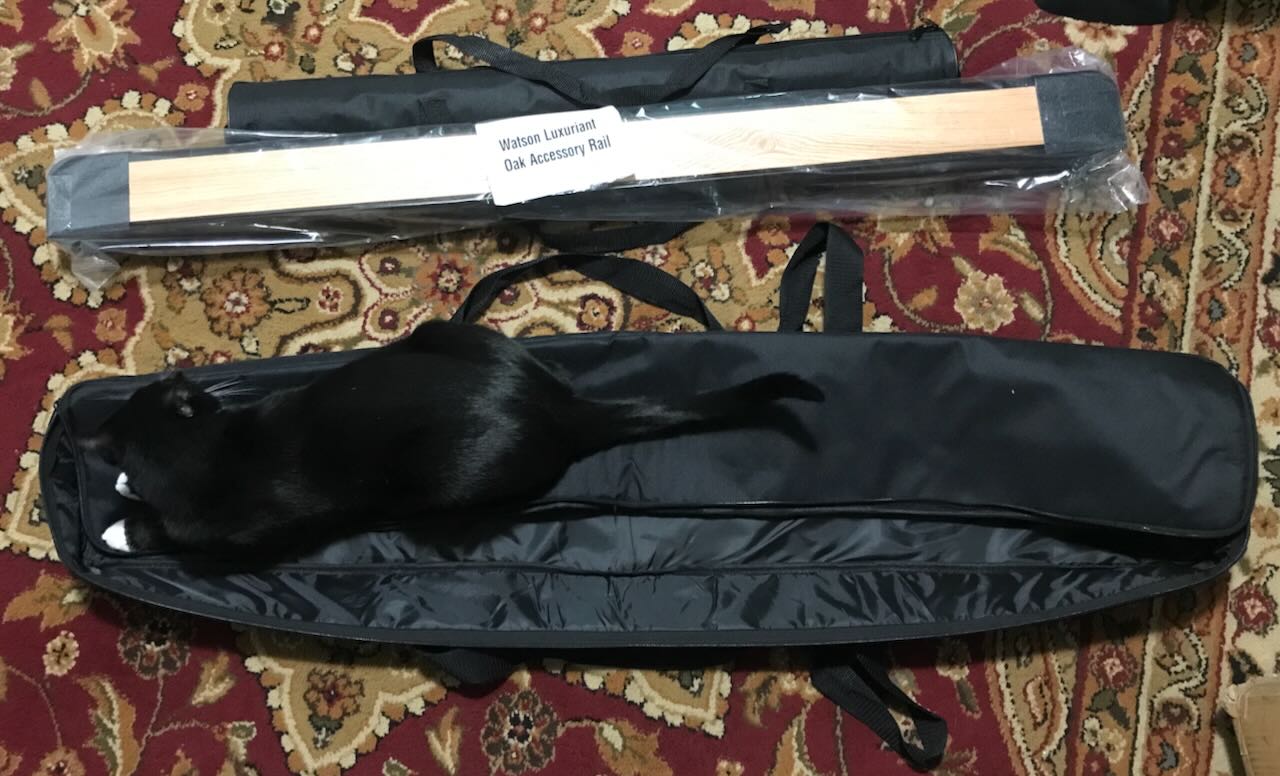
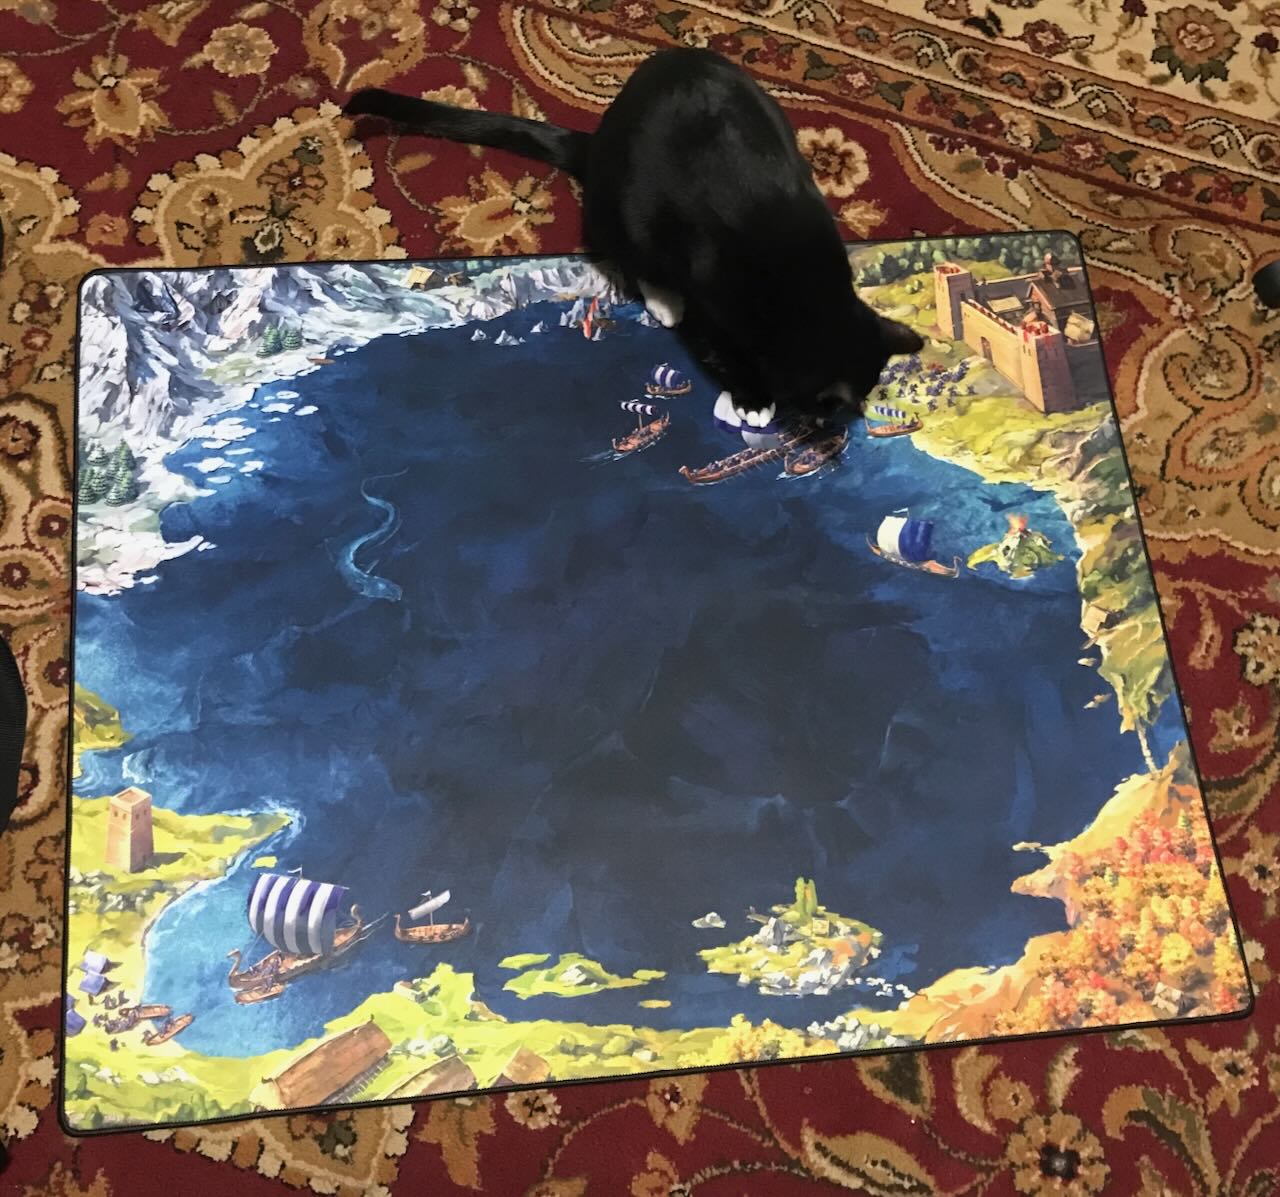
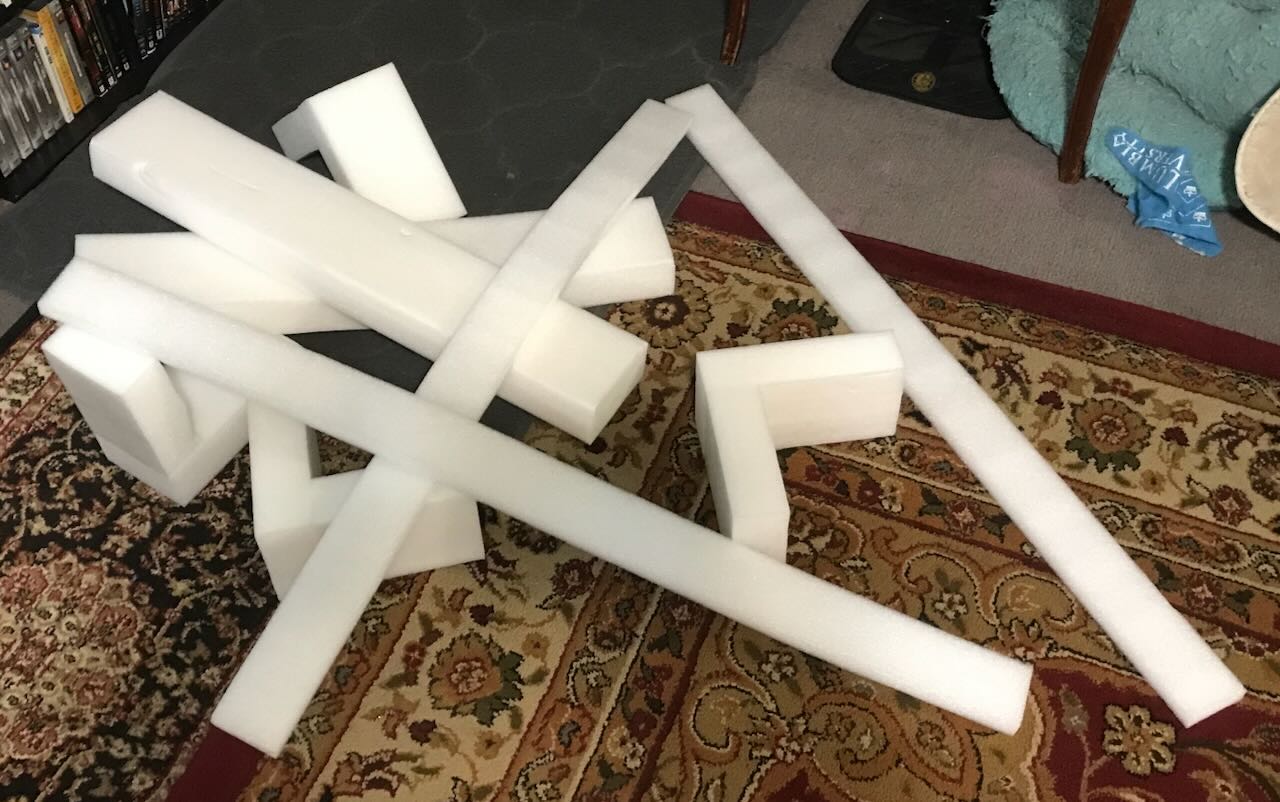
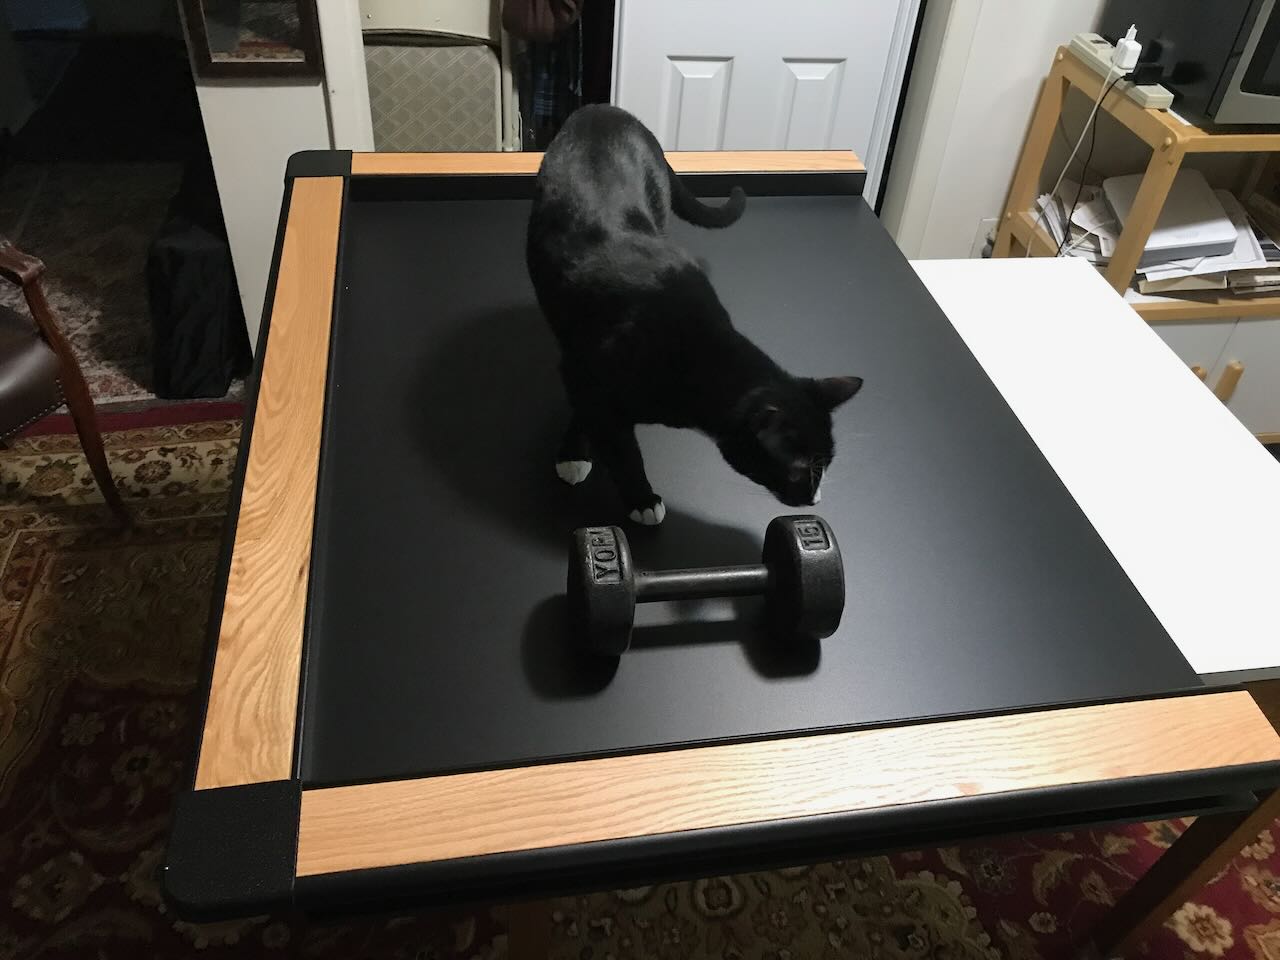
At this point, I should note that I did not put my cats’ welfare at risk as I was unpacking all these heavy items. My cats would flee the area as soon as I started moving boxes about. However, they are also skilled at rushing to check everything when I pause for a moment to grab my phone and take a picture.
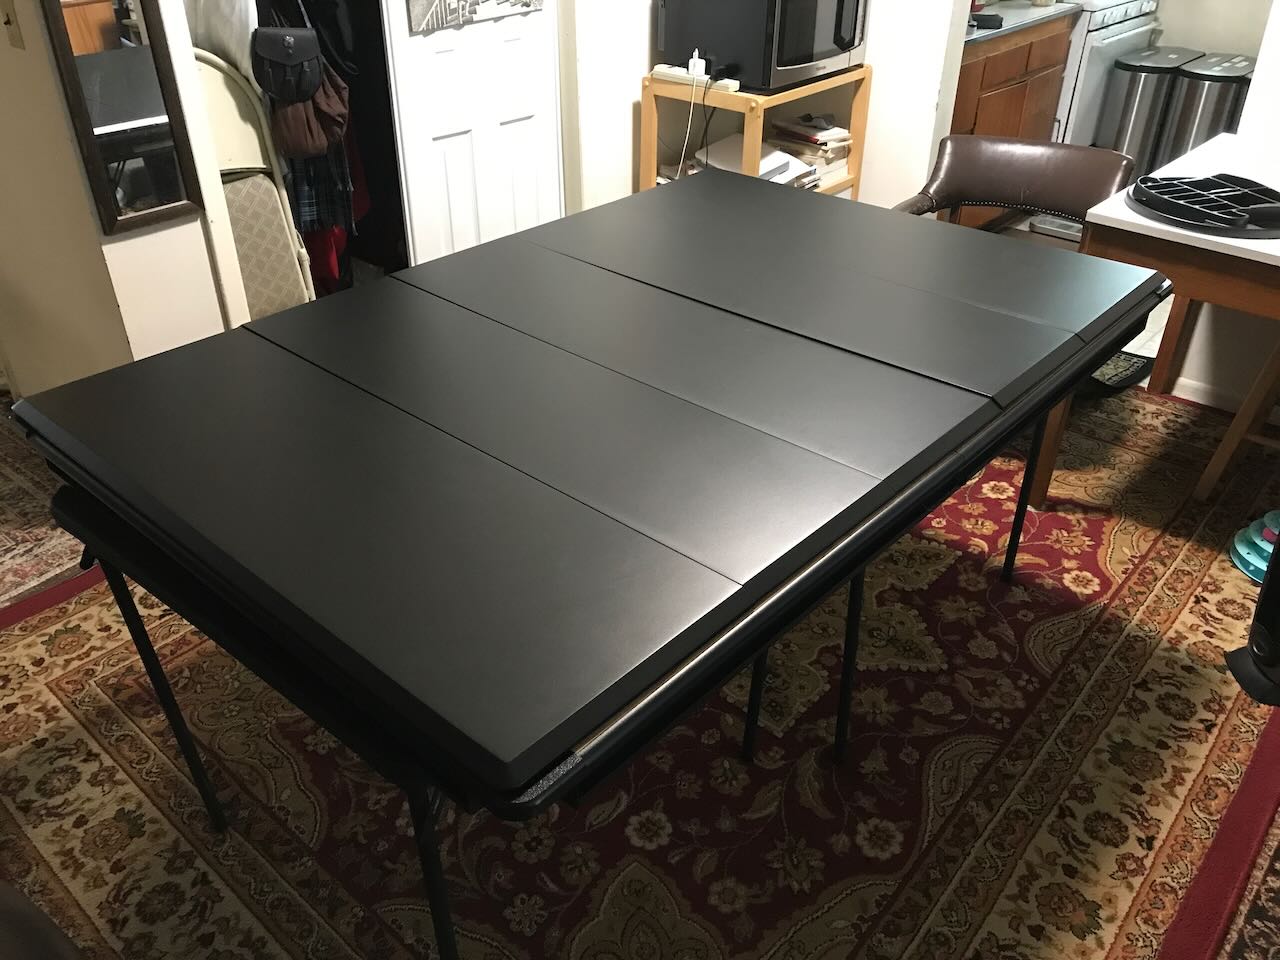
The 70-pound Box 2 contained the dining covers.
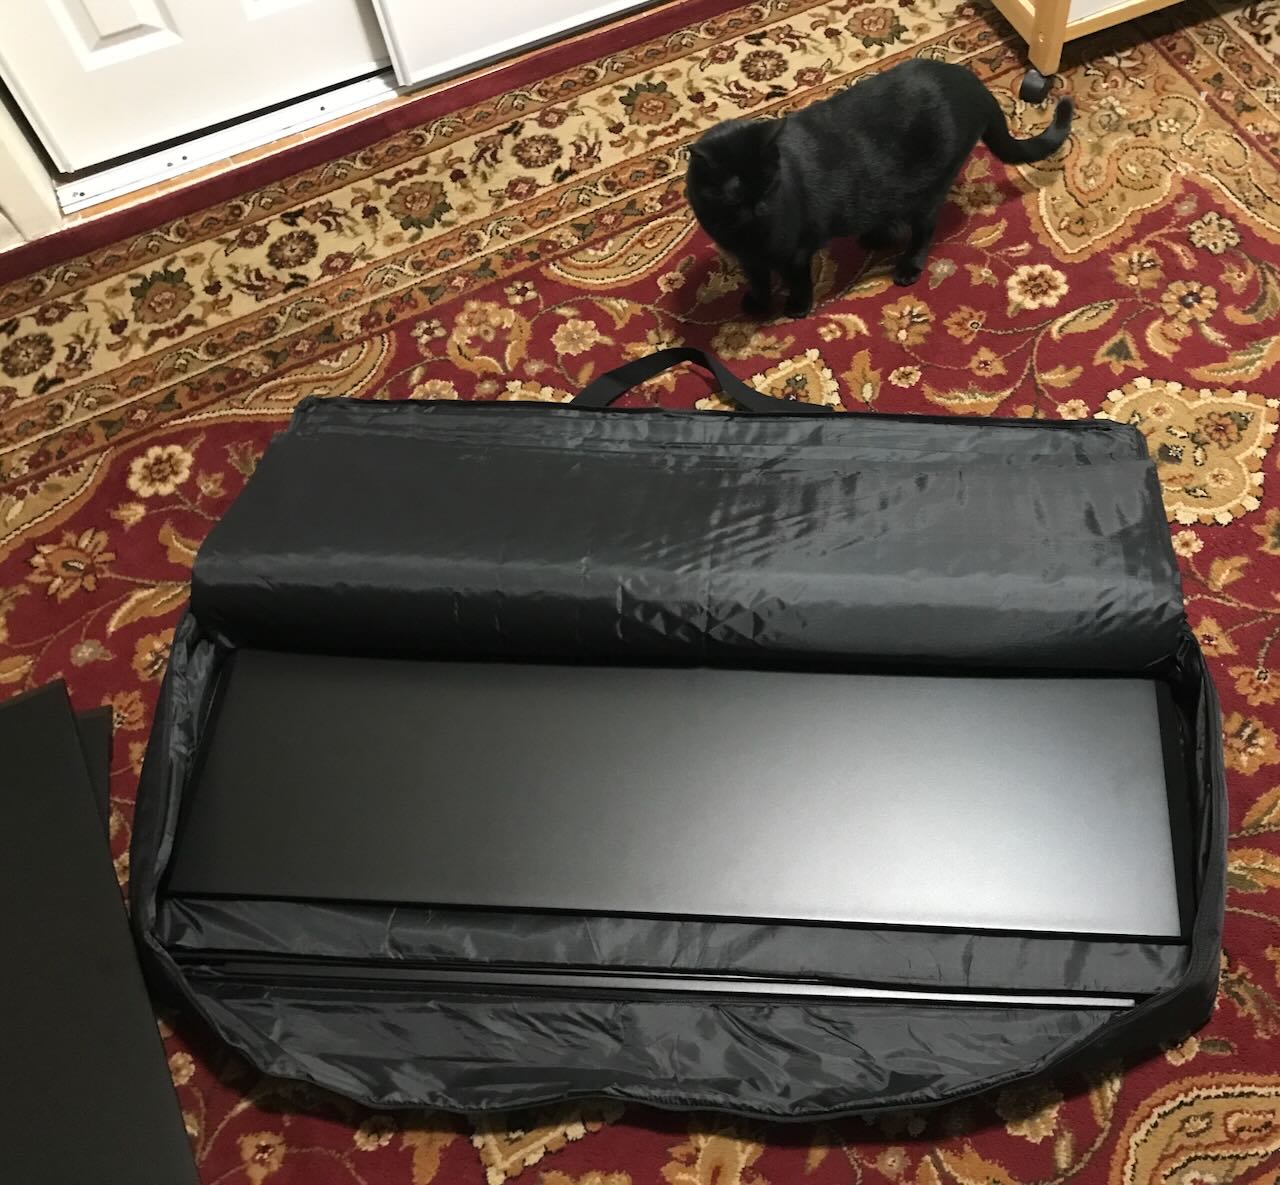
I had not expected the dining cover to be this heavy. Each section is made of what I assume is MDF, with a smooth sprayed-on surface. I weighed one of the end-pieces, and it came to 14 pounds. There are five cover pieces, 5 x 14 = 70 pounds. It works out, due to the power of math!
The practical consequence is that the combined weight of the dining cover pieces was greater than the game topper itself. 70 pounds for the cover, plus 2 x 31.5 for each half of the Watson = 63 pounds for both, makes a grand total of 133 pounds. For the first time, I began to appreciate that I was adding a substantial piece of furniture into my apartment. To be fair, a wooden game table with similar features and a cover would weigh at least twice as much.
The shipping information on the UPS web site told me the weight of each box. I knew that Box 3 weighed 110 pounds. There was absolutely no way I could drag such a box into my apartment by myself. A friend offered to help, but I decided on a riskier plan: When the box was delivered, I would open it and carry the contents piece-by-piece into my apartment, then break down the cardboard of the box and take it to the apartment complex dumpster. I simply could not leave a large box in the atrium for any substantial length of time; other people have to get in and out of the building.
Why risky? If there was anything wrong with the Watson topper, it would make the job of returning it much more difficult without the original shipping materials. Fortunately, as we shall see, there was nothing required a return.
Putting the topper on a table
Here we see the folly of a fully-trained particle physicist trying to do anything practical. You will also appreciate why I didn’t choose to make my own topper.
My plan had been to put the Watson game topper on top of the white table I show above. I did the math: The white table was 37″ x 31″; the Watson was 67″ x 45″. 67 – 37 = 30, divide by 2 to get the amount that the topper would overhang the table: 15 inches.
Somewhere in the videos on the GameToppersLLC web site, they proudly boast that they’ve let their toppers overhang the edge of a table by as much as 9 inches and they still work great. So I thought, “If they can overhang by 9 inches, why not 15?”
No. It doesn’t work that way. If I’d written to GameToppersLLC and asked them, I’m sure they would have told me. Instead I boldly forged ahead.
If I had picked the Adler topper, I would have hauled the single-piece topper onto the white table as a unit. I probably would not have had a balancing problem. The Watson comes in two pieces. What I had not fully considered is the difficulty of balancing one half of the topper as I moved the other half into position on that relatively short white table.
The issue is that the geometric center of one of those sections is not the same as its center of mass. The rail on the end pulls the section to that side. I could rest one section fully on the white table (this would have been a good time to test the “half-Watson” setup with the accessory rail, but I forgot). However, if I pulled the section so that only half of it rested on the white table, it would tilt and fall.

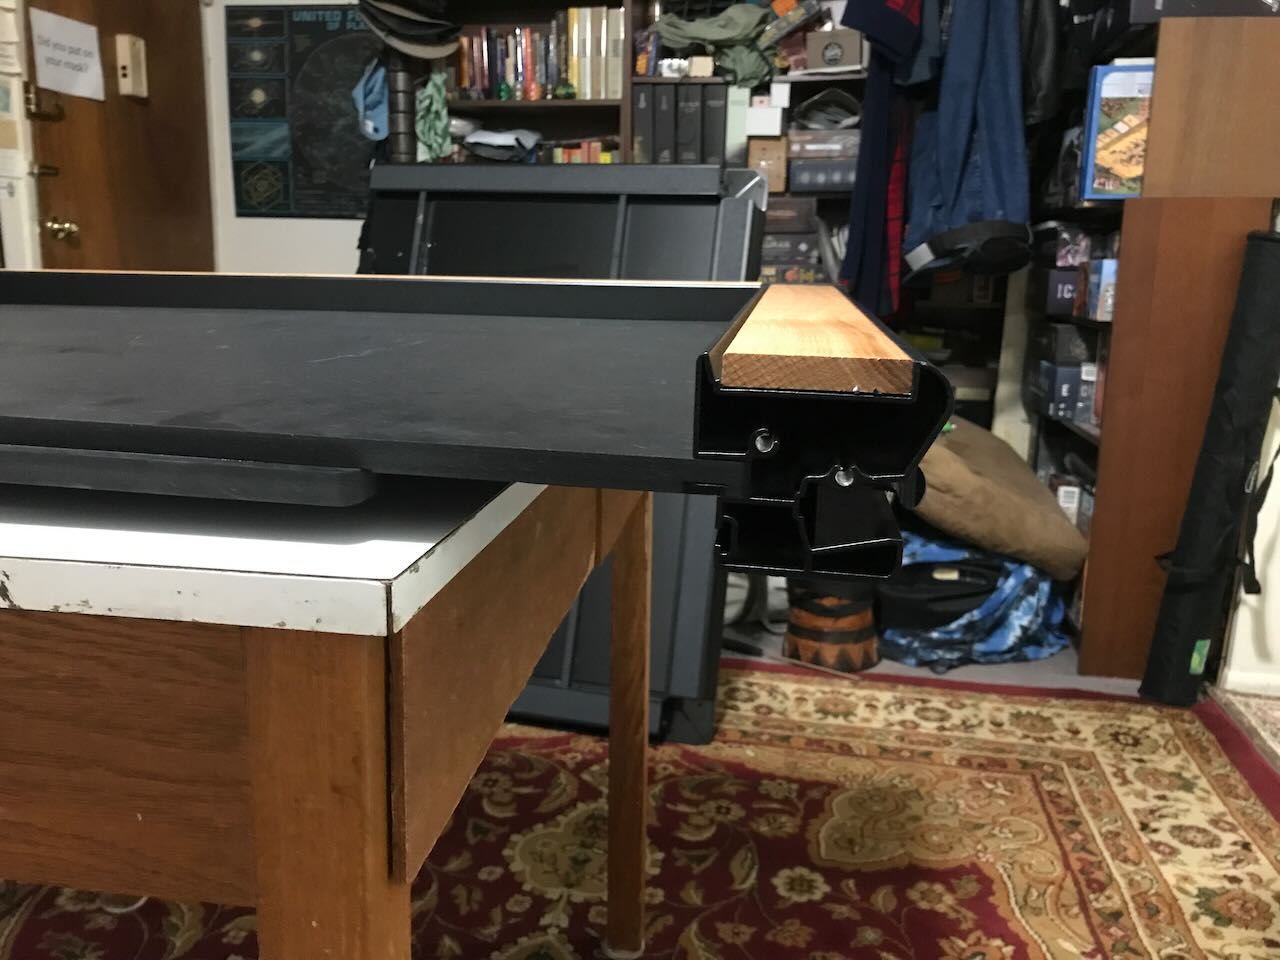
When I pulled a section past that nine-inch limit I mentioned earlier, it tilted. Neither of those ribs touched the table. Also, there was a “thunk” as the rib came off the table and the Watson section began to balance on the table’s edge. The section was tilting as I hastily took the above photo. The section did not fall because the center of mass of the section was still over the table itself, and there was enough friction between the table edge and the underside of the topper to keep it from sliding.
I had a super-brilliant idea: I would weigh down one section while I hauled the other section into place.
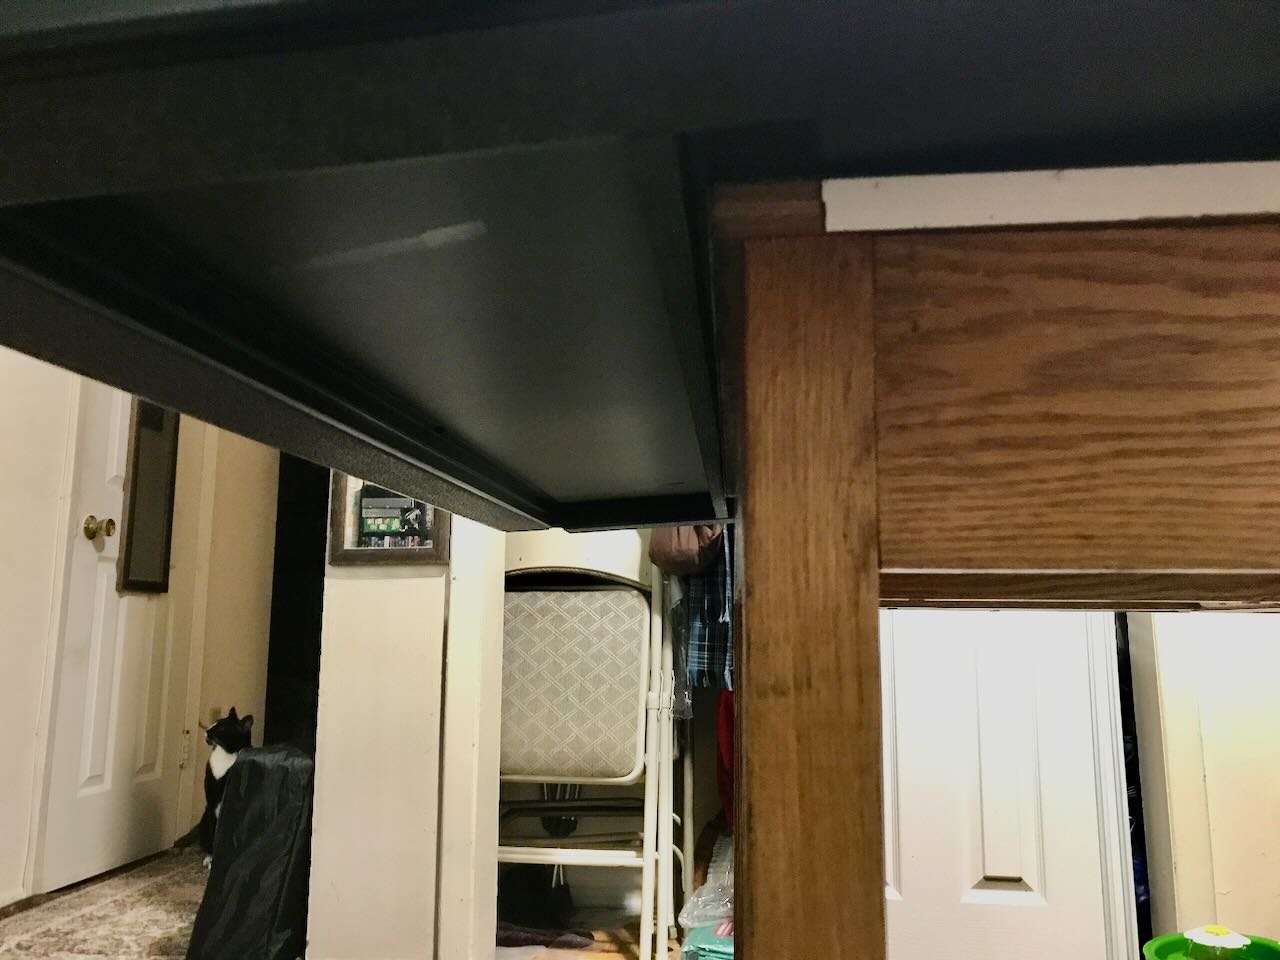
You’ve already guessed what happened, haven’t you? As I tried to balance the sections and the weights and the sliders to hold the sections together, one of the sections fell. Fortunately, it was the section further away from me. One of those ribs slammed against the table’s corner. This was the result:
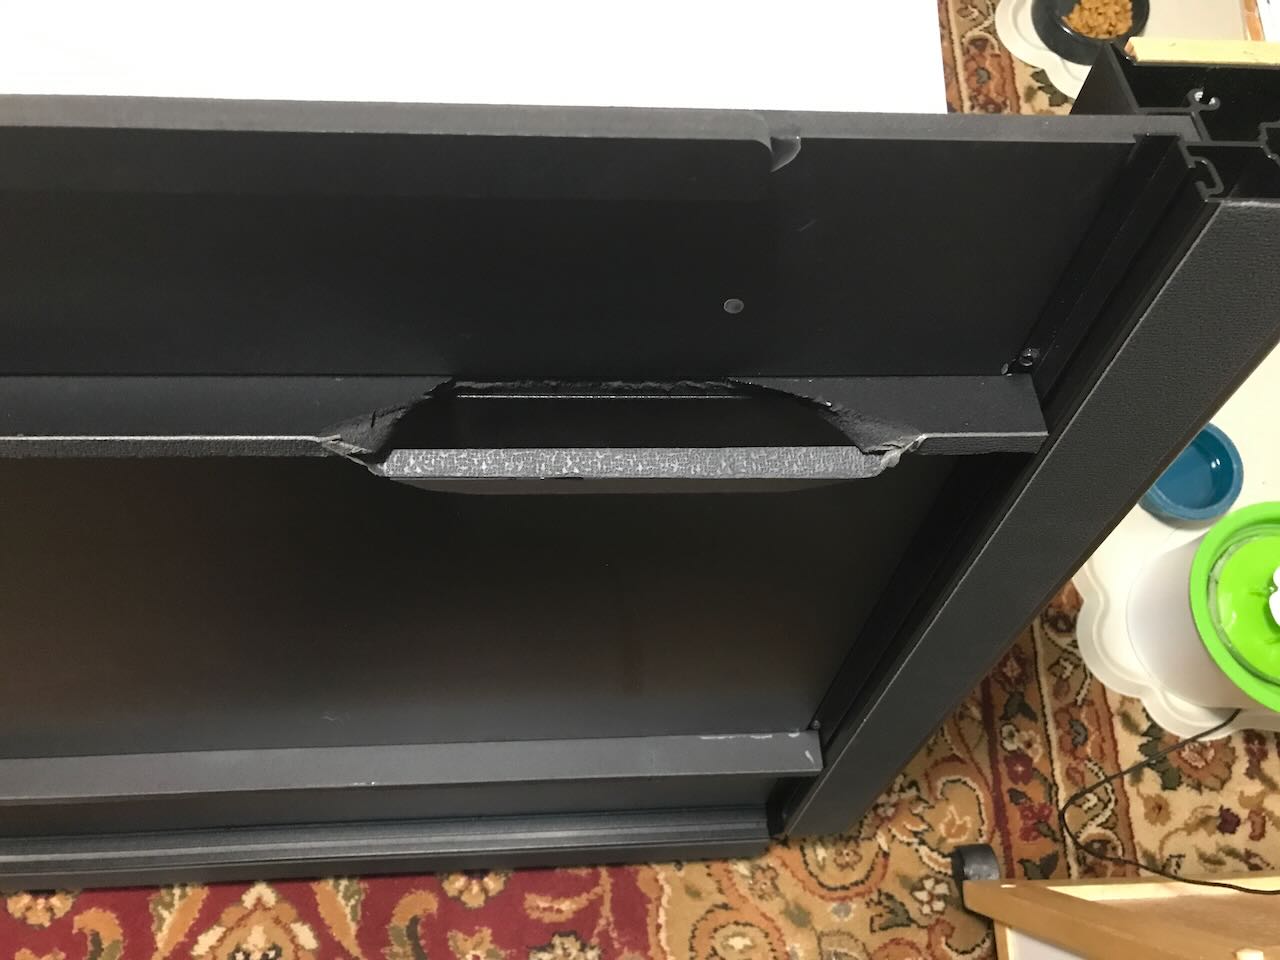
I fixed the broken rib with epoxy, and gave it a full 24 hours to cure. That gave me a chance to think. It was clear that my grandfather’s white table was simply too small for this.
I briefly considered assembling the Watson on the floor, then hauling the completed topper on top of the white table. Fortunately, my experience with dragging the 70-pound covers in their carrying case dissuaded me.
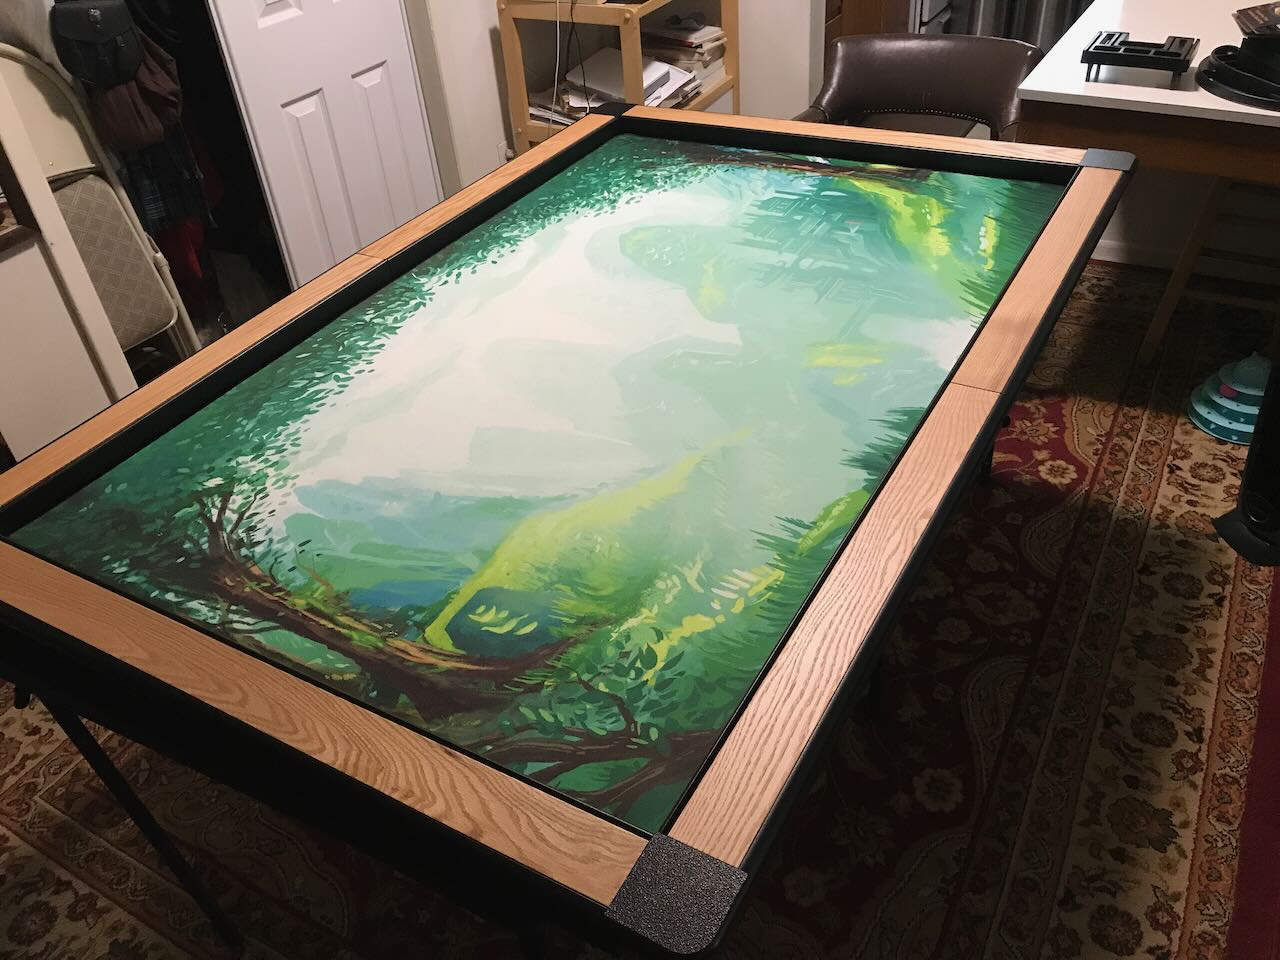
I finally decided to use a couple of card tables as the base instead:

This had the side benefit of letting me keep using the white table; you can see this in some of the photos below. It does take up space that I originally hoped would be available if I could have used it for the topper. But that table has been my useful working surface for three decades; I’ve used it to paint miniatures and to repair/upgrade my 3D printer. Perhaps the covered Watson can be used for the same purpose, but not yet.
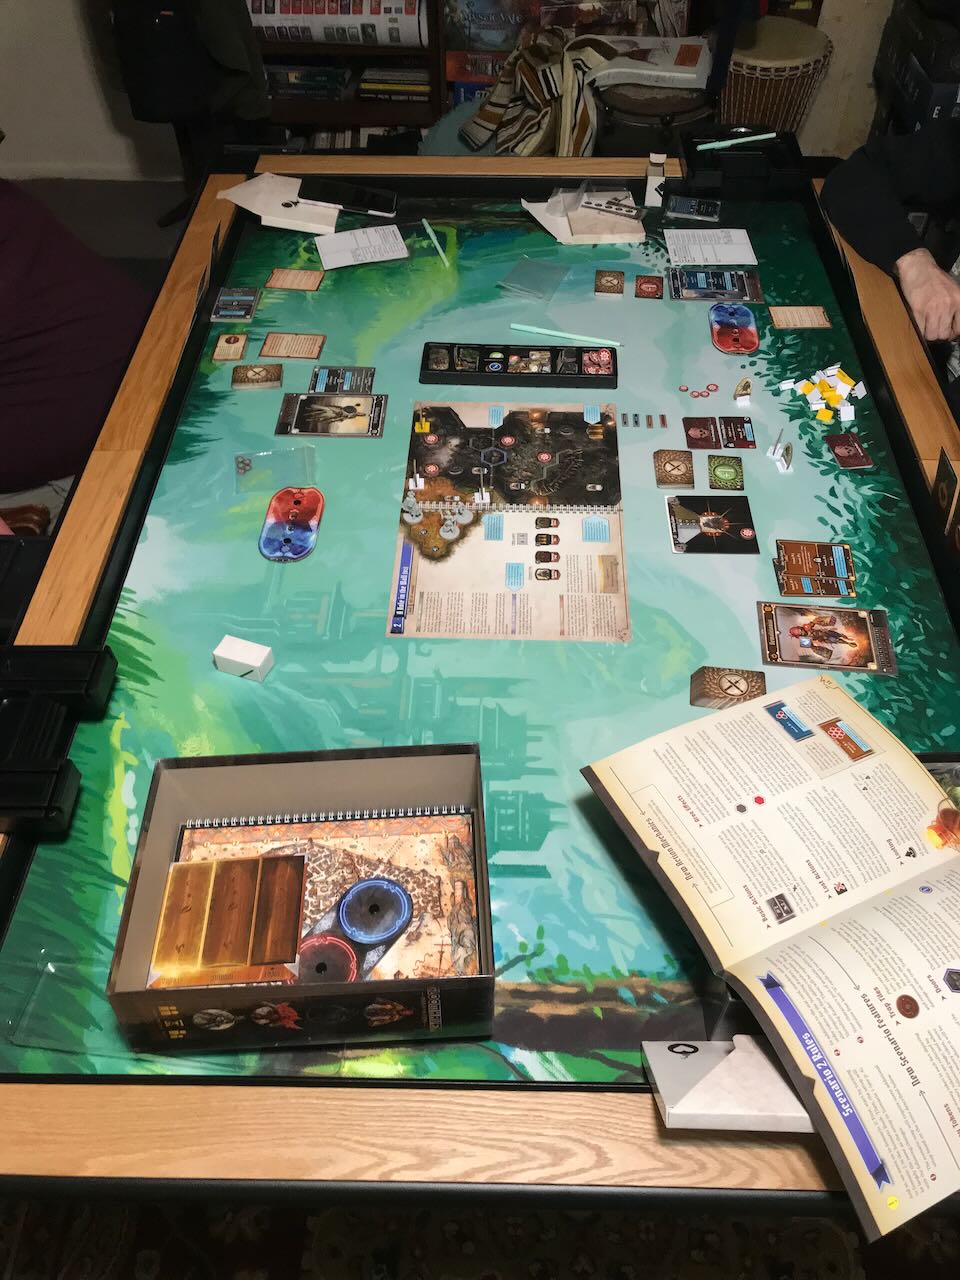
Finally I could see the Watson game topper in its full glory:
Everything seemed fine until we had the first game night using the topper. We ate dinner, then I wiped down the covers before removing them. Those spindly-legged card tables started wiggling as I moved the paper towel across the surface. They could hold the weight well enough, but they had little resistance to side-to-side motion.
I needed something more stable, but which I could still easily fold and move when taking the table down. GameToppersLLC sells a leg kit, but that’s only available when you purchase the topper. I also felt it wouldn’t help: I’d still have to handle the full weight of the topper when I raised/lowered it in one piece to attach/detach the legs.
I finally settled on an KALLHÄLL gateleg table from IKEA.

The final result is stable. I can disassemble and reassemble the topper+table combination on my own when needed. Success!
Accessories
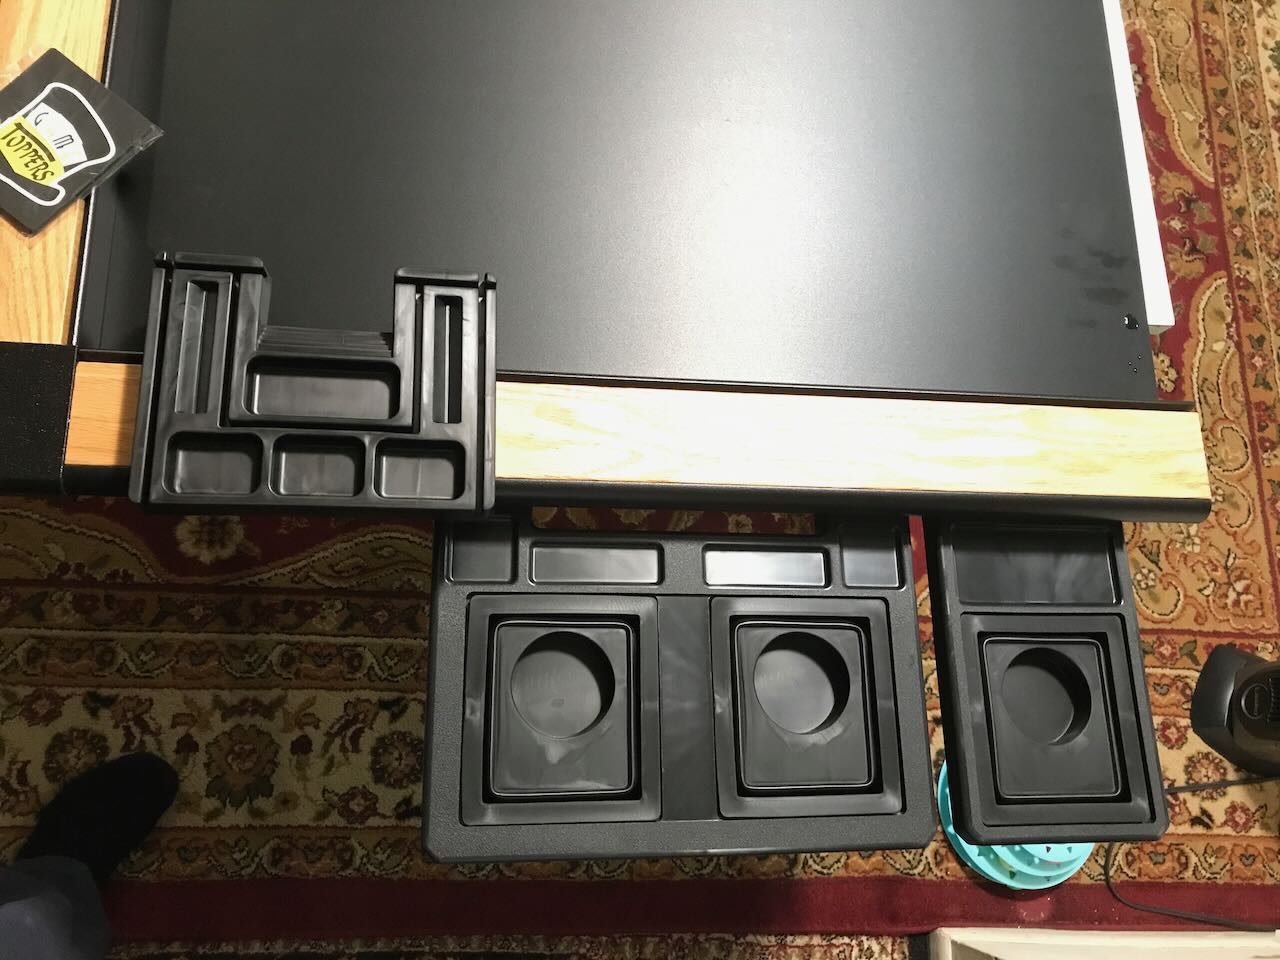
As I noted earlier, the Watson bundle comes with accessories, and I purchased a few extra.
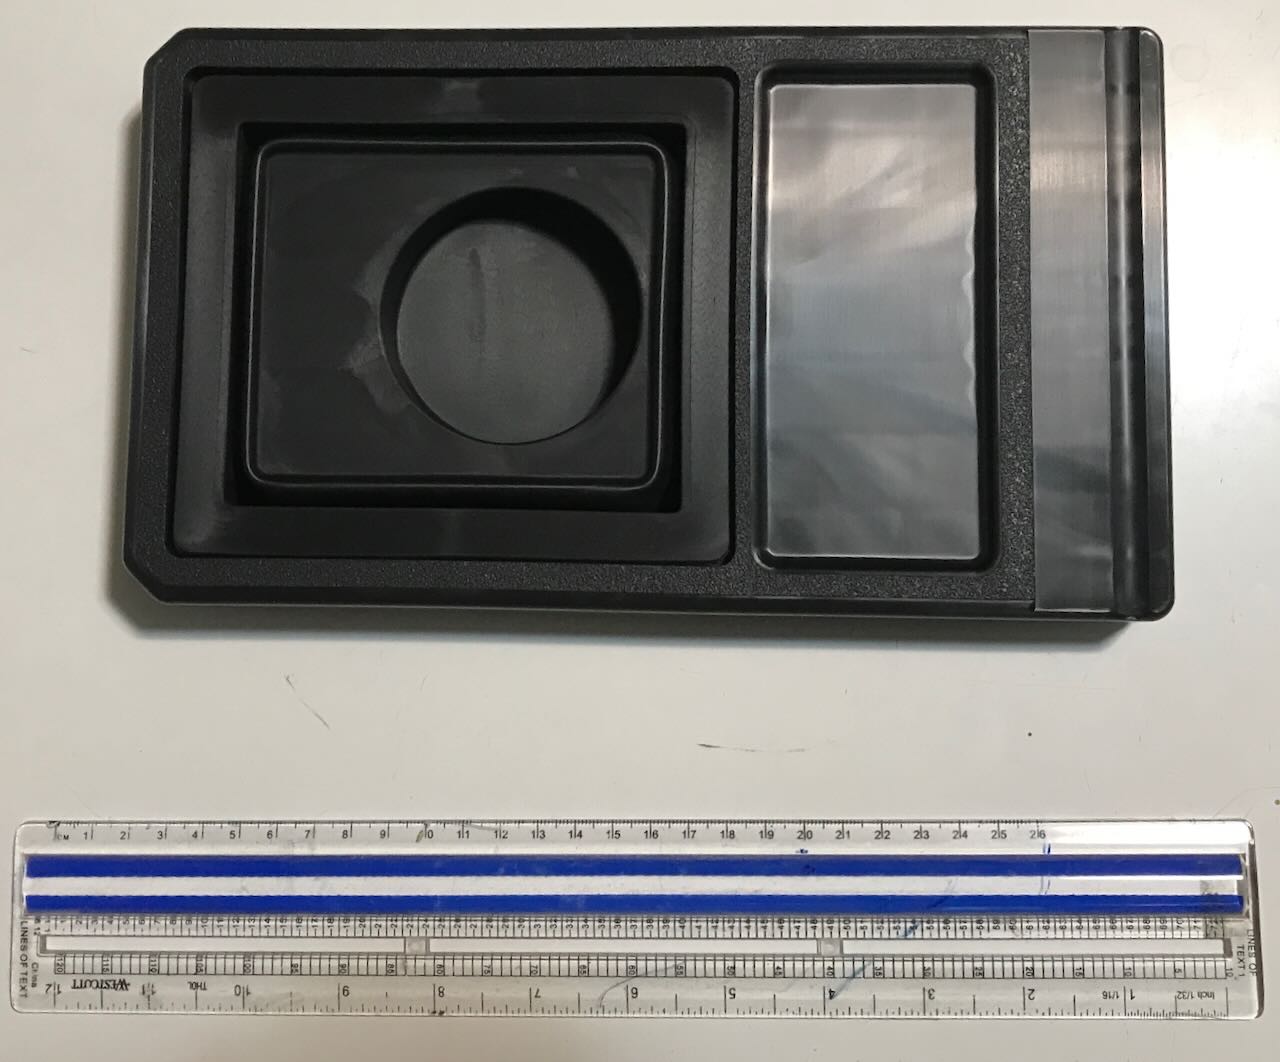
So far, the only accessories my gaming group have actually used are the single cupholders. On the other hand, we’ve only played two games on the Watson so far: It’s a Wonderful World and Gloomhaven: Jaws of the Lion. When we start playing games with more components than just cards, we’ll probably find uses for the accessory trays.
An unexpected problem
Overall, the Watson game topper is a great product for its purpose.
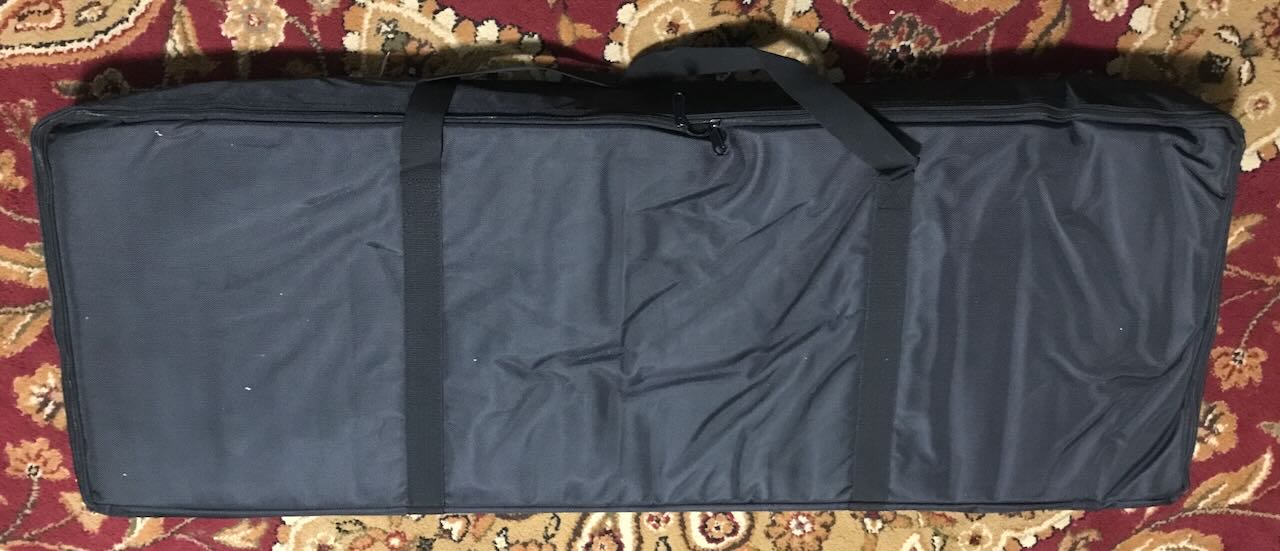
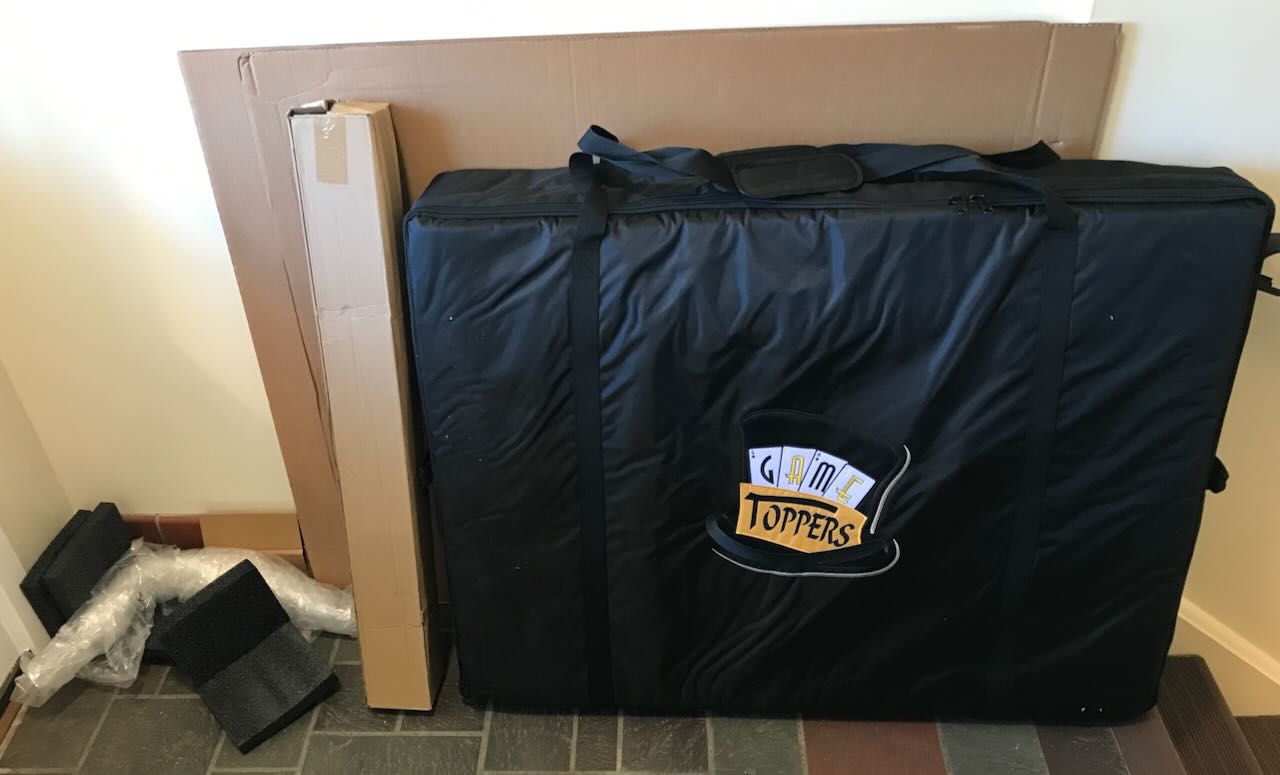
However, there’s a problem with the bundle that I did not expect: the carrying cases.
The mats, the accessory rail, the dining covers, and the table itself all come with carrying cases. They are well-made, sturdy, have lots of handles, and do the job of letting you pick up and transport stuff.
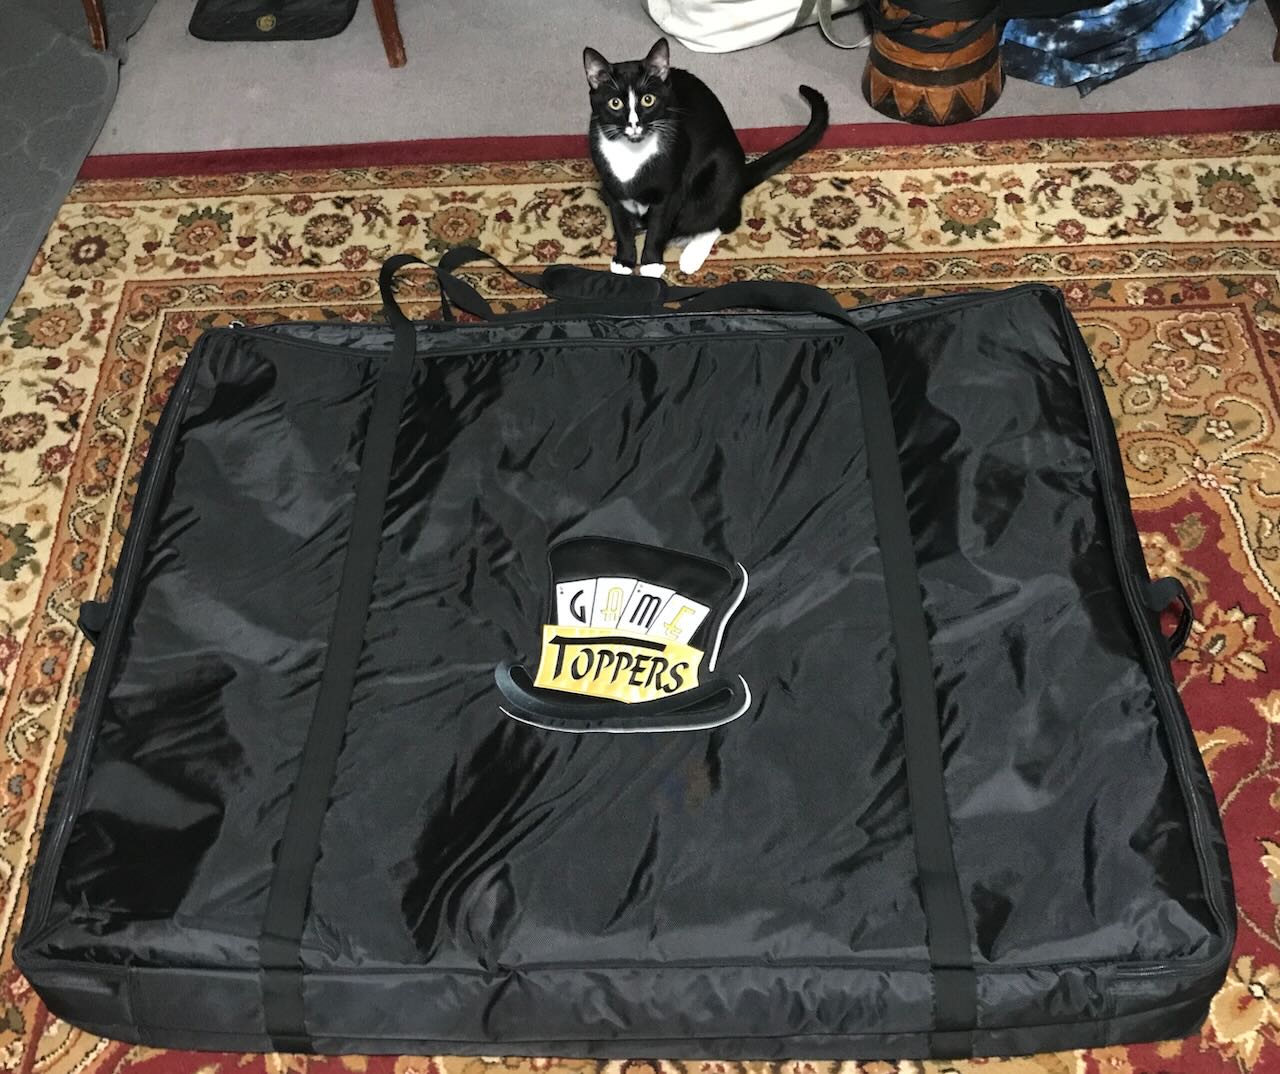
The problem is: What are you going to do with the case if you’re not going to use it?
The case makes sense if you’re going to transport your game topper to and from a friend’s house, a gaming convention, and the like. It also makes sense during shipping; the case was part of the reason why the dents on the outside of Box 3 didn’t damage the topper. But I’m never going to transport the topper out of my apartment, at least not unless I move. The case is now useless to me.
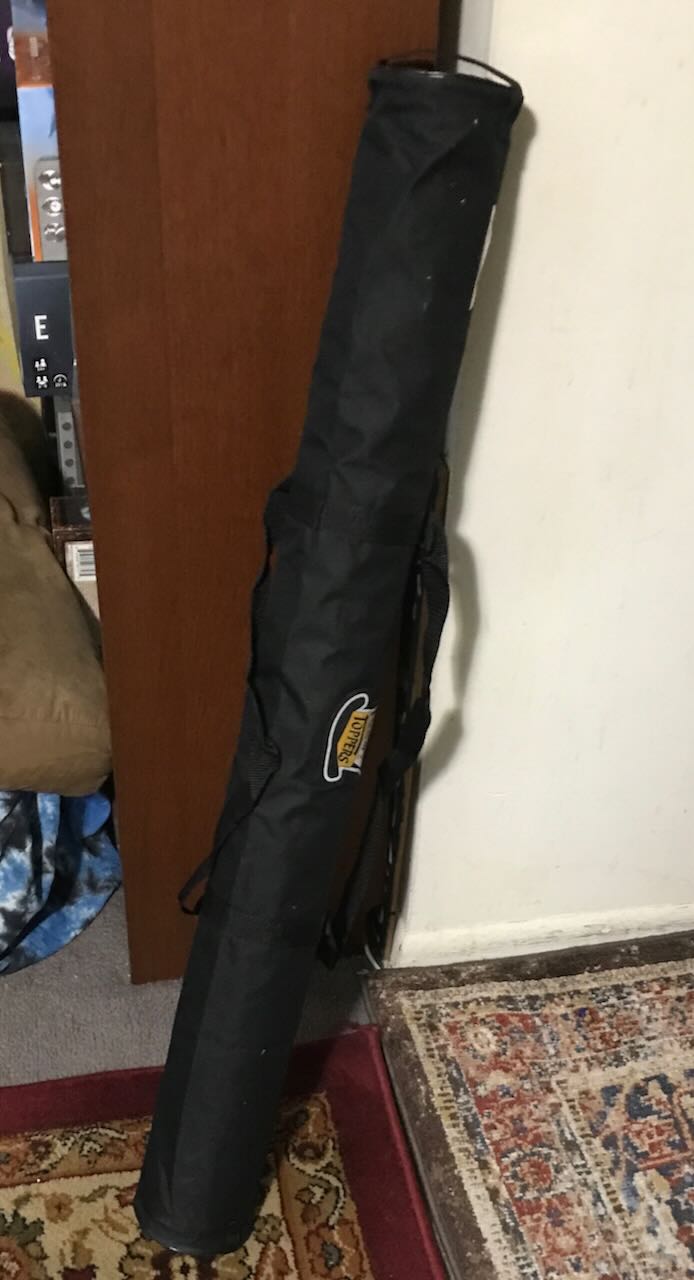
The very same qualities that make these cases so tough also means that storing them is problematic. In particular, the Watson case can’t fold or roll up, and least not very well. It’s big; remember, it has to hold two 45″ x 33″ 31.5-pound sections. So right now it’s kinda jammed against one corner of my bedroom while I figure out what to do with it.
The other cases aren’t as bad. The playmat cases fold up easily. The dining-cover case I’ll use every time I take the topper down, so that I can stack the cover pieces without scratching them. The accessory rail is in its case, so its storage problem is the same with or without the case.
The purpose of my camping stuff giveaway was to make room in a closet to store miscellaneous GameTopperLLC items. But I haven’t found anyone who wants that camping gear, at least not yet.
If I had the option, and knowing what I know now, I would have ordered the Watson without the carrying case.
I’m hoping I can find someone who can use it. Perhaps I can find someone who has some other kind of furniture to transport, or needs to carry large canvases, or something like that. I suppose I could just throw it away, but it’s such a well-made case. I hate to see it just become another part of the landfill.
Be forewarned: If you buy stuff from GameTopperLLC, think carefully about the carrying cases you’ll get and what you’ll do with them. This may be a rare case where something is too high quality for its own good!
To be complete, I’ll mention one more minor issue: The dining-cover pieces fit together well, but the seams between the pieces are visible and they are not water-tight. The dining cover is fine if you’re going to eat pizza or Chinese food before a game, though you probably want to use place mats just in case. For a more formal dining situation, such as Thanksgiving, you’ll want to get a plastic table protector to put underneath a tablecloth.
Right now, I look forward to playing Shogun no Katana on the Watson when my game group next meets!
Pingback: A Witch Does Passover 2023… not! – The Argothald Journal
I’d love to take your Watson carrying case
Where do you live? The shipping costs may be quite expensive.
Pingback: A letter about 3D printing – The Argothald Journal
Pingback: Jigsaw! – The Argothald Journal
Pingback: Last Night’s Game – Soul Raiders, Chapter 2 – The Argothald Journal
Pingback: Last Night’s Game – Friendly Fishing, Twinkle Twinkle, and Torchlit – The Argothald Journal