… or maybe 12, or maybe 14; perhaps even 15. We’ll get to that.
I have in mind one or more blog posts on my personal trials and tribulations with 3D printing. This is not that post. Here I’m focused on one particular task: printing the Acorn Garden libation bowl.
Truth in advertising: The various pictures and videos below are not presented in chronological order, so that I can make the narrative more exciting (…for some value of the words “more” and “exciting”).
Why I did it
Acorn Garden is the name of my Wiccan Grove. I’ve run this teaching group since 1999, building up a collection of various rituals tools along the way.
One of those ritual tools is a “libation bowl.” During a typical Wiccan ritual, there’s a section called “Cakes and Wine” (C&W). As the name implies, we drink a consecrated beverage (not necessarily wine) and eat consecrated food (not necessarily cakes). Although this sounds superficially similar to Communion, it does not serve the same purpose; it’s more like sharing a feast with the Gods, who are our honored guests.
One of the principles of sharing this feast is that the Gods get the first sip from every bottle, the first sip from every cup, and the first bite of every food. This is called “libation.”
We give the C&W to the Gods by offering it to the earth. If we’re worshiping outdoors, we just pour a bit of the liquid on the ground and toss a bit of the food outside our Circle.
If we’re conducting our ritual indoors, it’s not practical to dribble C&W on the living-room carpet. So we put the libations into a bowl, called (remember this; this will be on the test) a “libation bowl.” After the ritual is over, someone (typically the High Priest) will take the bowl outside and spill its contents onto the ground.
In and of itself, there’s nothing special or magical about the libation bowl. Pretty much any bowl will do.
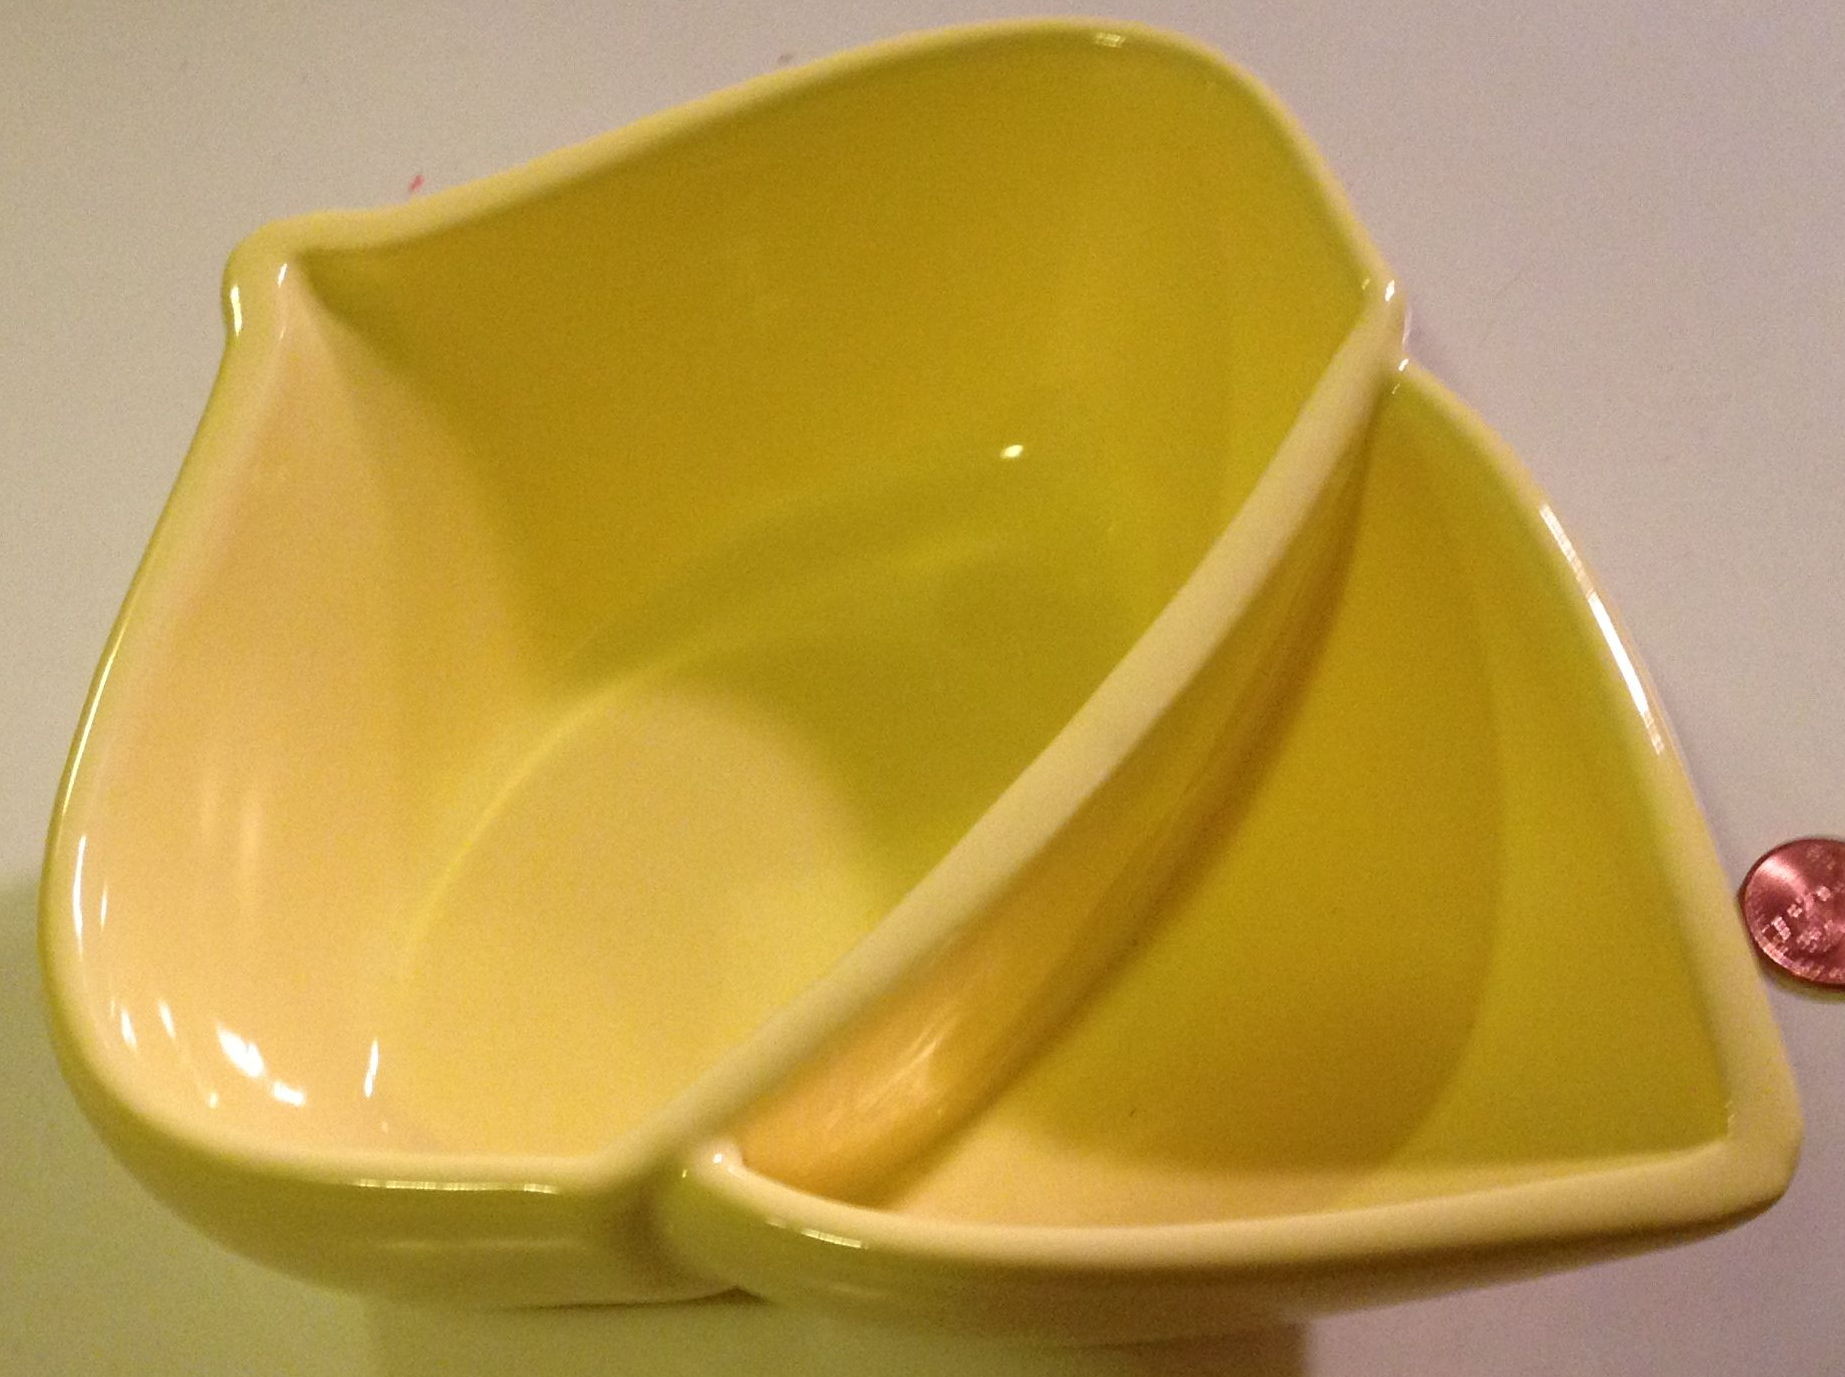
It was Deborah Lipp who pointed out to the general Wiccan community: If you put both liquids and soft foods (bread, cake, cookies) in the bowl, the food will swell up and look yucky. The solution is simple: Use a divided bowl with separate compartments for liquids and solids.
I would occasionally search for a two-compartment libation bowl to replace the one in the above picture. All the ones I found were chips-and-dip bowls intended for Superbowl parties. It wasn’t a big deal for me, but the notion stayed in the back of my mind.
Tangent: The Acorn Garden logo
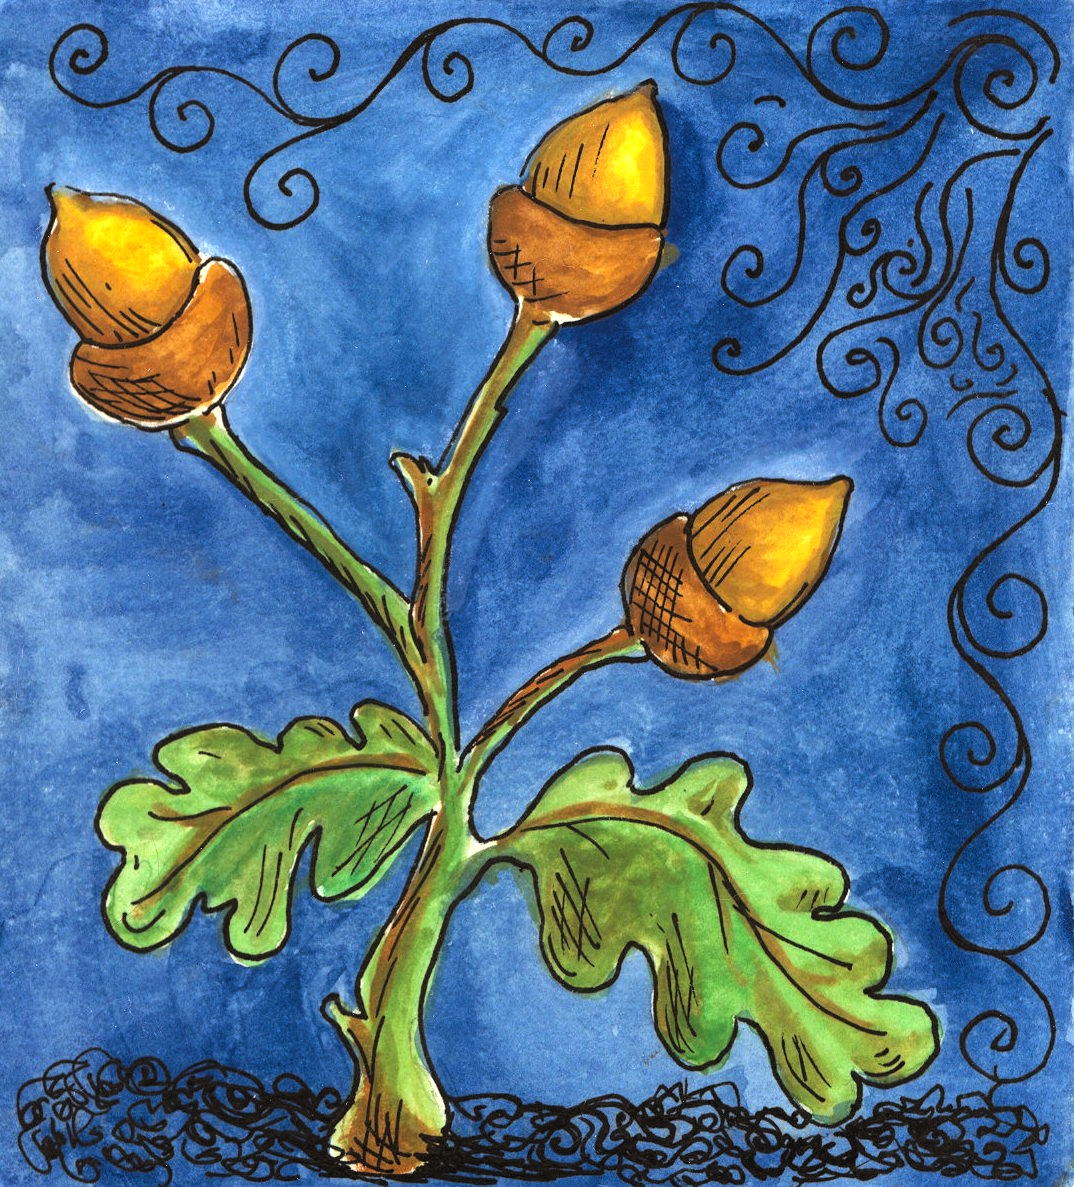
In the mid-2000s, the artist and performer Melissa Arleth sent me a postcard with a bit of art that reflected the name “Acorn Garden”:
A few years later, I decided that I wanted a logo for my group. I asked my friend Vann to design one based on Melissa’s artwork. He came up with this:

I had this logo turned into a tattoo on my left shoulder, and had it printed on cards and pens and t-shirts and shopping bags. It was a fun way to link members of the group.
Enter Shapeways
As I described in an earlier blog post, in 2013 I started to design and print jewelry using a 3D-printing service, Shapeways. I even created a couple of necklace designs using the Acorn Garden logo, though I did not put them up for sale to the general public:
At some point, I realized: If I couldn’t find the libation bowl I wanted for sale, why not design my own and have Shapeways print it for me? I talked about this in an old post, but to spare you a couple of mouse clicks:
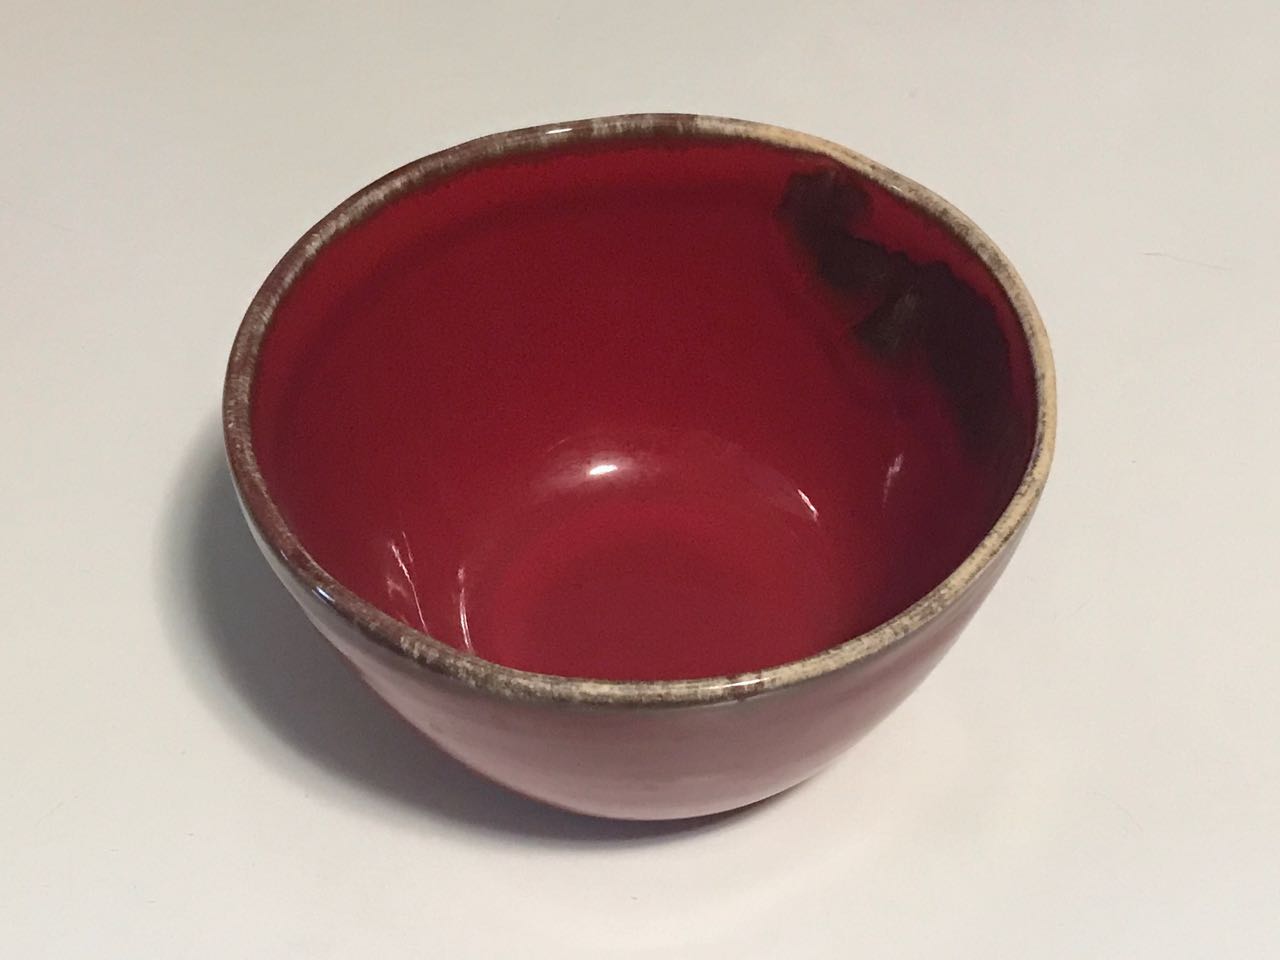
I derived it by taking the middle acorn in the logo, cutting it in half, and fiddling with the boundaries a bit to create walls suitable for libating C&W. Here is the result that I received from Shapeways:
It was pricey (about $130), but I thought the results were worth it. We used it in Acorn Garden, and indeed still use it to this day.
Fast-forward another few years. It occurred to me that all it would take is a moment of clumsiness for that libation bowl to drop and shatter. It wasn’t the most precious magical tool I owned, but I’d miss it if it were gone. I decided to make another one, just in case.
Then I learned that Shapeways was no longer printing in ceramic.
By coincidence, a year or so ago I met the person who was responsible for ceramic printing at Shapeways back then. She told me that once she left the company, Shapeways no longer had the expertise nor the interest in keeping up with printing in ceramic.
I investigated other 3D printing services. No one else was printing in ceramic either.
Doing it myself
In 2020, I purchased my own 3D printer. At some point, I realized that I could print my own copies of the libation bowl.
To be sure, I could have had Shapeways print the bowl in plastic. However, it cost more to print in plastic than in ceramic for a given volume. As of July 2022, Shapeways charges over $200 to print this bowl in their least expensive plastic. They offer other materials, but I wasn’t going to pay over $3000 to print the bowl in steel.
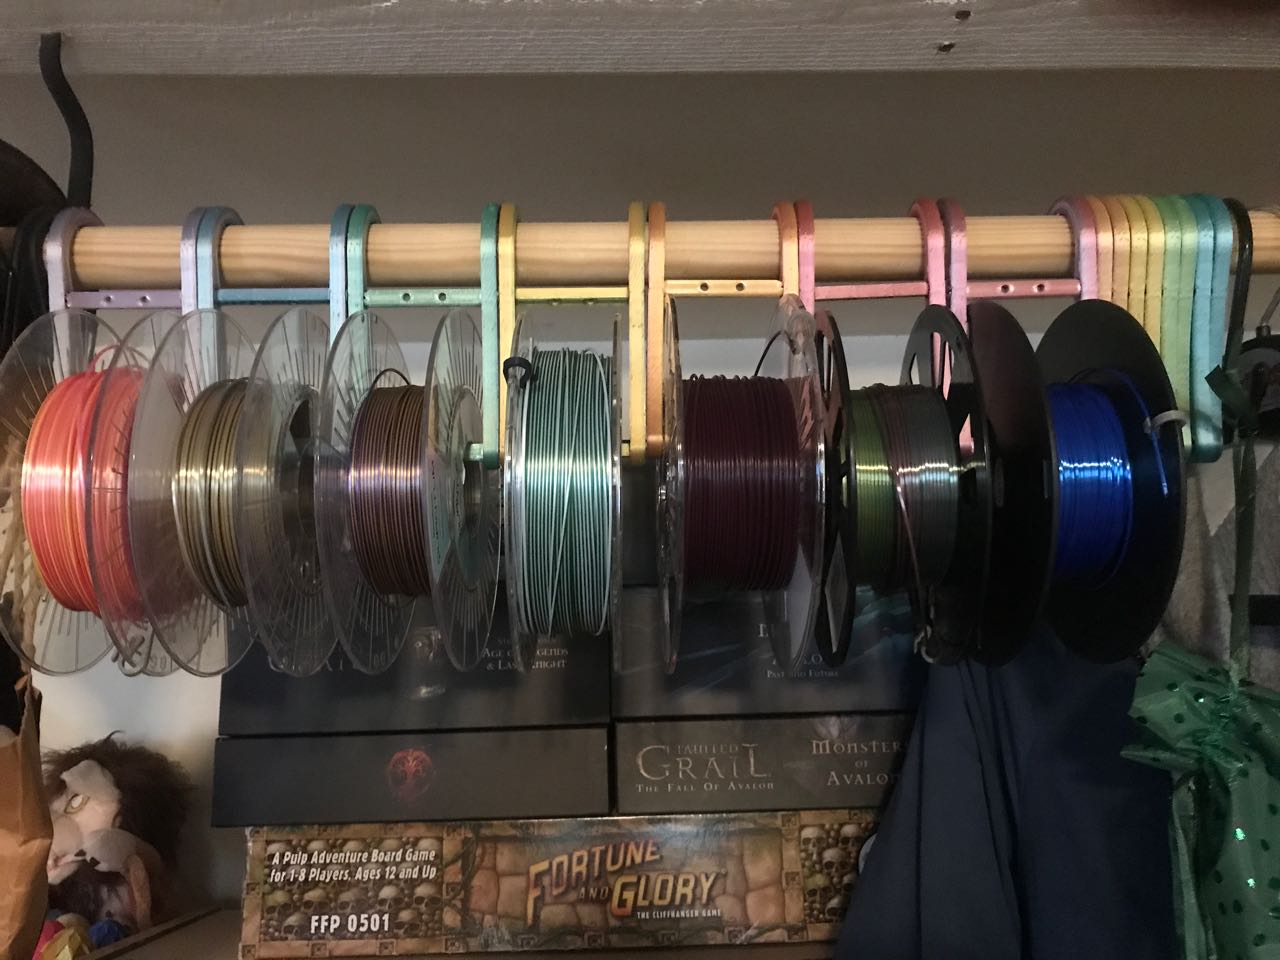
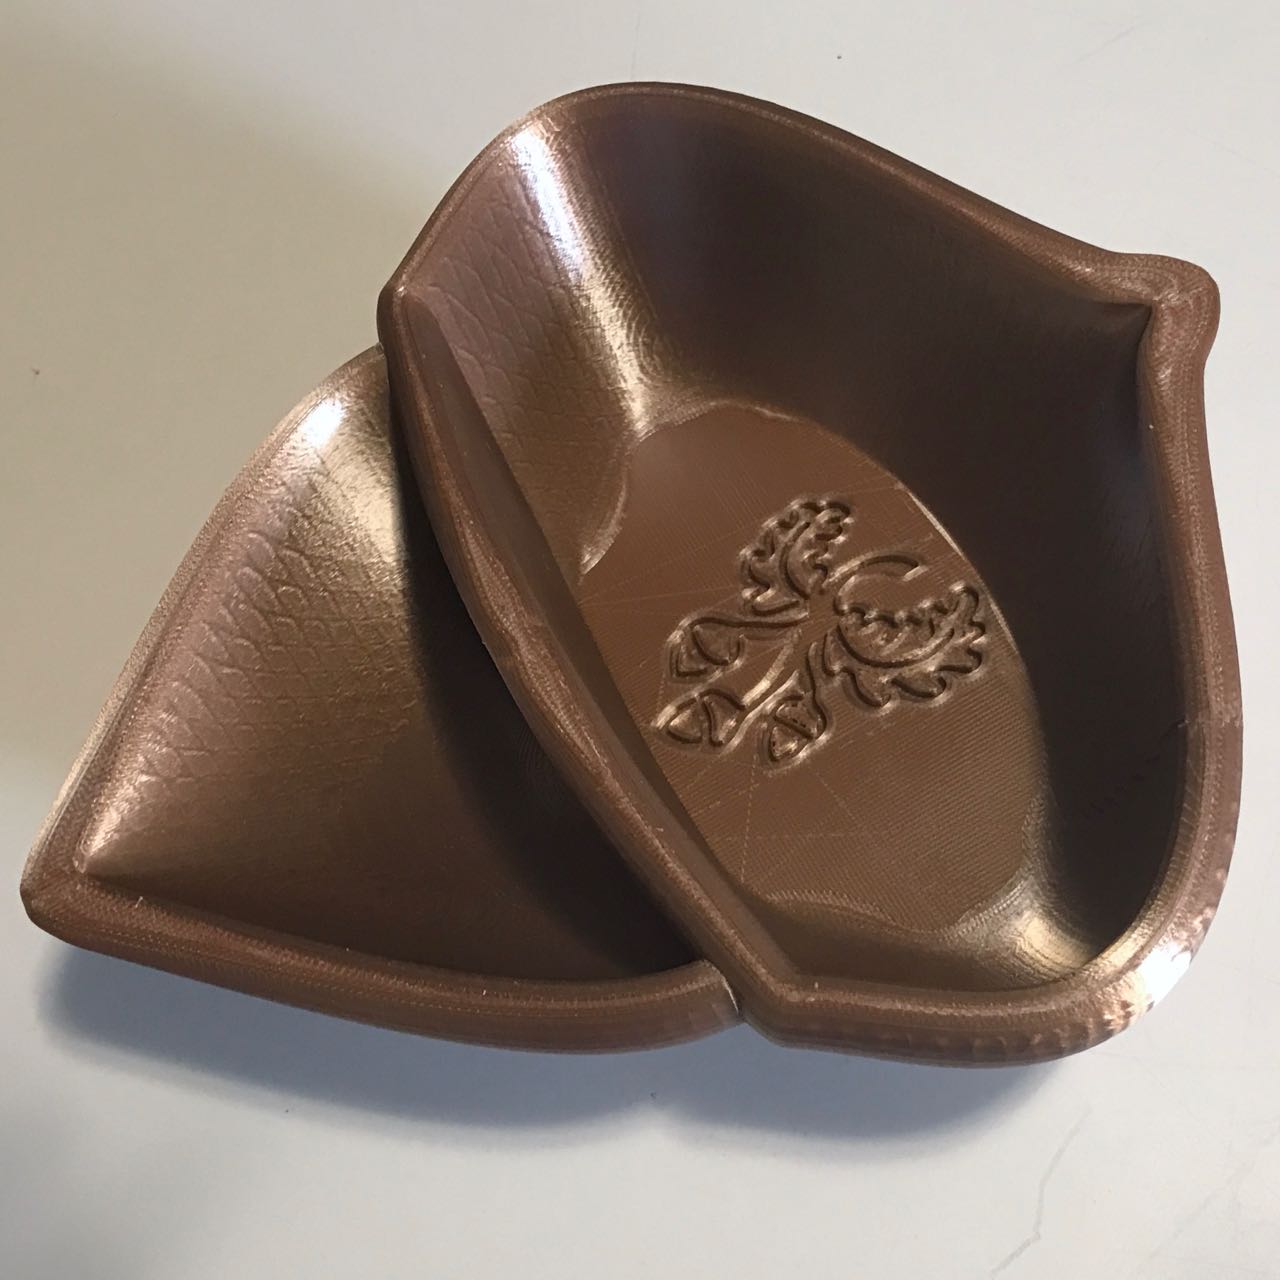
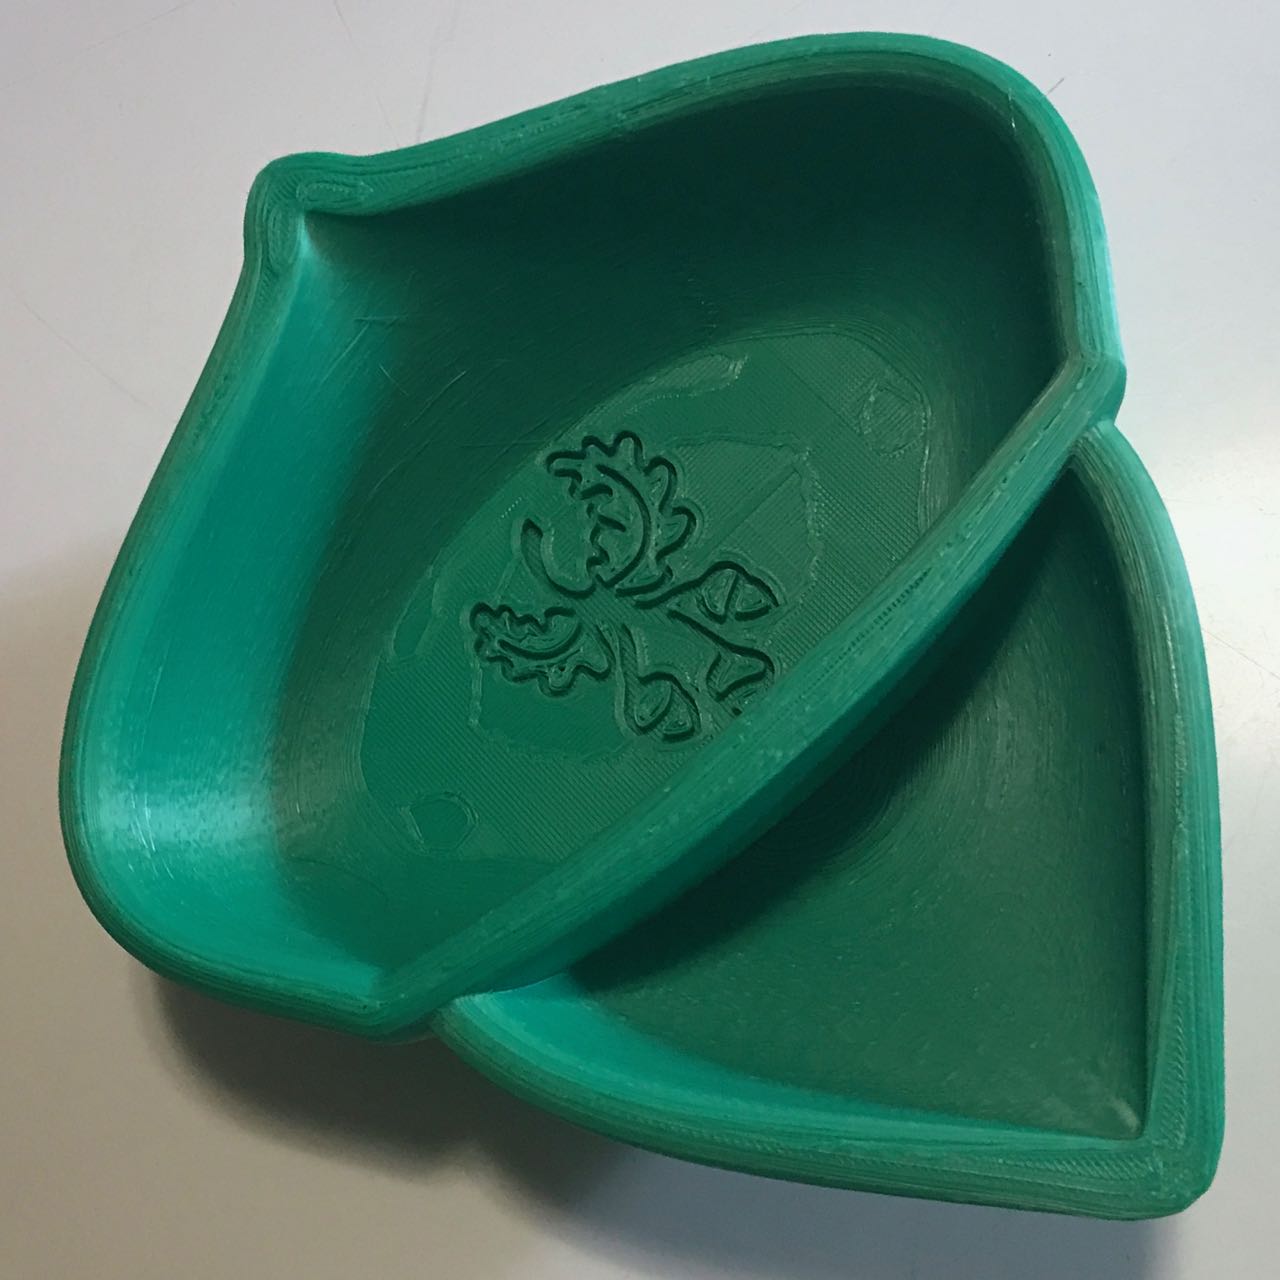
Also, as we’ll see below, if I printed them myself, even though I’d have to print in plastic, I’d have complete control over which filament I used. I could print in different colors and textures:
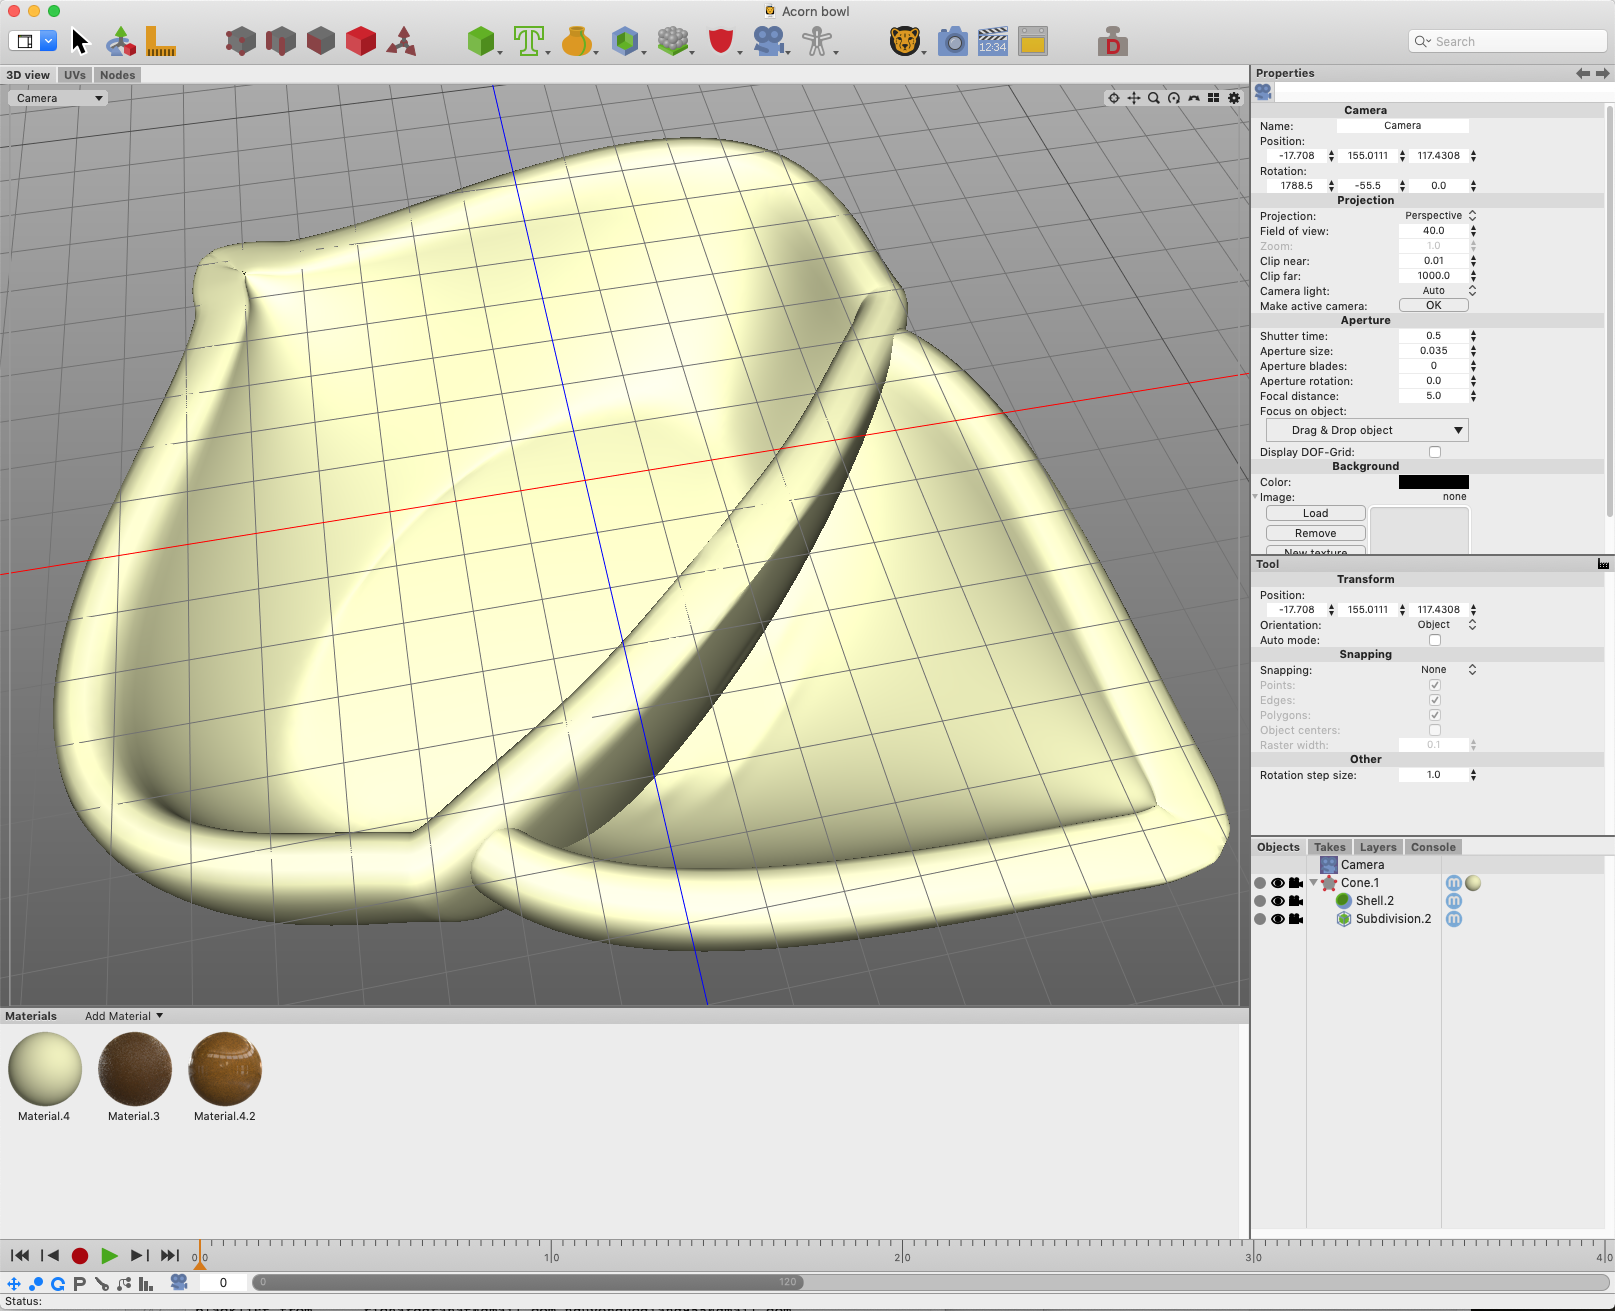
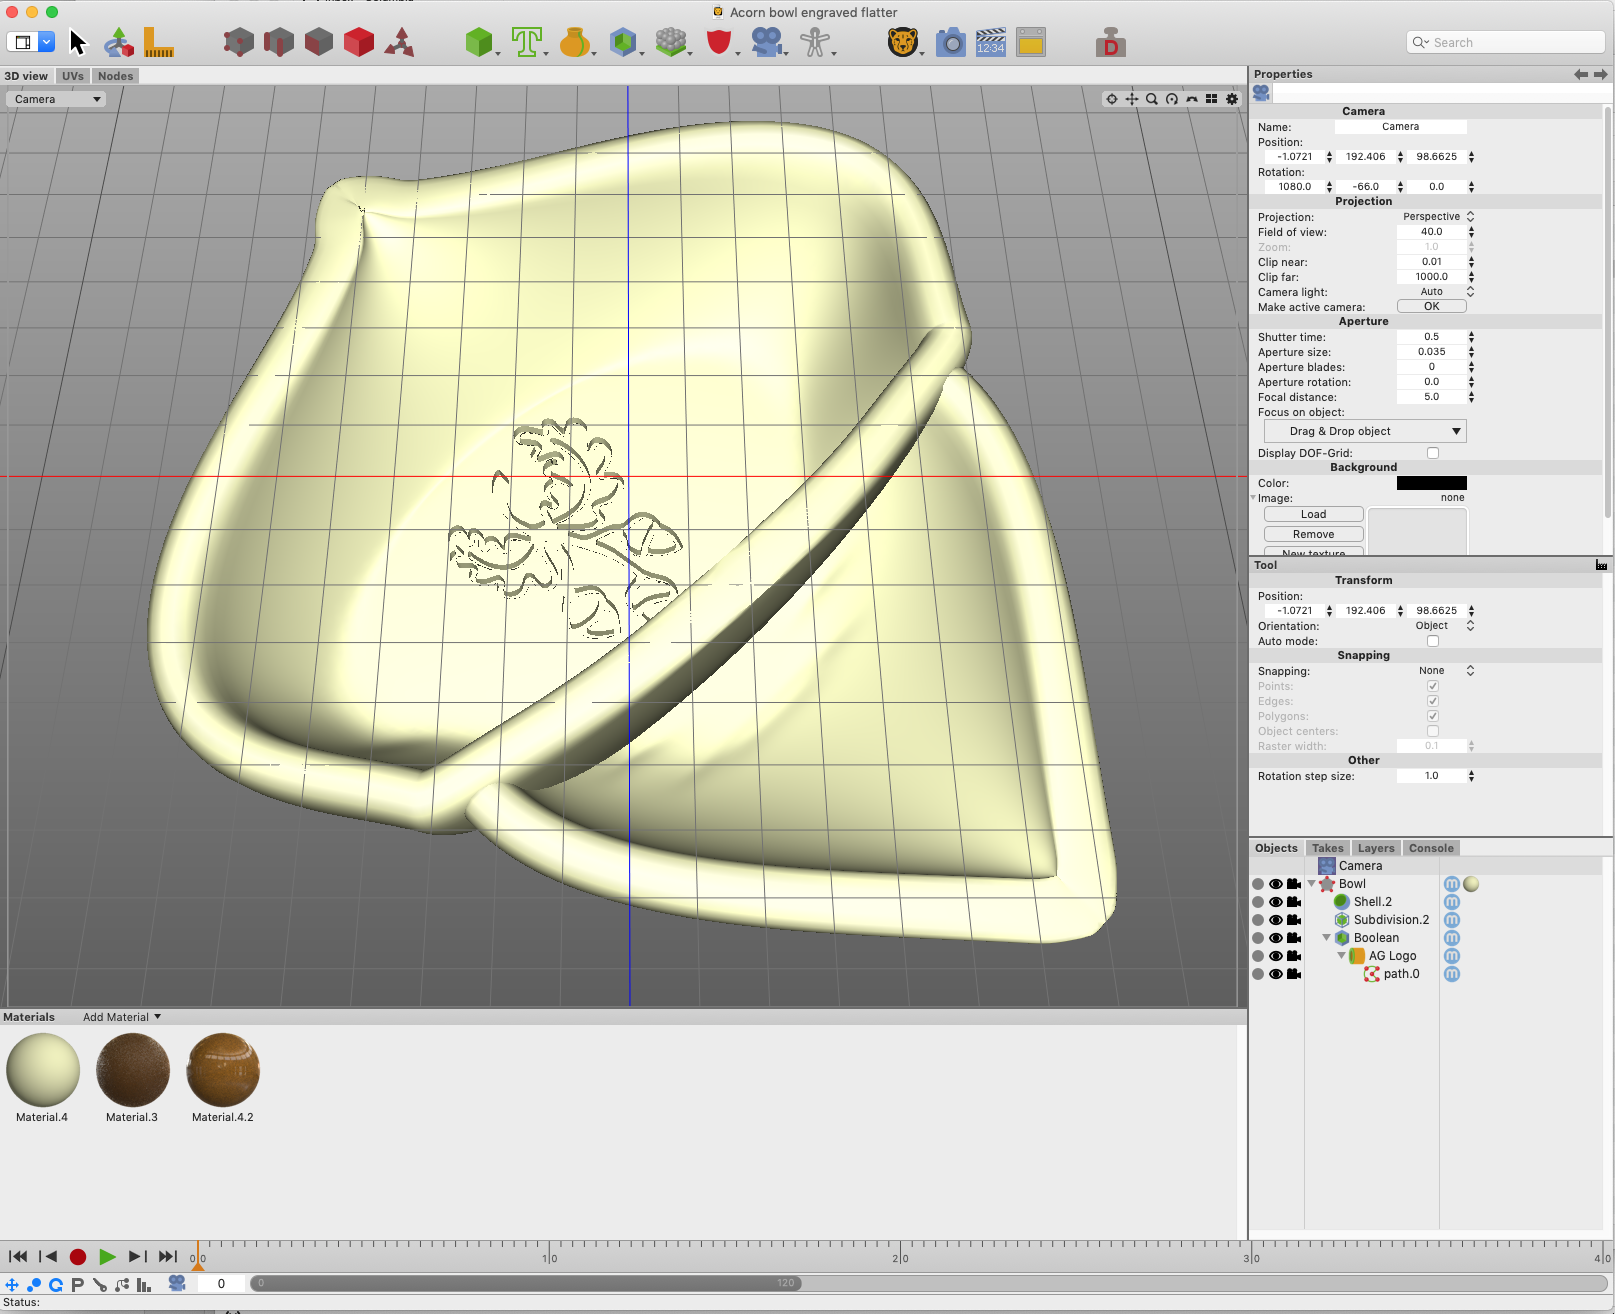
I decided to modify the design a bit, to include the Acorn Garden logo as an engraving:
I started printing:
Failures
The Acorn Garden libation bowl was the most ambitious 3D-printing project I’d attempted up to that point. I had my share of failures, and even after some successes I still had problems:
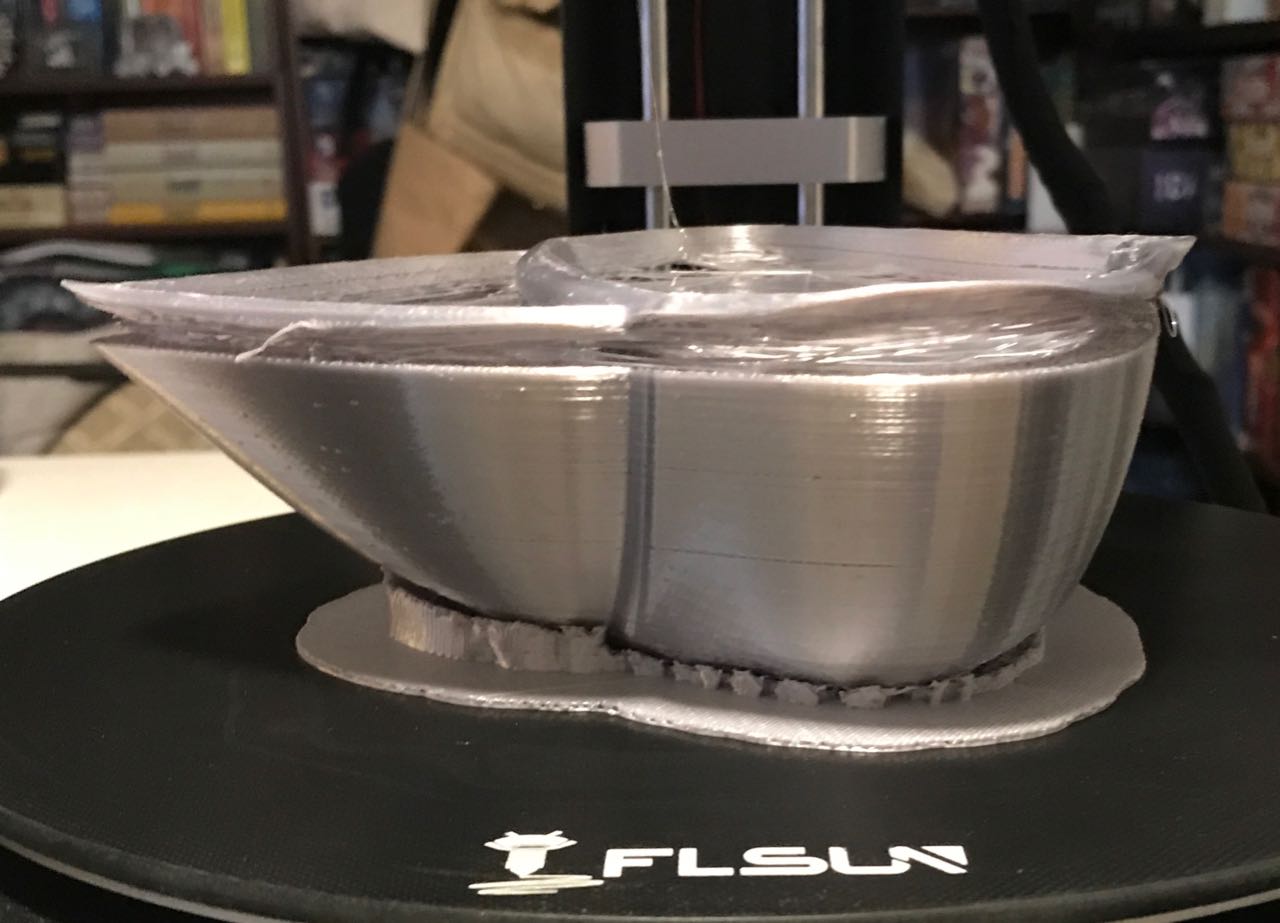
Here’s a 14-minute video in which I (a) show off my cats, (b) show how 3D printing works, (c) show a failed bowl print, and (d) am totally wrong about the causes of the print failure.
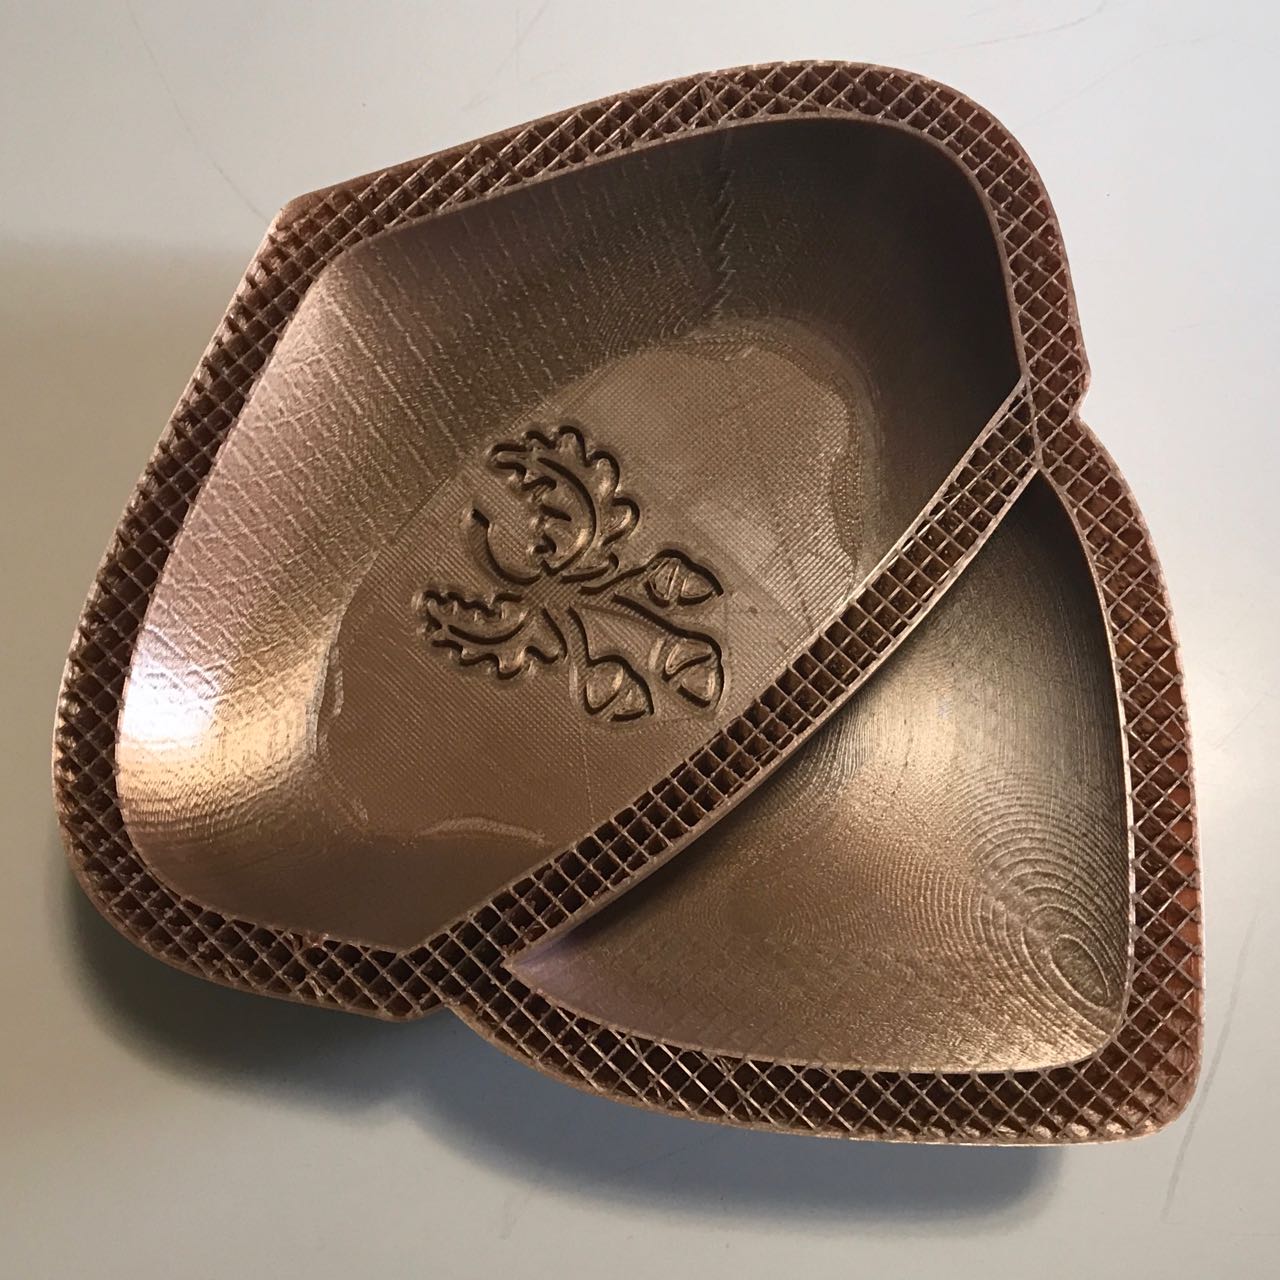
From the ashes of disaster come the roses of success
Finally, I succeeded!
Here’s a time lapse of a successful print. Even though the video is only 13 seconds long, consider the “Elapsed” numbers in the upper left-hand corner. The time-lapse consists of one frame per layer, 30 frames per second, for 15-hour print job. As I later (re-)learned, I probably would have gotten better results if I printed more slowly. (If you look carefully in the first frame of the video, you’ll see Jiku lounging in the upper right-hand corner of the image.)
How much success do I need?
A question has probably already occurred to you: Originally, I was only looking for a single spare libation bowl. Why did I start printing more?
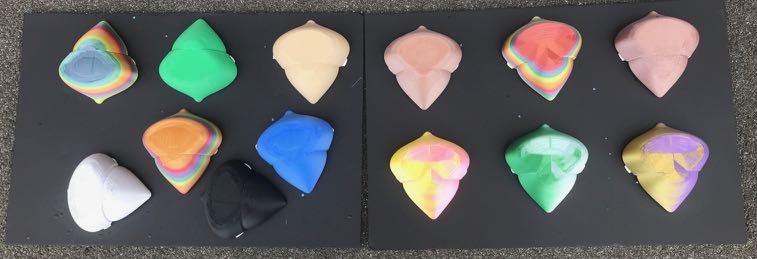
Mainly because I could. There were many interesting colors and textures available, and I wanted to see how the bowls would look:

Also, they had become a nice decoration for my apartment:

I cheat
In the above pictures, you can see nine bowls. I’ll confess, I cheated: I also had a bowl printed by an outside printing service.
The reasons why I cheated:
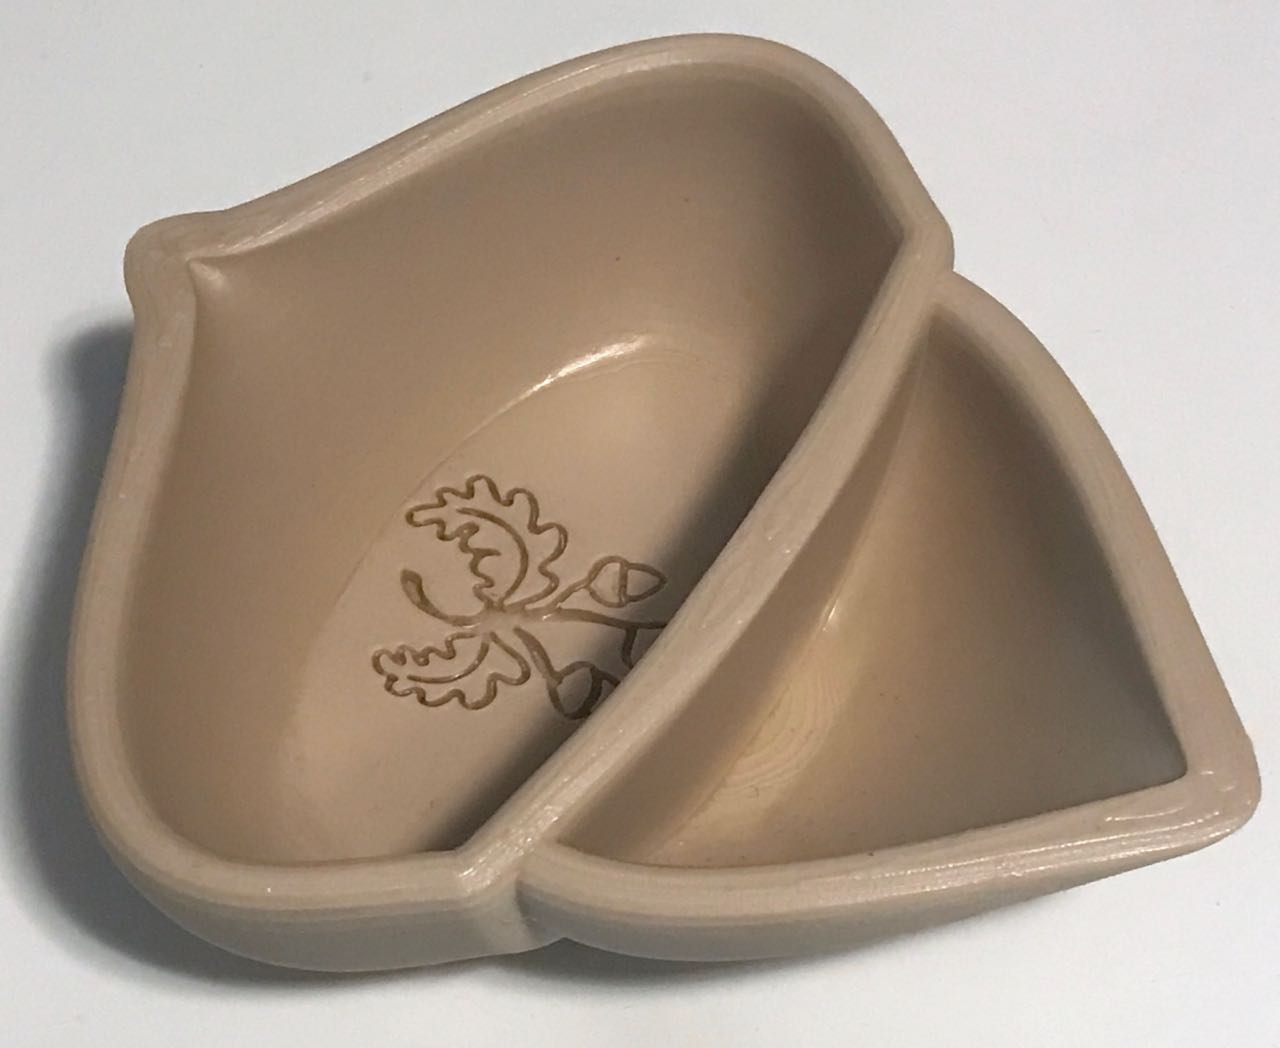
- I wanted to see how a professional service compared to what I could do.
- I wanted to print a bowl using wood filament. Printing using a filament embedded with abrasive particles (e.g., wood; metal) is hard on a 3D printer’s nozzle. I selfishly chose to have their nozzles potentially ruined instead of mine.
You can probably see that the professionally-printed bowl is not much different from what I made. Also, despite it being called “wood filament,” the result does not particularly look or feel like wood.
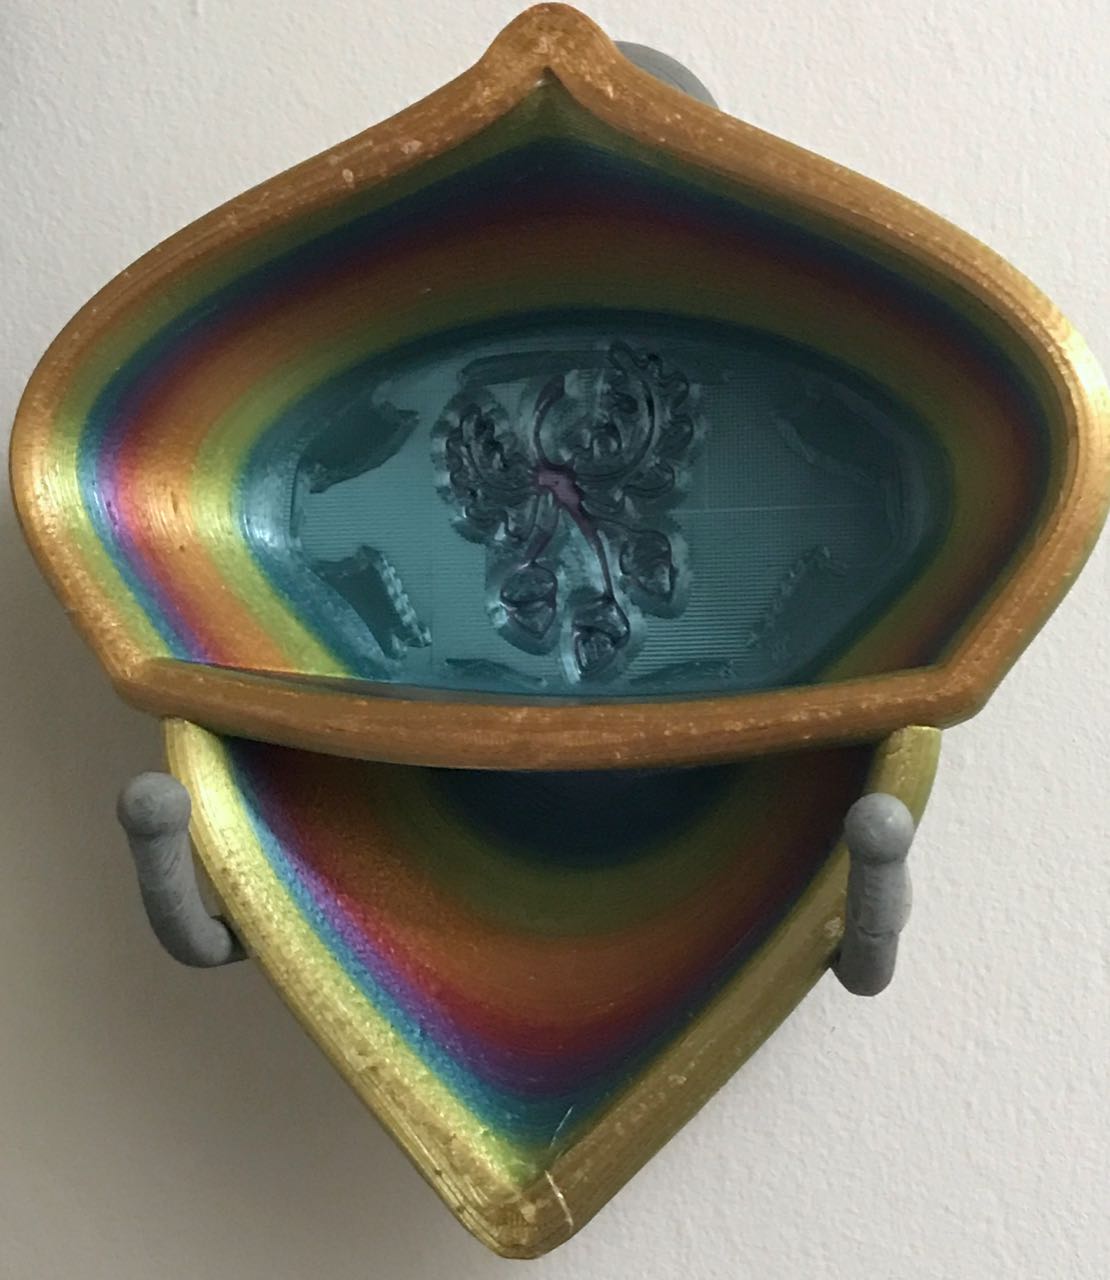
Dual-color filament
For about a year, I was content with ten libation bowls hanging on my wall. Then a company came out with dual-colored filament. This is not the same as the rainbow filament you see above; that filament is manufactured with color changes along its length. Dual-color filament is manufactured in process similar to that of striped toothpaste.
The net effect is that dual-color filament looks different depending on which side you look at. In the following two photos, I’m holding the same spool of filament; all I did was flip it so you could see both sides (and both cats):
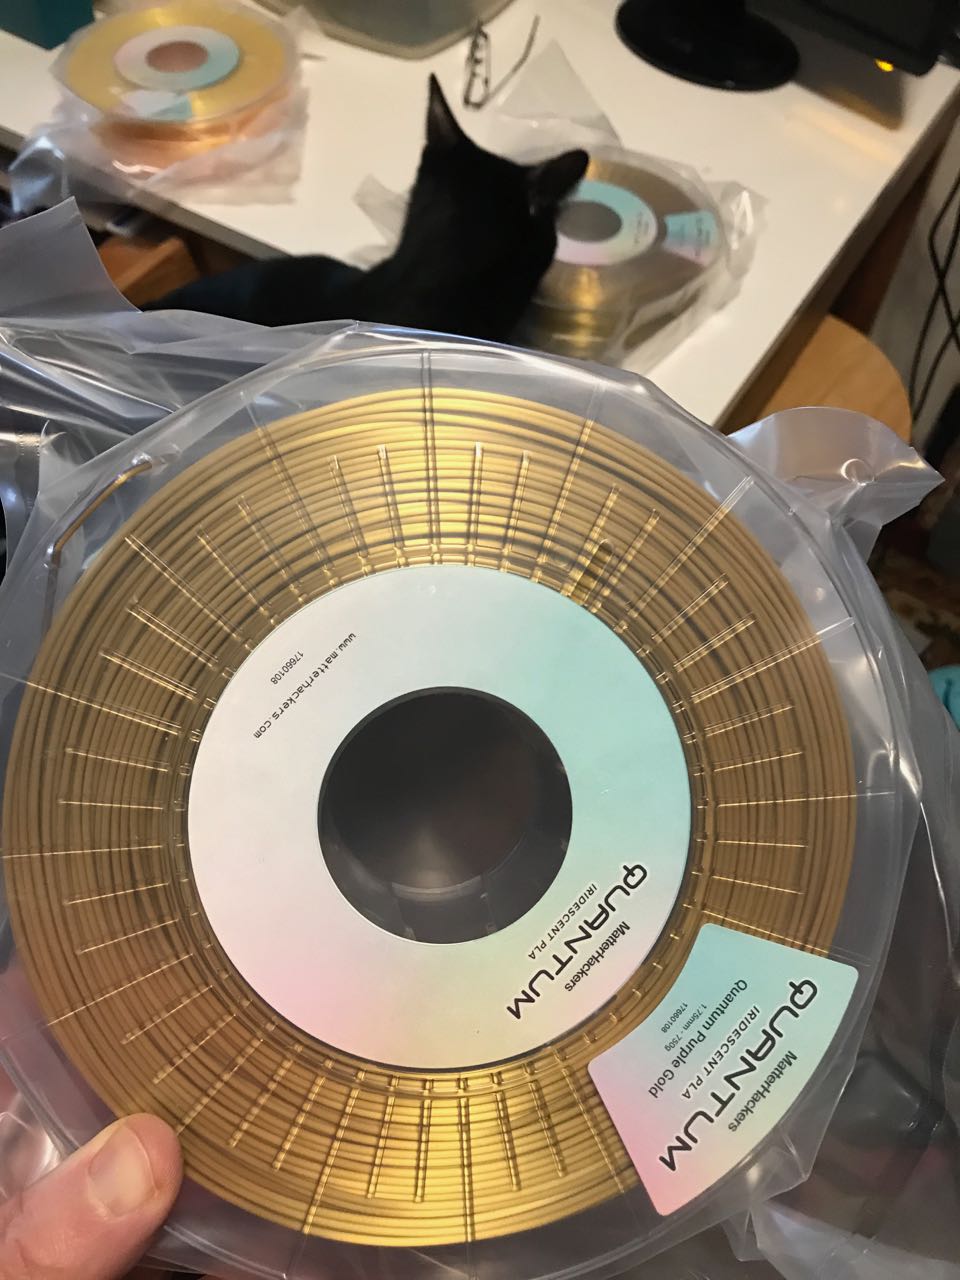
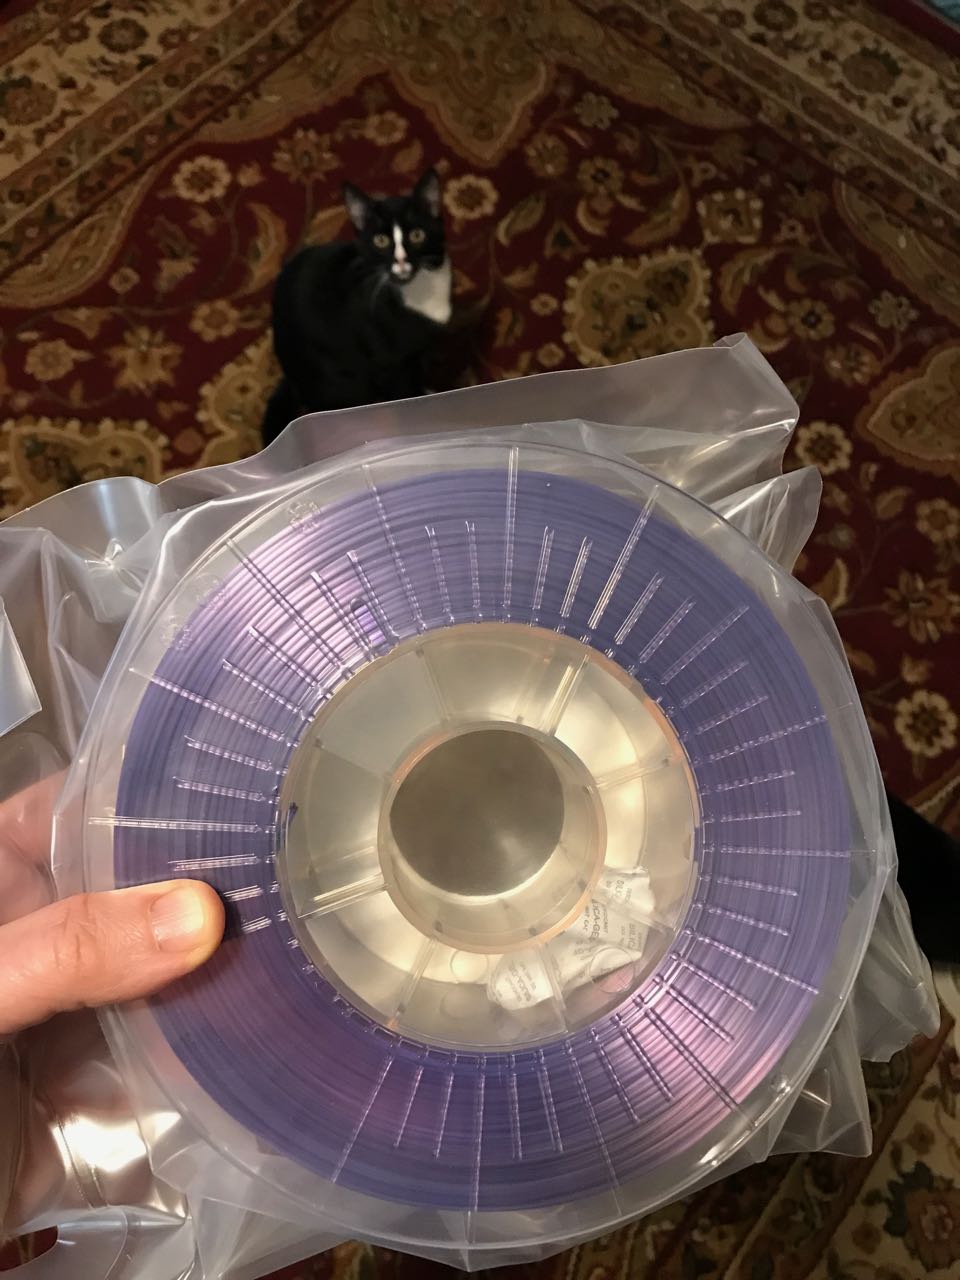
I had to give this a try. It worked, though I’d forgotten some of the techniques involved in printing large items in silk-like filament. A simple picture can’t show the color changes, so here are three videos.
Purple-and-gold filament (the white stuff in the bowl is drying polycrylic; see below):
Green-and-white filament:
Rose-and-yellow filament:
That adds three bowls to the ten pictured above, for a total of 13… or only 12, if you don’t want to include the “cheating” wood-filament bowl. Or perhaps 14 if you include the original ceramic bowl.
Safety
By far the mostly likely fate of these bowls is to hang as wall decorations indefinitely.
But what if they were to be used? Or what if, in a ritual, we needed additional bowls for some reason?
I had to deal with the reality that PLA plastic is not food-safe. To be sure, I don’t plan to eat any of the food or beverage that’s placed in the bowls, but I can’t be sure that will be true forever.
Also, the 3D printed bowls are not water tight. There are enough gaps between the layers of plastic filament for liquid to seep through. Where you have liquid, you can have bacteria, trapped within those grid-like crevices you can see in one of the pictures above. The whole thing can become a hazard.
So I coated the inside of each bowl with six layers of polycrylic. I used the liquid form on the inside, and a spray version for the outside.
Are we done yet?
Maybe not!
I recently purchased some additional filament for printing miniature figures and some household items. One of the spools is copper silk PLA. I’ll do my usual test prints with that filament. If it looks like it might make a neat bowl that doesn’t look like what I’ve already got, I’ll probably go for it.
So I might have 15! And if more exotic filaments come out, who knows?