Did you think that title means that I’m finally easing up on playing BG3?
Sorry, no. I mean that I’m taking it easy on you.
I know my blog is read by perhaps a dozen people. When a couple of them make the same observation, it means a lot.
That observation is that the last couple of BG3 posts were difficult to understand.
That suggests a couple of things to me:
-
For reasons I’ll explain later in this post, I made a poor choice in the order I wrote earlier posts: I talked about D&D-system issues first, then the story-related issues.
From now on, I’ll try to describe the “juicy” story stuff before I get into the system stuff. This isn’t always easy, because I often make story decisions based on the realities of the system.
I hope this lets you read the general stuff that anyone can understand, then click away when I start talking about boring stuff, like how to play the game better.
-
No one is reading the “small print” disclaimers I put at the top of the posts.
That’s OK. Skipping the fine print is an ancient tradition beloved by lawyers writing legal documents. But I am not a lawyer, and these posts are meant to be annotated photo essays, not contracts.
From now on, I’m going to hope that a “common sense” approach will be sufficient:
-
BG3 has been out for over a year. There are few “secrets” within the game which haven’t been splayed all over the internet. Posts like mine don’t need explicit “spoiler alerts” anymore.
Don’t get me wrong: I’m still going to try to avoid plot points that I feel would significantly interfere with the enjoyment of a player encountering the game for the first time. However, I’ll no longer put SPOILER ALERT around what I feel are “minor facts,” such as Minthara and Minsc can potentially be played as characters.
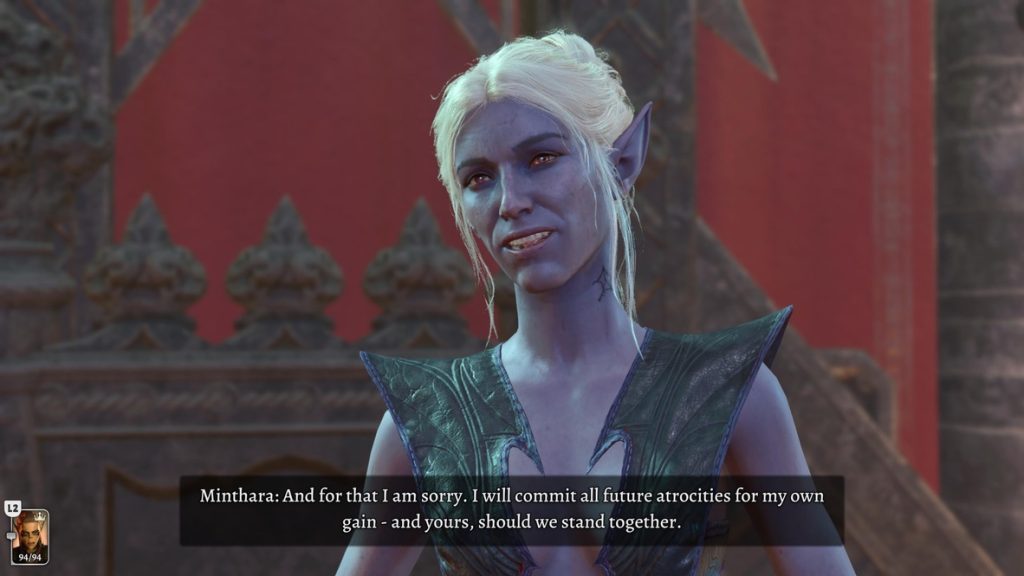
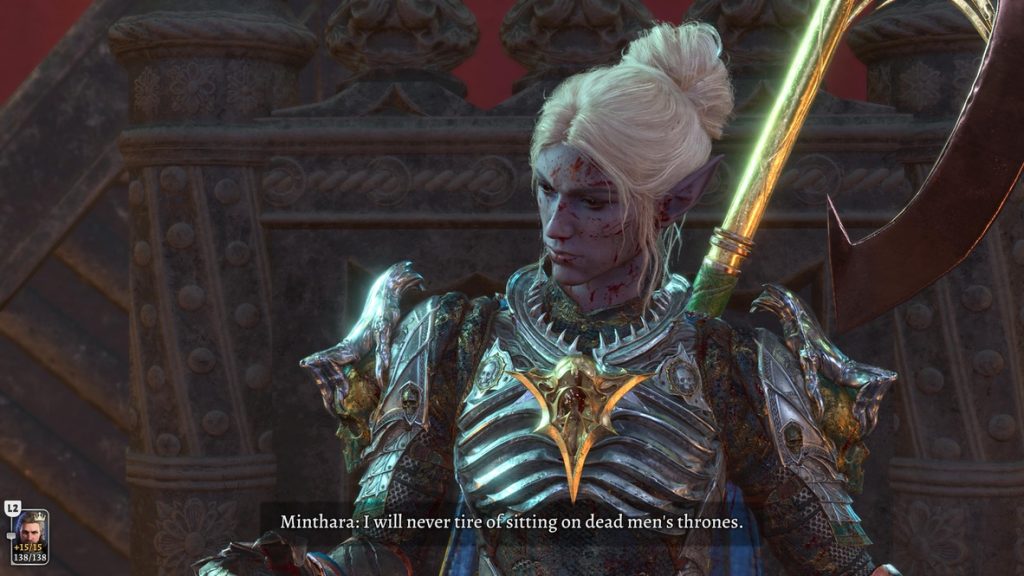
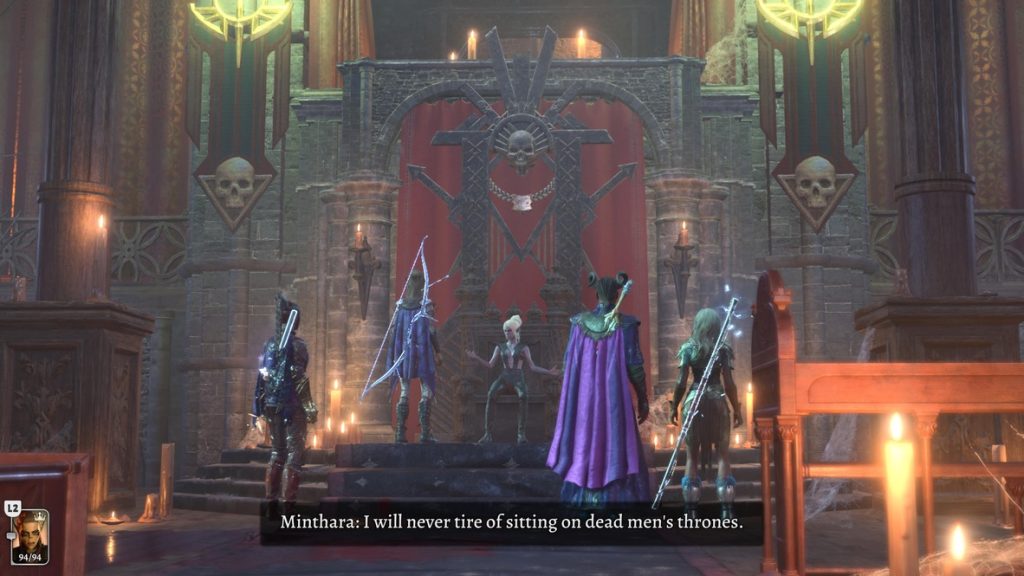
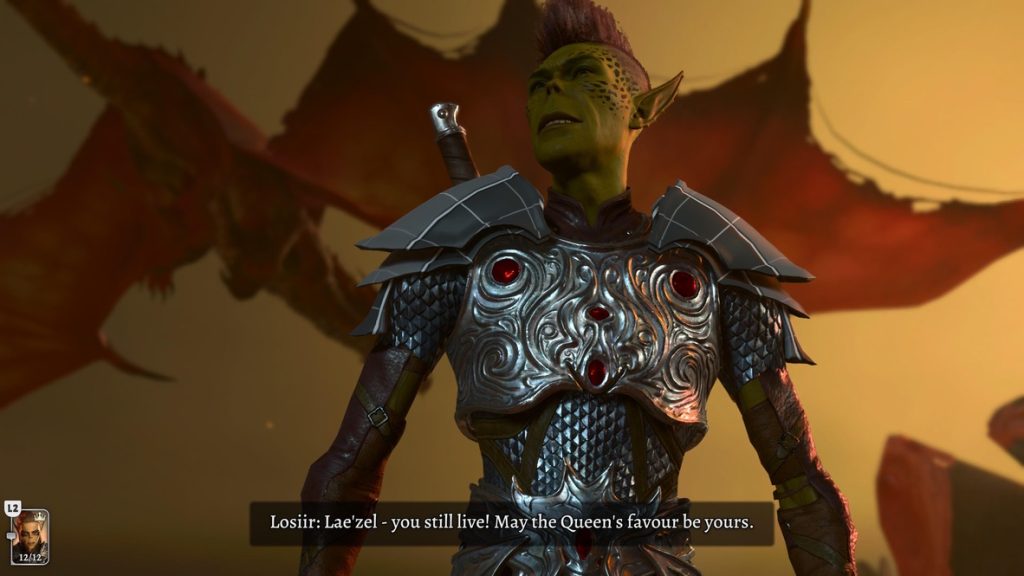
Minthara is practical and bloodthirsty. But she’s on your side. It’s best to hope that she stays on your side. 
When evil emerges from the darkness, Minsc is ready to kick its buttocks in the name of justice. -
The “golly gosh gee-whiz” approach in these posts is, I feel, sufficient warning that I’m not skilled at D&D.
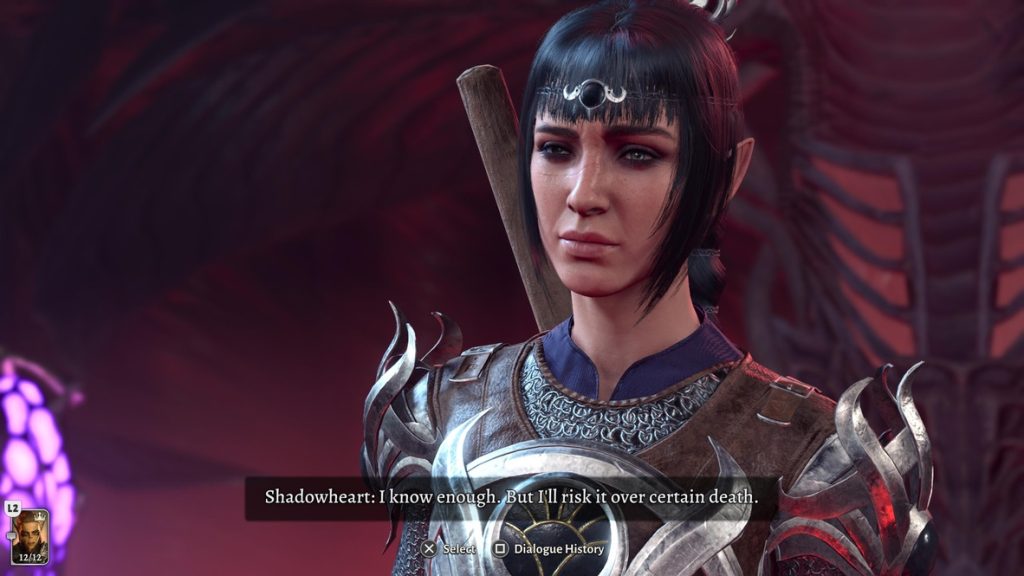
Maybe we don’t have to laugh quite so hard at my ignorance, Shadowheart. I go into detail about my system choices as a record for myself. Anyone looking for game-play tips can find better resources elsewhere, such as Reddit. That doesn’t need to be stated at the top of every one of my BG3 posts.
-
If it’s not obvious that these are annotated photo essays, then I’ve fundamentally failed as a writer. I’ll let the failure stand for itself without apologizing for it repeatedly.
To put it another way, the above is the last time I’ll put any form of disclaimer in this series.
-
Story
You may have noticed that I establish goals for every one of my BG3 playthroughs. There are goals for both story and system.
Why bother with story goals? If you play the game ten times, you must know the story by now, right?
I gave the answer in my first post in this series. But perhaps that explanation wasn’t clear. Here’s a different take, which provides an opportunity to include lots more pictures.
Choose your own adventure
The first answer to “Why play BG3 more than once?” is that Larian Studios did an excellent job of crafting the story.
There are other games with branching storylines. A few that come to mind are Detroit: Become Human, Skyrim, and the Telltale games.
But I’ve not played through those games more than two or three times. I’ve just finished playthrough 10 of BG3, and I intend to play at least two more times, perhaps more.
If I’m asked why that is, my answer would include:
-
You have a strong sense of agency while playing the game. BG3 has a larger decision tree than Detroit: Become Human, but that’s not the entire explanation. As you play the game, your choices matter and feel significant. In Detroit or the Telltale games, you don’t get the sense of “reward” that you get as you shape the story in BG3. Your choices in BG3 shift both the environment and the narrative.

For example, you don’t have to free this individual from his petrification. Perhaps I’m being unfair to the other games. I’ve already reported that it’s possible to play a Telltale game twice and have the final episode in each playthrough be completely different. But in those games, you get the sense that those two Telltale playthroughs explore all the options. In BG3, two playthroughs only scratches the surface.
Of course, just because you free him, it doesn’t he’s worth speaking to. -
Many of the combat encounters have the flavor of the combats in Horizon: Zero Dawn: You can choose how to use your tools and the environment to deal with the situation. Some encounters can be handled by diplomacy, for example.
Sometimes you have no interest in diplomacy. You can also use the game’s physics to get through an encounter. For example, some surfaces are flammable, or you can make a surface both flammable and slippery by tossing a grease bottle on it. You can force an enemy to take a specific route to get to you by stacking crates in their way. You can use these features to turn a bridge into a death trap, then lure an enemy into that trap by firing an arrow from a long distance.
I’ve had fun walking through an encounter while invisible and dropping barrels filled with explosives, then moving far away and detonating them with a fire arrow.
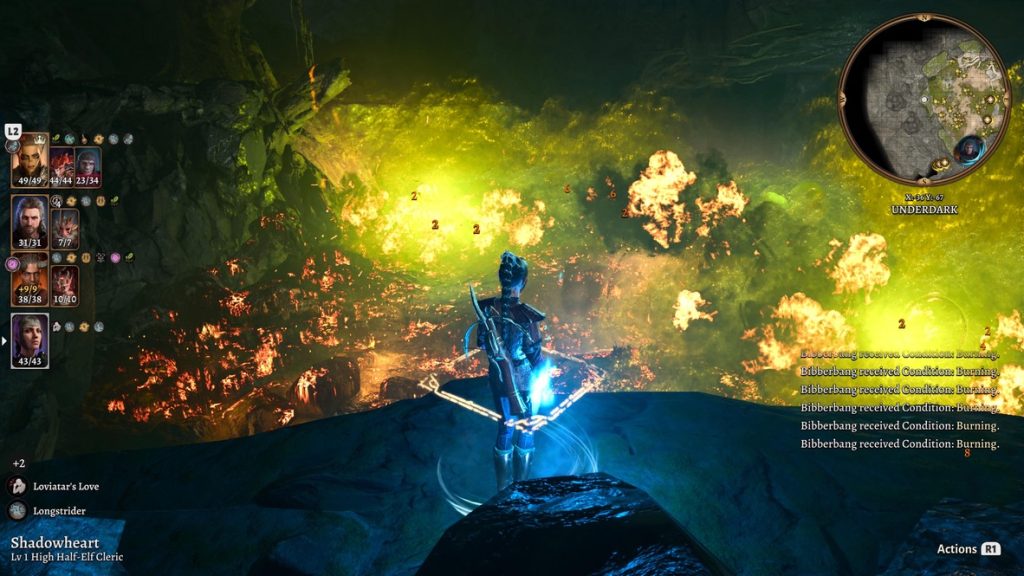
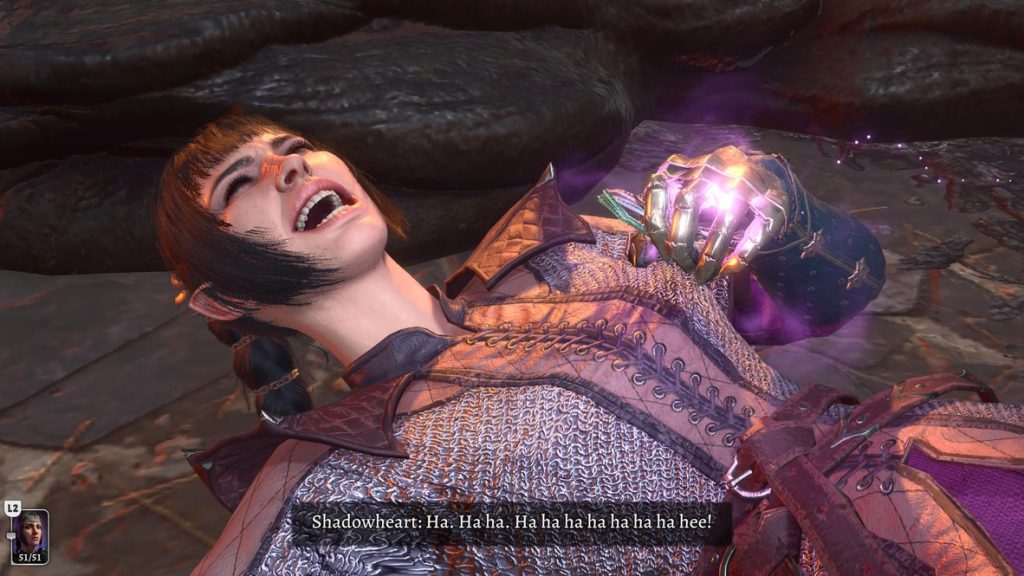
For example, here we see Shadowheart detonating a field of explosive plants. She thought she saw a spider, and it was the only way to be sure. In other words, you can look at the game as a series of puzzles with multiple solutions through multiple mechanisms. Even the game’s designers didn’t anticipate what the players could do with the available resources.
-
Every time I’ve played the game, I’ve seen something new. Even during the tenth playthrough, I found a room I’d never seen before. On a YouTube video, I saw another series of rooms whose existence I never suspected.
-
As I’ll discuss below, the relationships between the characters are so varied that it’s impossible to see them all, at least not in just a dozen or so playthroughs

The characters
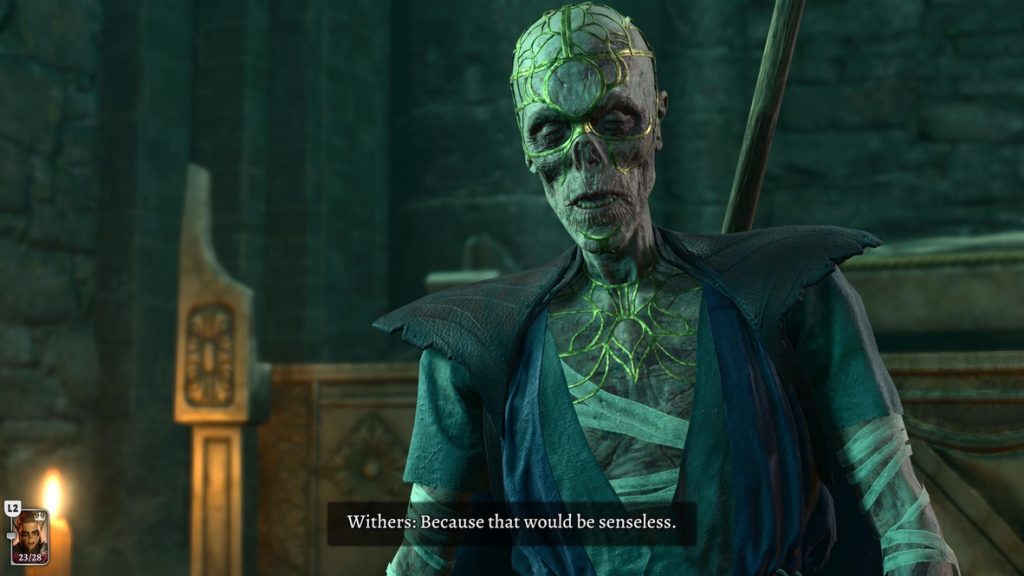
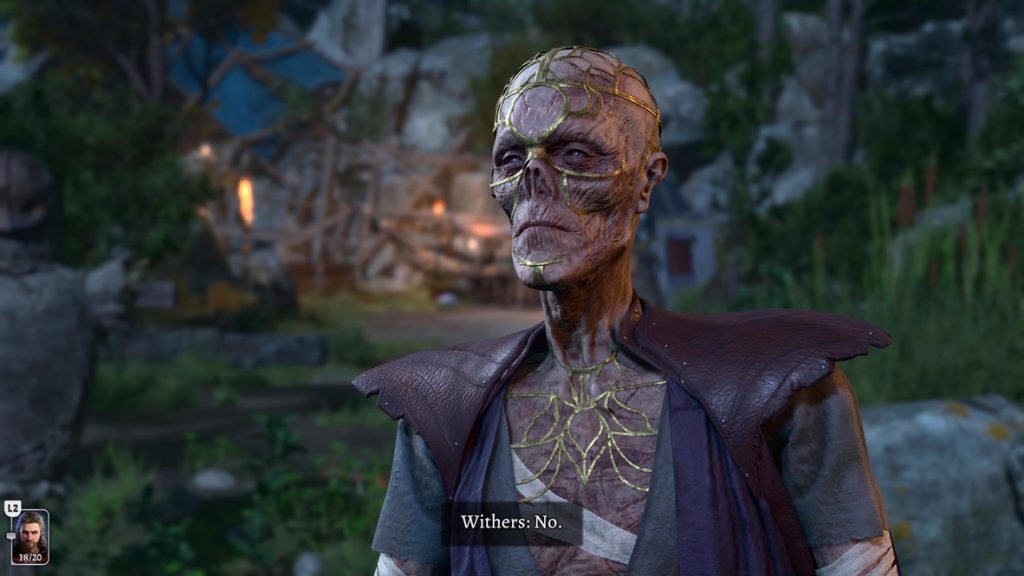
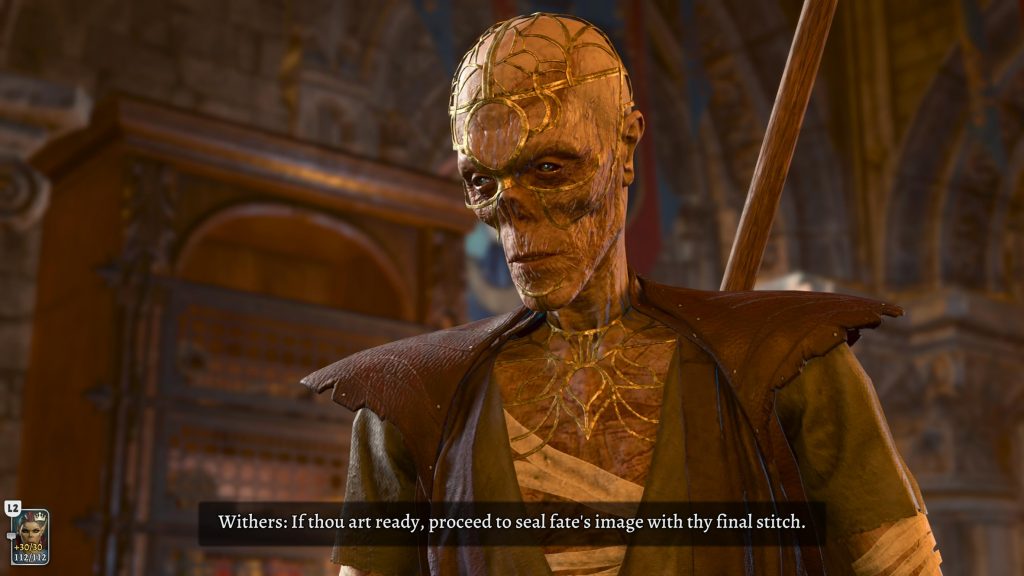
One reason why folks have said that these posts are difficult to understand is that they’re not familiar with the characters. Permit me to introduce them to you.
Let’s start with the “Origin” characters, that is, those can be your main character (your “Avatar”) and with whom you can interact during the game. Each Origin character has their own story, their own set of choices, and their own potential for relationships.
There are a couple more characters that can be Avatars. They only show up if you choose to play as them. You have full control over their appearance and abilities.
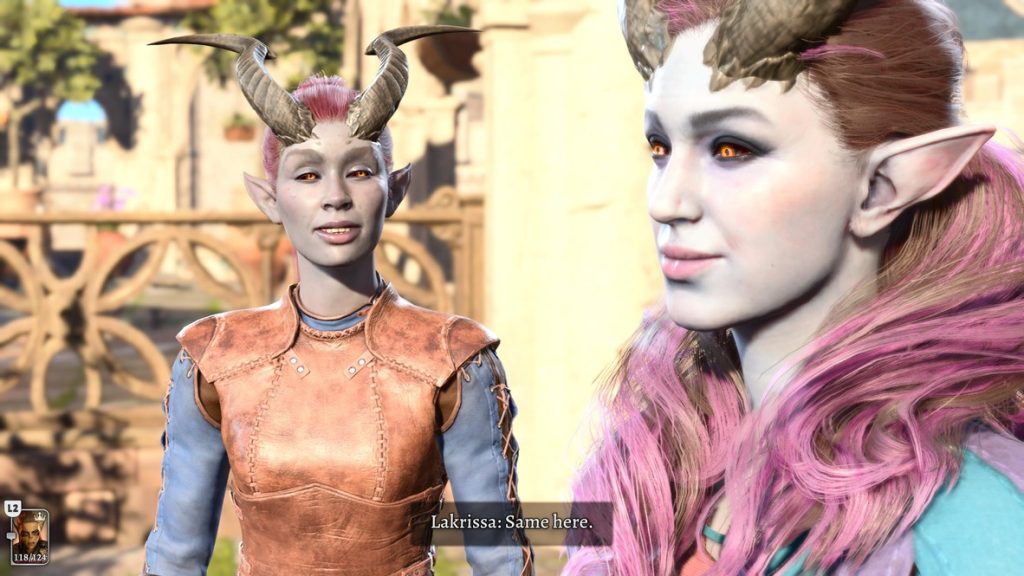
There are four more characters with whom you can interact and add to your party. I’ve already mentioned Minsc and Minthara. The other two are:
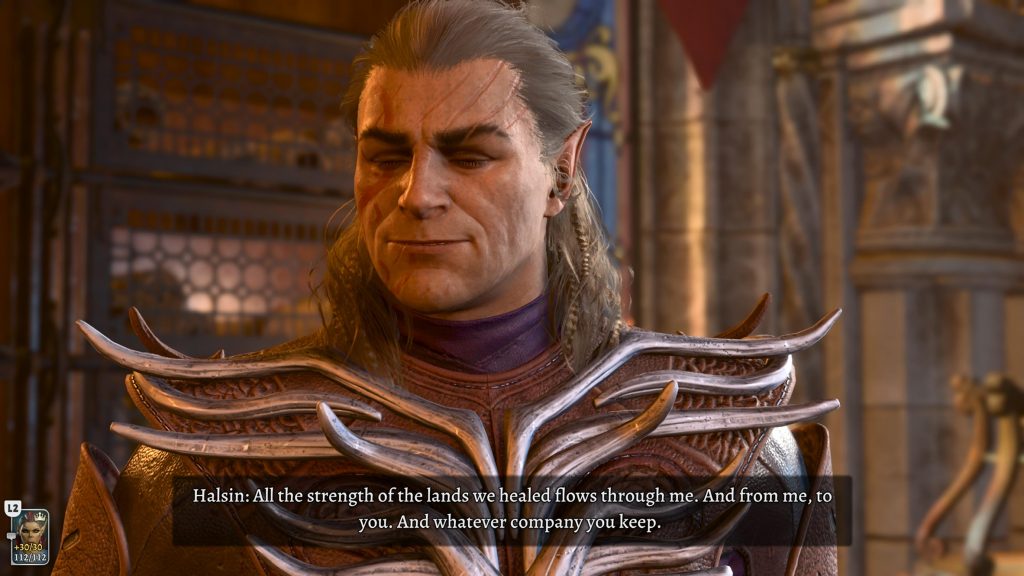
When you play the game, you can choose to play as any of the Origin characters, a Tav, or The Dark Urge. You can enter into a romantic relationship with any Origin character, Minthara, or Halsin; sometimes you can romance more than one in a single playthrough. (As I’ve said before, BG3 has been described as a dating sim with lots of sidequests.)
As each character’s story evolves, you can choose the direction of that evolution. For some of the characters, it’s a binary choice between light vs. dark, or loyalty vs. freedom. For others the choices are more complex.
Those choices, in turn, can affect the story and environment.
All of this weaves together such that each playthrough becomes unique.

You don’t have to play with all these characters in the game. If you search the web, you’ll see some players automatically kill all the Origin characters they meet just to add to the game’s challenge, or because they don’t want any distractions.
I tend not to kill off the main characters. As I’ve said before, it’s all about the choice.
Playthrough 10: The story
After struggling to put a Hireling at the forefront of the story in playthrough 8, and the darkness of the story in playthrough 9, I needed a break from high drama.
In playthrough 10, I basically stuck to a “good” playthrough, in the sense that I had the characters choose light, freedom, loyalty, and morally upright options. I intend to explore the dark side in at least one future playthrough, but this was not it.
Playthrough 10: The relationship
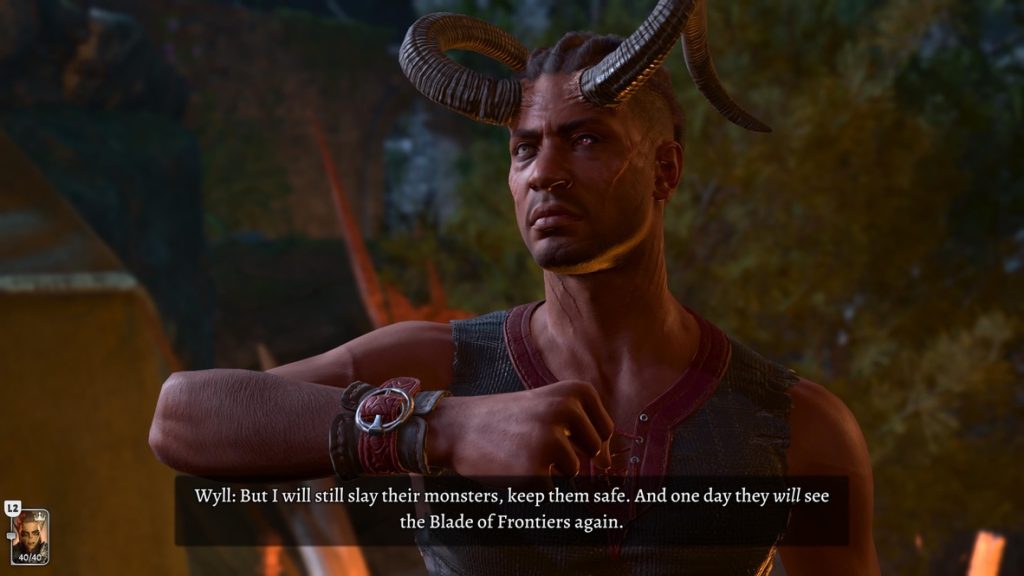
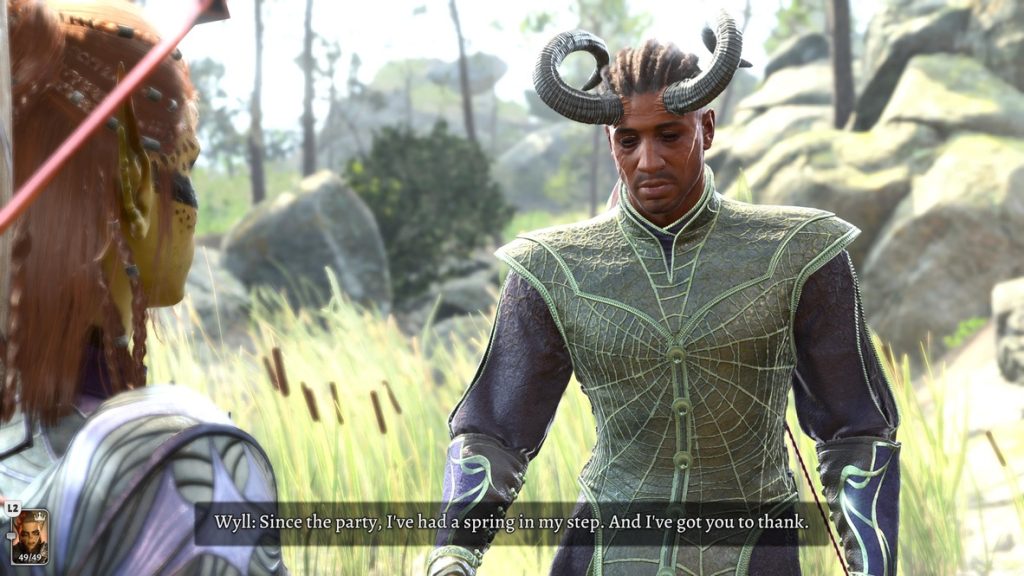
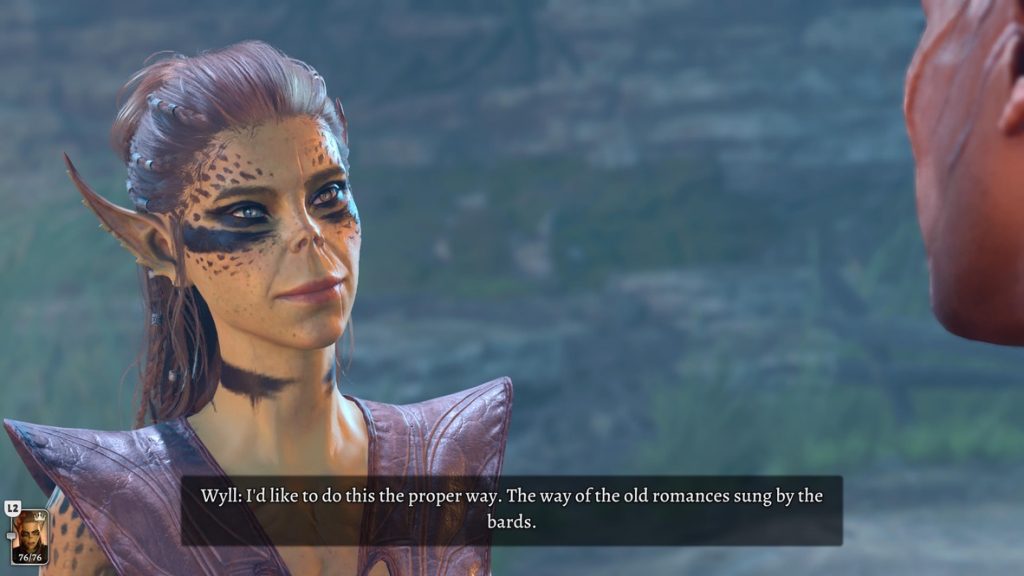
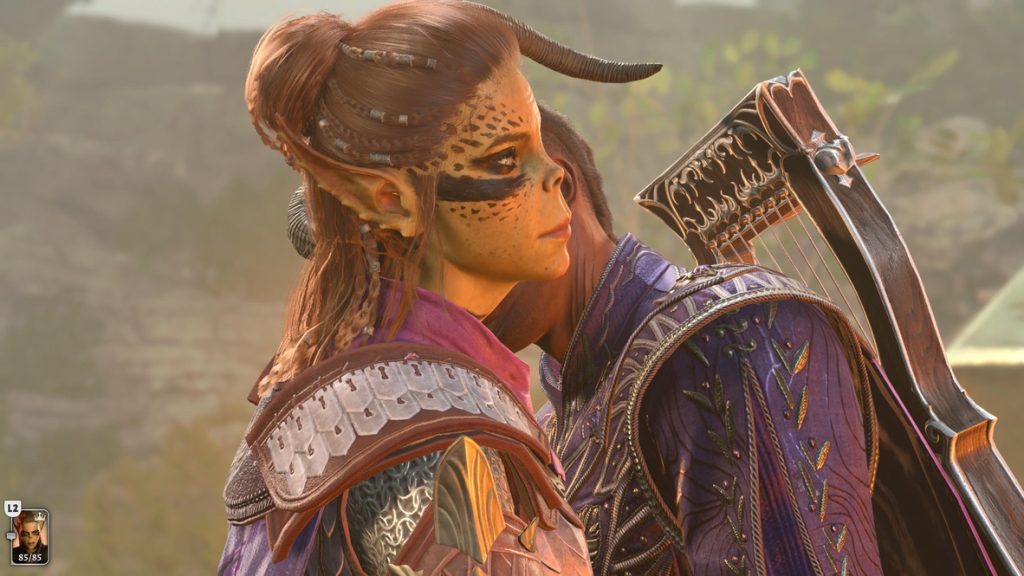
As I mentioned in an earlier post, my main story goal for playthrough 10 was to romance Wyll. I chose to do this while playing Lae’zel.
I discovered that a relationship with Wyll was different from the other characters:
-
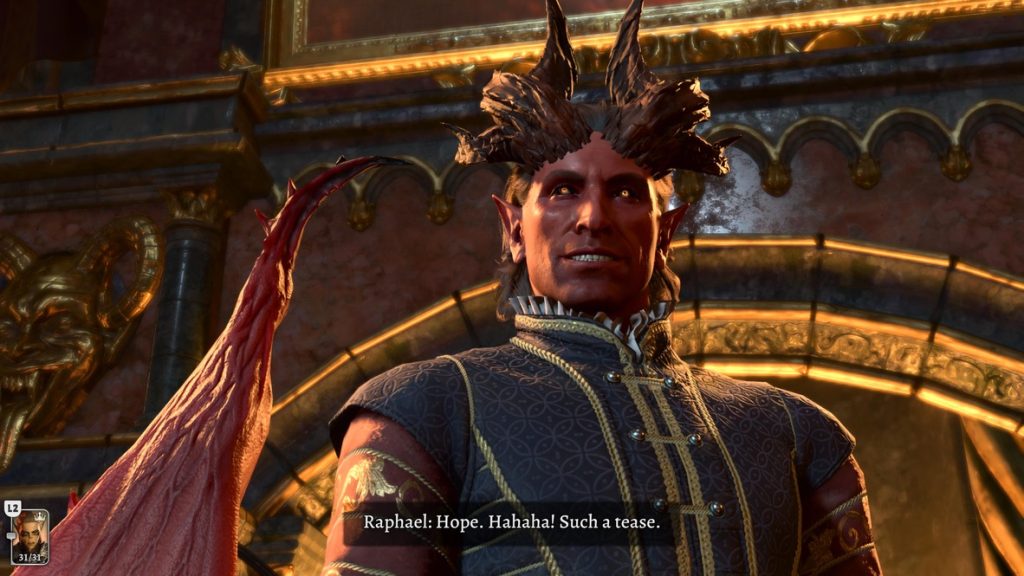
As far as I could tell, Wyll is only the character with whom there is not an explicit sex scene. If you’d prefer to have a game relationship without potential nudity in the cutscenes, Wyll is definitely the best choice.
For the intimate scenes involving other characters, you can turn off nudity in the game’s options, if you want to set up parental controls or just don’t want to see it. As always, BG3 gives you a choice.
-
Wyll is a dancer. Instead of a sex scene, you get a scene in which you dance with him.
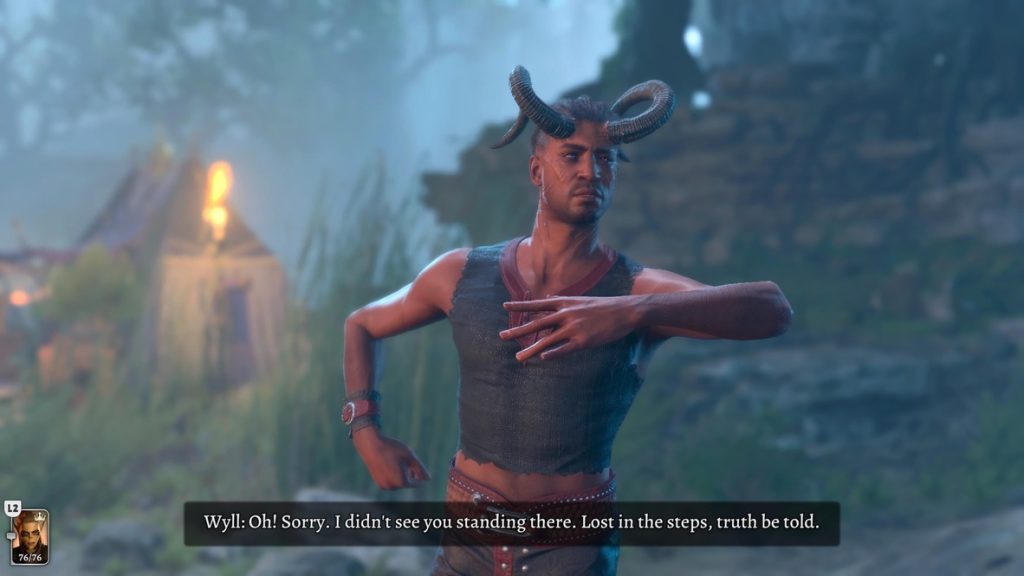
From what little I know of the technology of motion capture, it must have been difficult to set up a sequence in which two computerized models interact via dance.
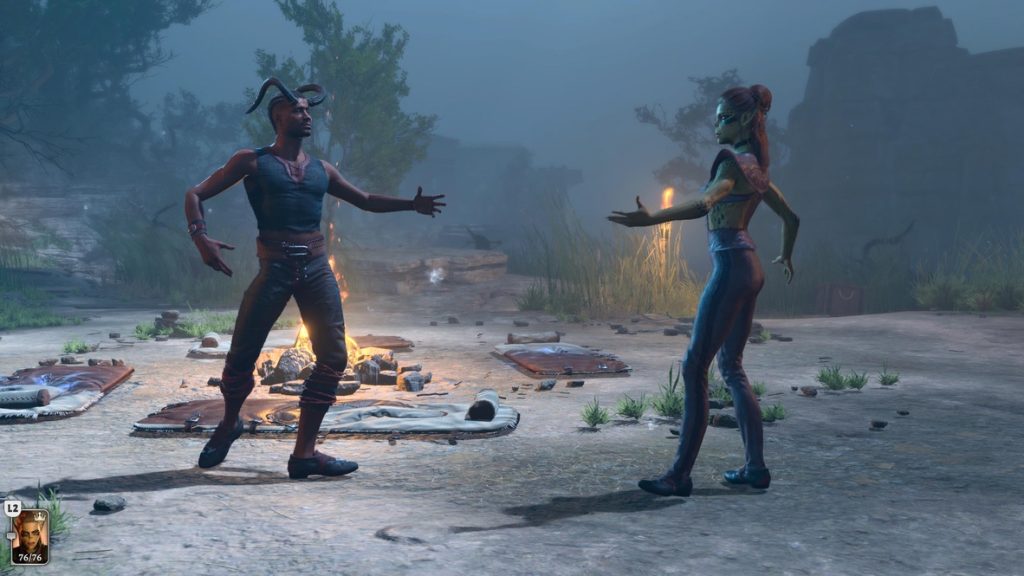
Larian does not like to shy away from a challenge.
-
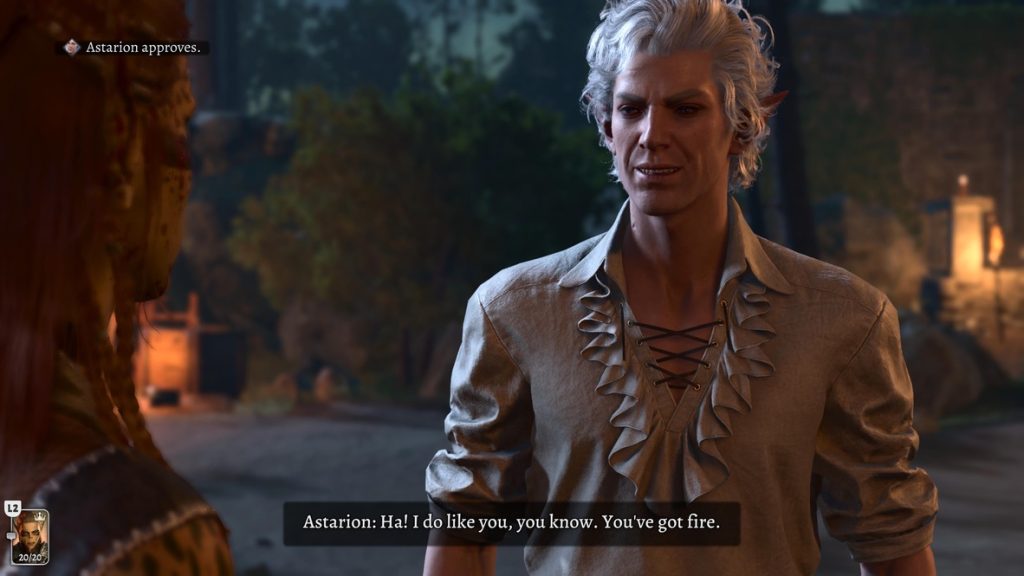
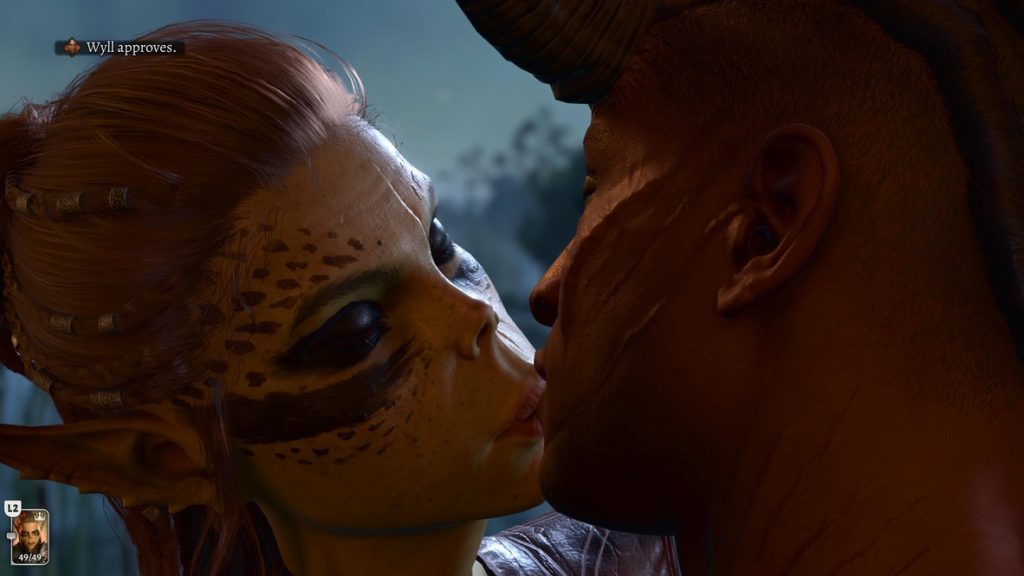
I’ve mentioned before how, since a game update a few months back, each character kisses differently:
- Minthara kisses fiercely.
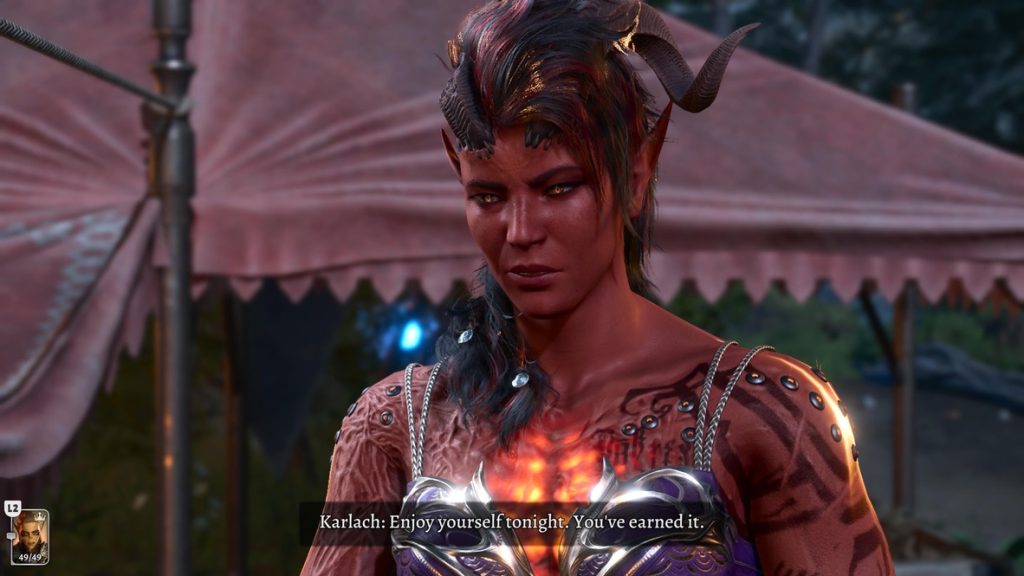
- Karlach kisses with joy.
- Lae’zel kisses shyly, as she’s not used to affection.
- Astarion, if you choose a dark path for him, kisses as a power dynamic.
Wyll kisses with a dance.
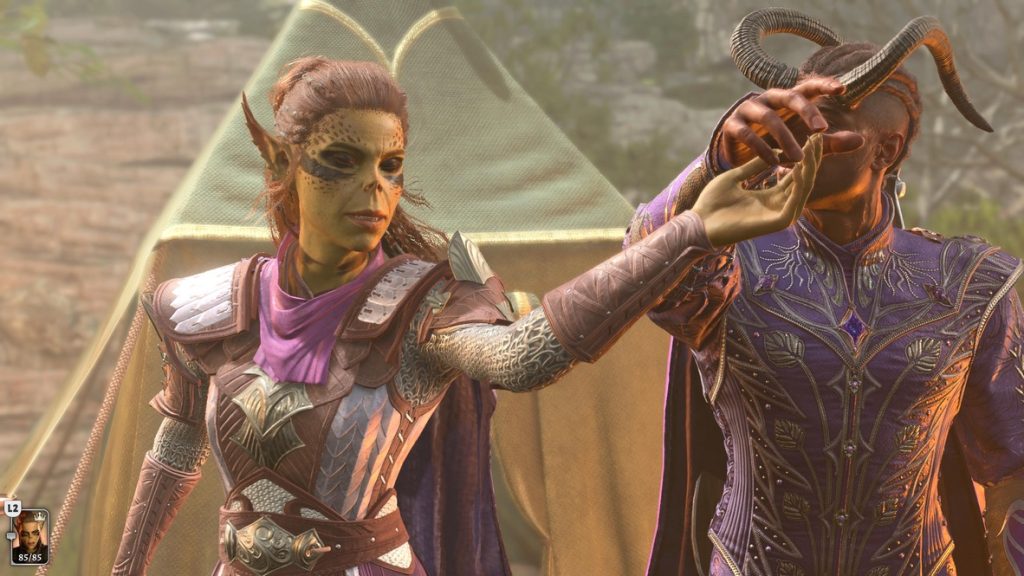

There is no question that Wyll is the most Romantic of all the characters, in the classical sense of the word.
Playthrough 10: The Protectors
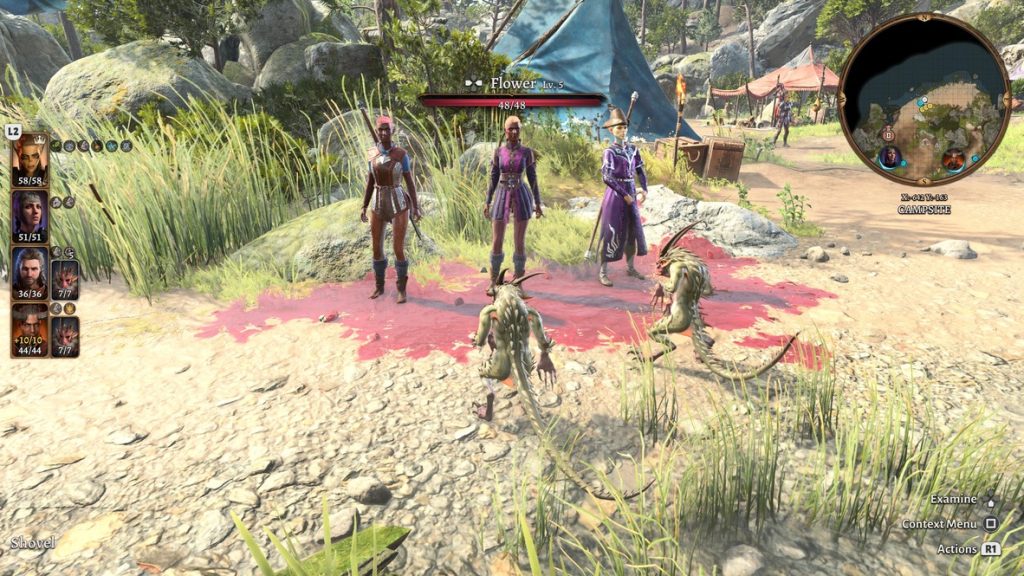
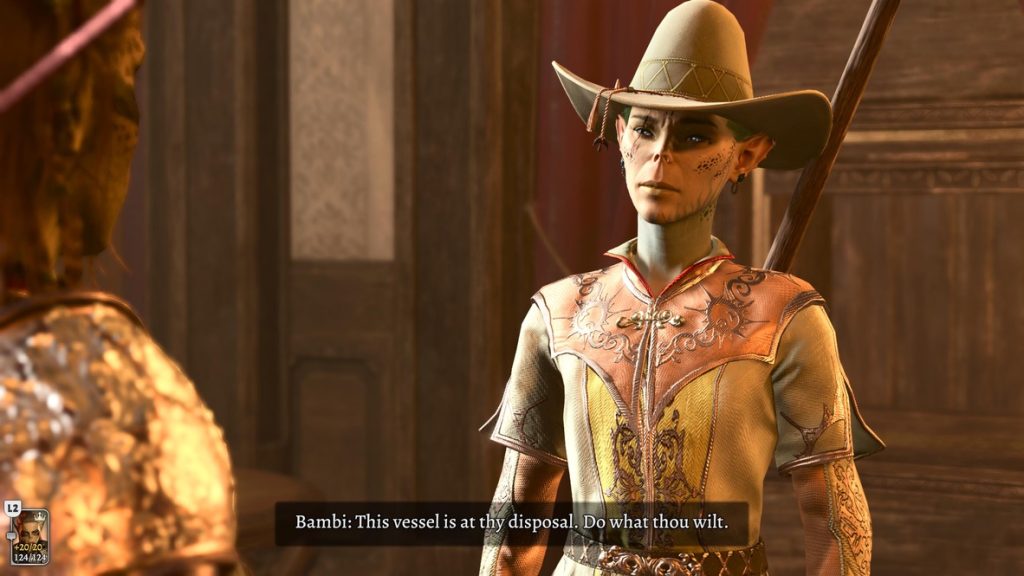
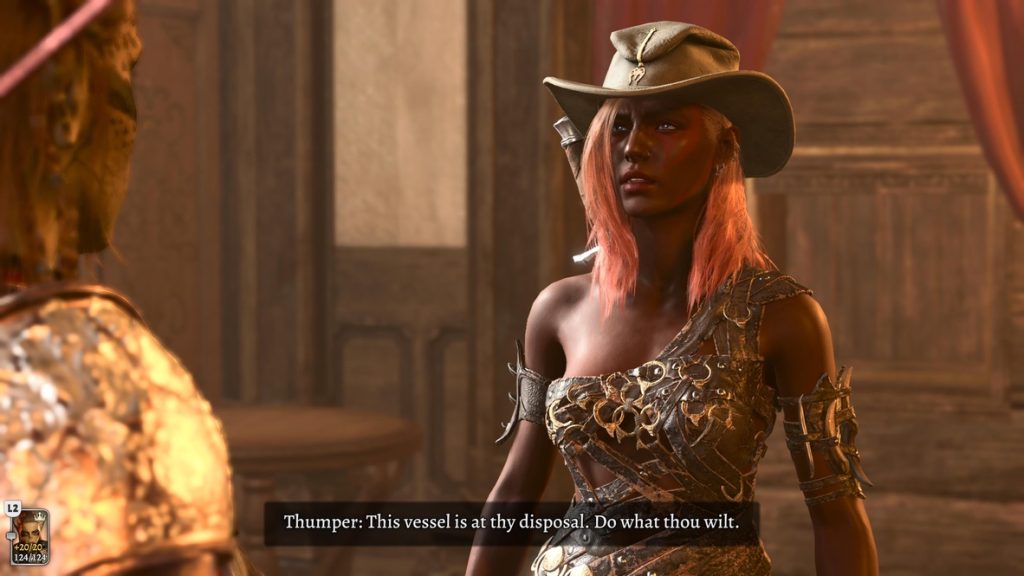
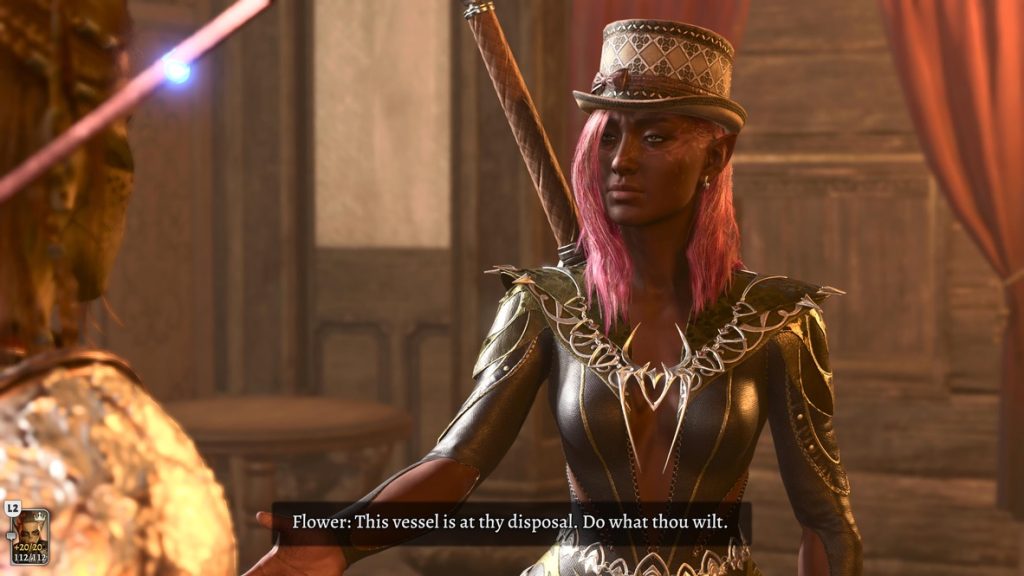
You may recall that much of the drama in playthroughs 8 and 9 were associated with the names I gave to the Protectors, the hirelings I use to cast protective spells on the party.
This time, to avoid drama, I started with just two Protectors. I named them Bambi and Thumper, after the two bodyguards in the James Bond film Diamonds Are Forever.
Later, as a mild convenience (playthroughs 8 and 9 demonstrated that I really only need two Protectors) I added a third: Flower, which completed the Bambi reference.
This time there was no hireling drama, either created by others or within my fevered brain.
If you’d like to be memorialized as a team of hirelings in one of my future playthroughs, ask. Be forewarned that I may say no.
Story plans for Playthrough 11
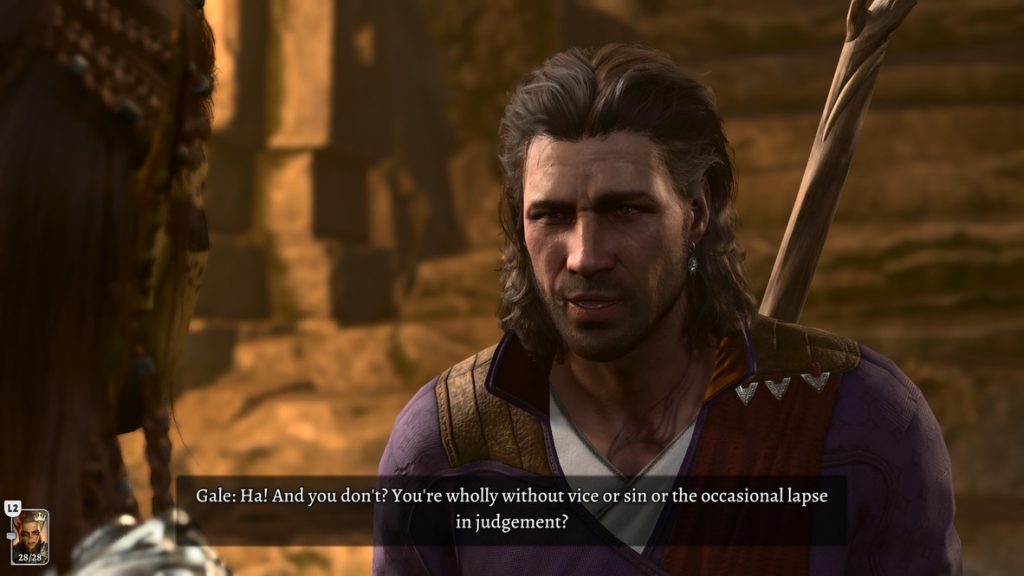
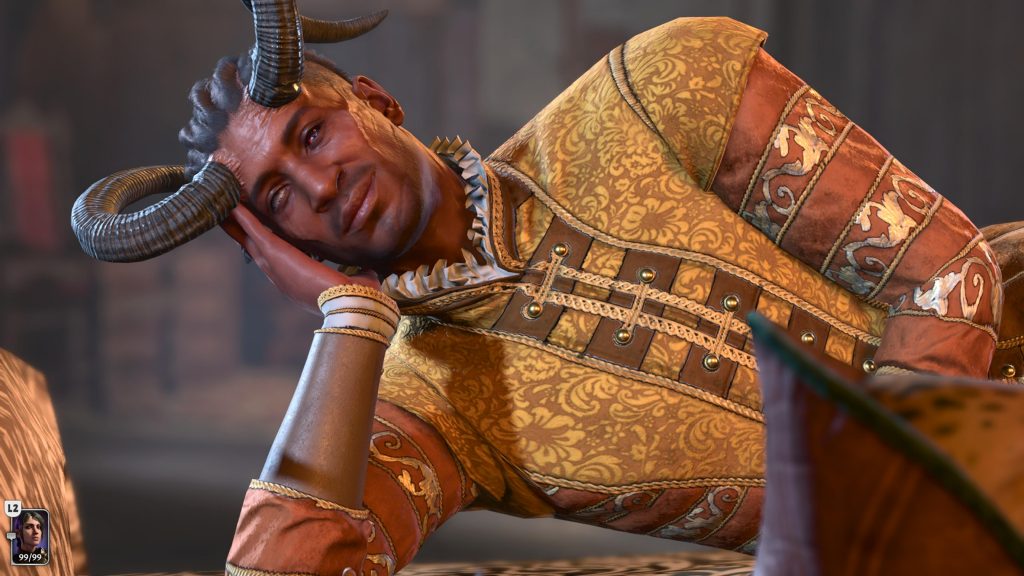
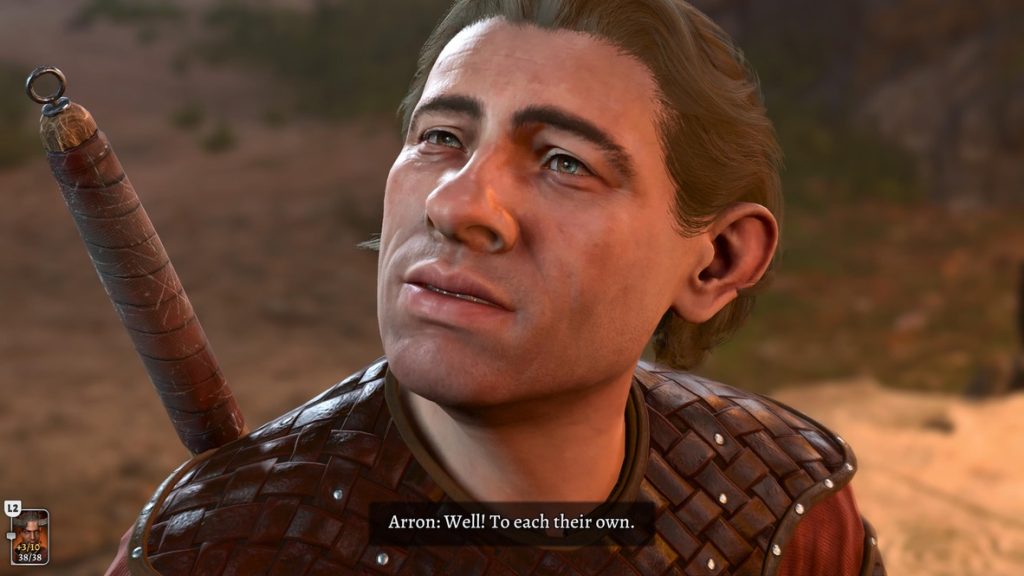
There’s one last character with whom I’ve not had my Avatar romance: Gale. He’ll be the “target” of my next playthrough.
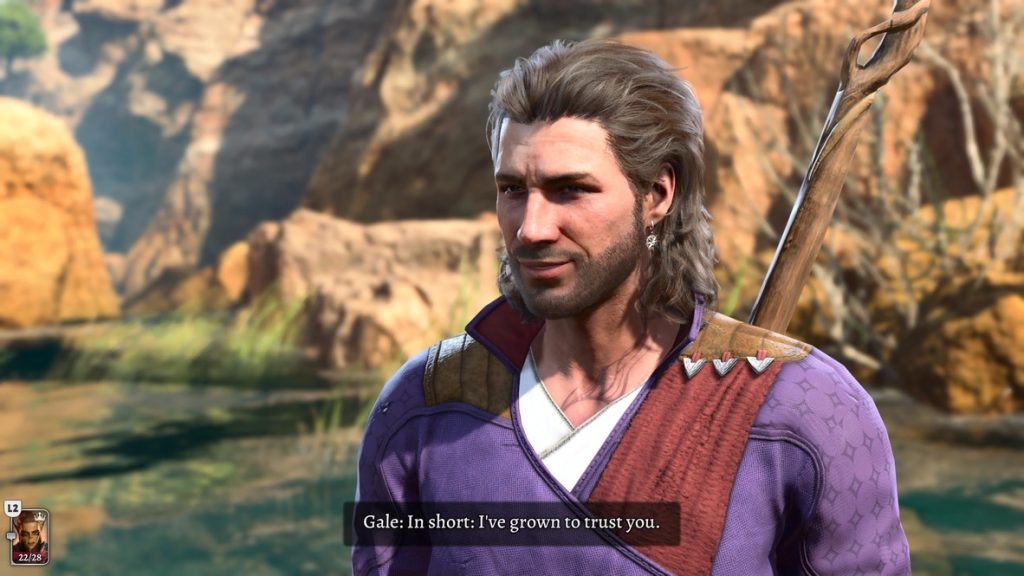
Beyond that: I have not romanced Shadowheart since that “kissing” game patch (aka Patch 6). I want to return to her.
Further in the future, I’ve seen indications that some characters kiss differently depending on the choices you make for them. For example, as I mentioned before, I believe Astarion kisses differently late in the game if you choose for him a “light” path versus the “dark” path I chose in my previous playthrough. The same might be true of Shadowheart. Wyll’s connection with your Avatar at the very end of game might depend on a choice you make for his personal future earlier in the game.

As I said, the game’s story offers much to explore!
Recipes
Before I move on to the system-based aspects of playthrough 10, I ask that you don’t click away just yet.
I want to offer perspective on why I get into the mechanics of the BG3+D&D5e system in these blog posts. It may make those sections worth reading.
If not, you can always find something else on the web!
As I’ve mentioned repeatedly in this series of posts, I really dislike the D&D system. BG3 takes away a few of the rough edges, but in my mind it’s still the same thing I came to know and loathe in the 70s.
Even if I want to play BG3 for the story, I still need to understand enough of the D&D5e system to play it effectively. However, I feel no incentive to start hunting through the multiple volumes of D&D rules and lore to build a character.
That means that I rely on others to design characters for me. I get these designs off the web: some from YouTube; some from Reddit; a few from various gaming sites.
In a way, you can look at a character’s design as a recipe. Imagine that I’m someone who doesn’t like to cook, but wants to bake foods for their friends to enjoy.
What one does is try lots of recipes, to understand what works and what doesn’t.
My end-of-playthrough system assessments are my record of what recipes I found to be successful. If they worked, I can use them again. If they didn’t, I can look for others.
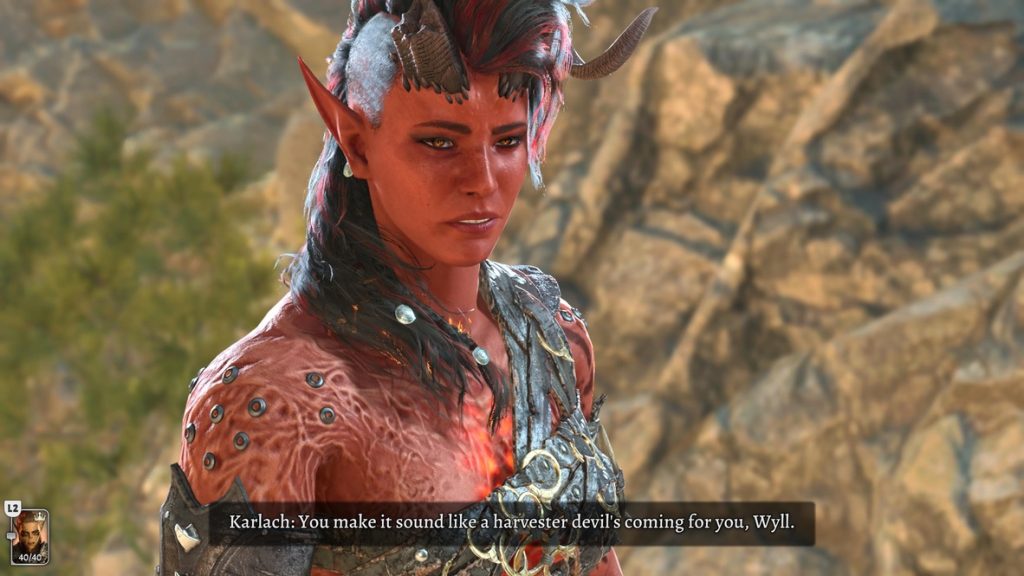
The different recipes introduce more variety between different playthroughs. I can play Karlach as a Barbarian, for example; that’s the character class she’s assigned at the start of the game. But I can change her into a Fighter, a Monk, a Wizard, or anything I choose.
In the case of Karlach, whose background and race do not lend themselves to being a Sorcerer (for example), it adds a mild challenge that does not exceed my limited skill with the game.
The reason why I described the system aspects of my playthroughs before the story in my earlier BG3 posts is that I was “eating the cake before the frosting”; that is, getting the necessary-but-dull stuff out of the way before getting into the fun stuff. As I said, I now recognize this was a mistake. Icing before cake from now on!
Let’s just hope the cake recipe is a good one.
Playthrough 10 – System end-game assessment
Once again I completed the game from start to finish in Balanced difficulty.
As a reminder, BG3 has four levels of difficulty: Explorer; Balanced; Tactician; Honour. I’d stick to Explorer, except that mode does not permit multi-classing; in previous Explorer playthroughs I had to temporarily switch to Balanced if I wanted to spec a character with multiple classes. It wasn’t much of a hassle, but once I got a handle on the game I found it easier just to stay in Balanced difficulty. That will be my default level of difficulty from now on.
This was a successful playthrough in terms of character design. I was able to stick to all the builds I initially planned for the characters through to the end of the game.
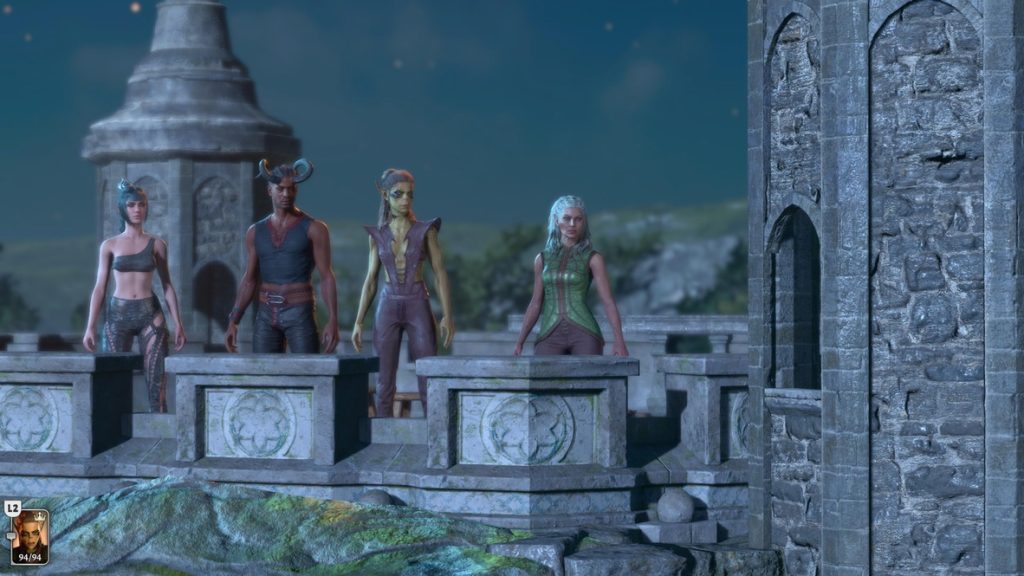
These are the characters as they were just before the final battle.
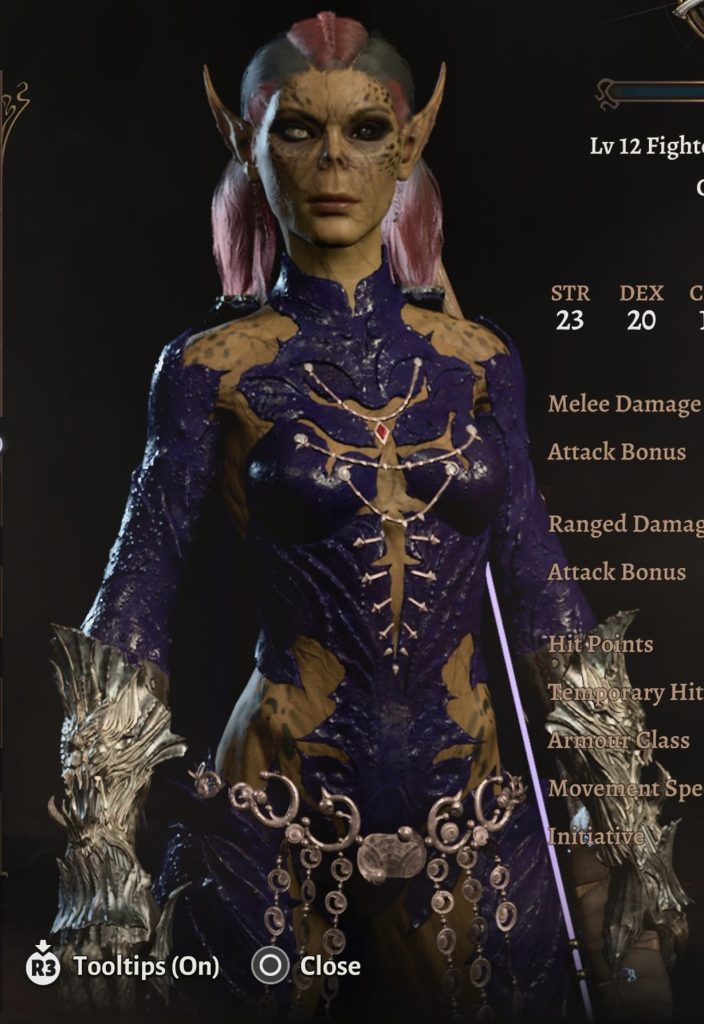
As you’ll see, I also indulged in some “Barbie dress-up” as I experimented with different armor dyes.
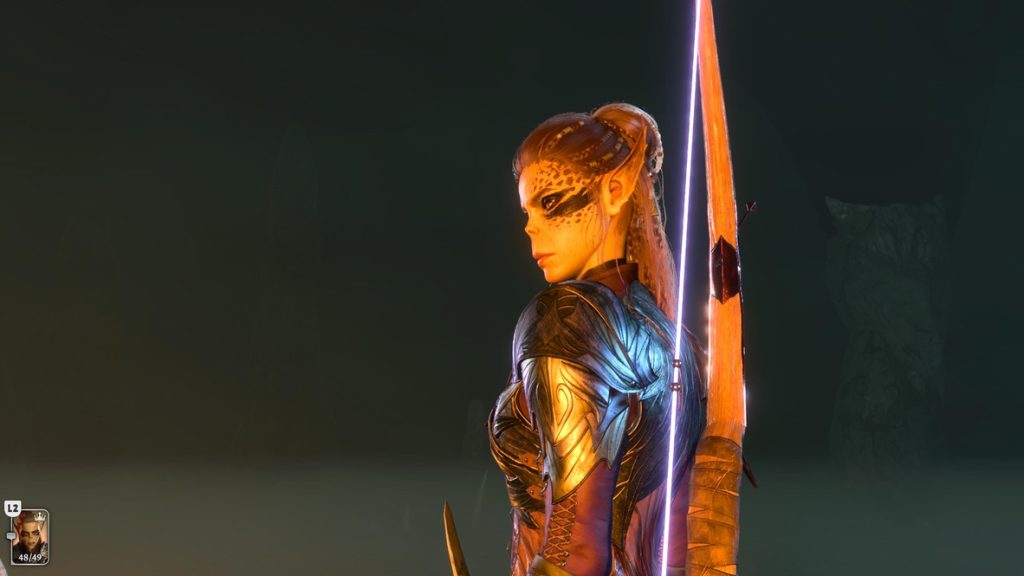
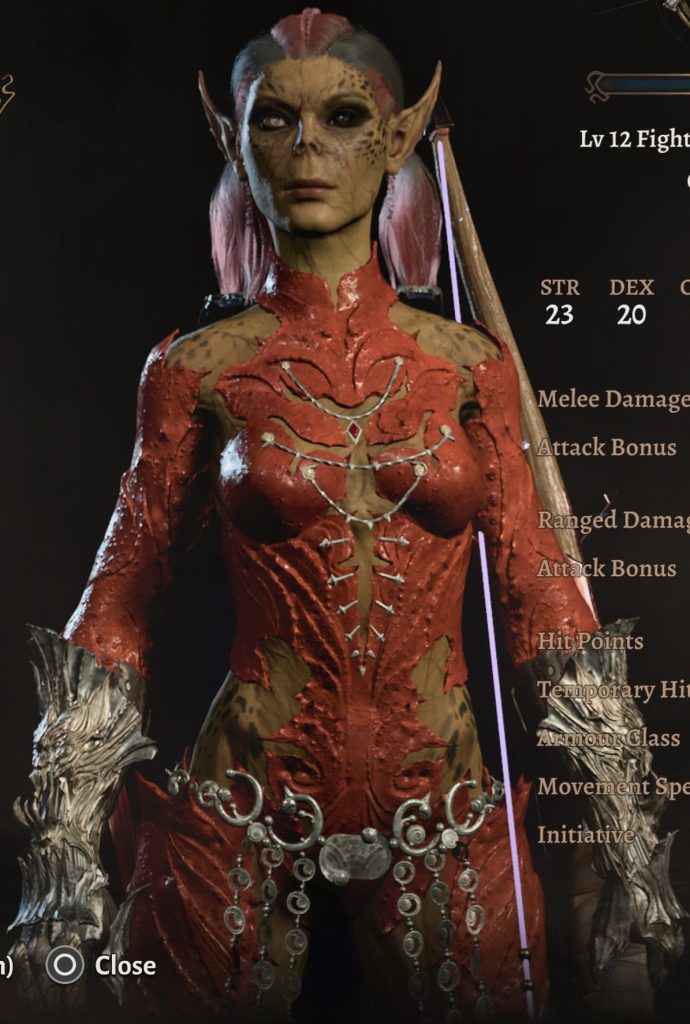
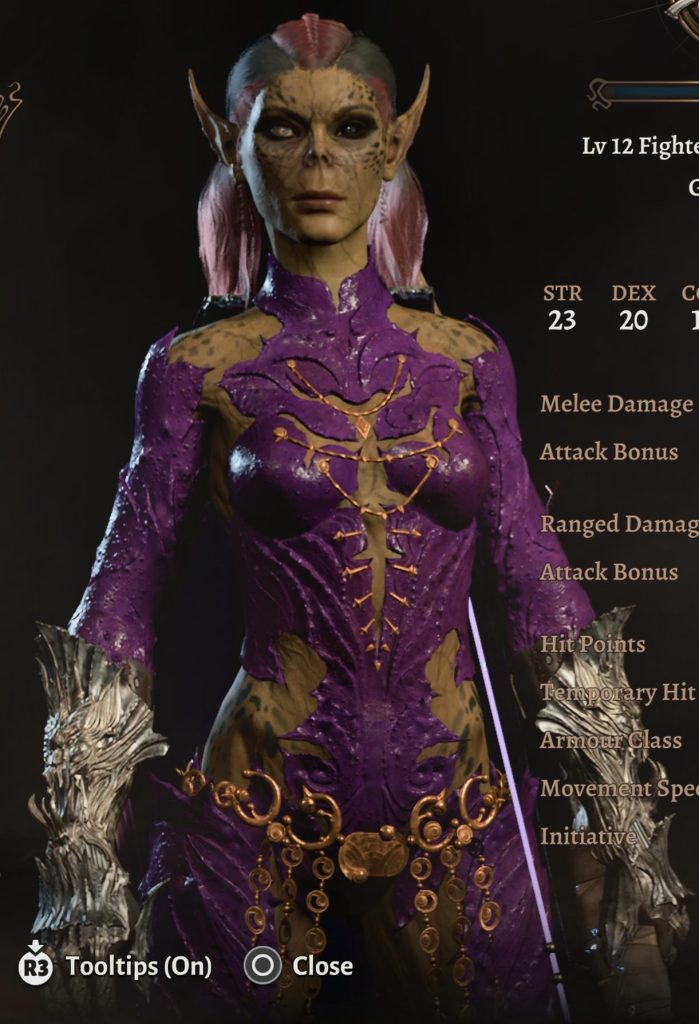
Lae’zel as an Eldritch Archer
12 levels of Eldritch Knight
STR 8 (23 with Gauntlets), DEX 20 (originally 17, +2 from Mirror, not sure how I got the last +1), CON 16, INT 16 (orig 14, +2 from ASI), WIS 12, CHA 8
AC 17, 23 with Armor of Agility
Helm of Balduran
Fleshmelter Cloak
Mutilated Carapace (shapeshifted into Femme Githyanki)
also: Armor of Agility
Disintegrating Night Walkers
Gauntlets of Hill Giant Strength
Band of the Mystic Scoundrel (rarely used; probably should have stuck with Shapeshifter’s Boon)
Caustic Band
Broodmother’s Revenge
Balduran Giantslayer (healing + Broodmother’s = arrows always poisoned)
Titanstring Bow
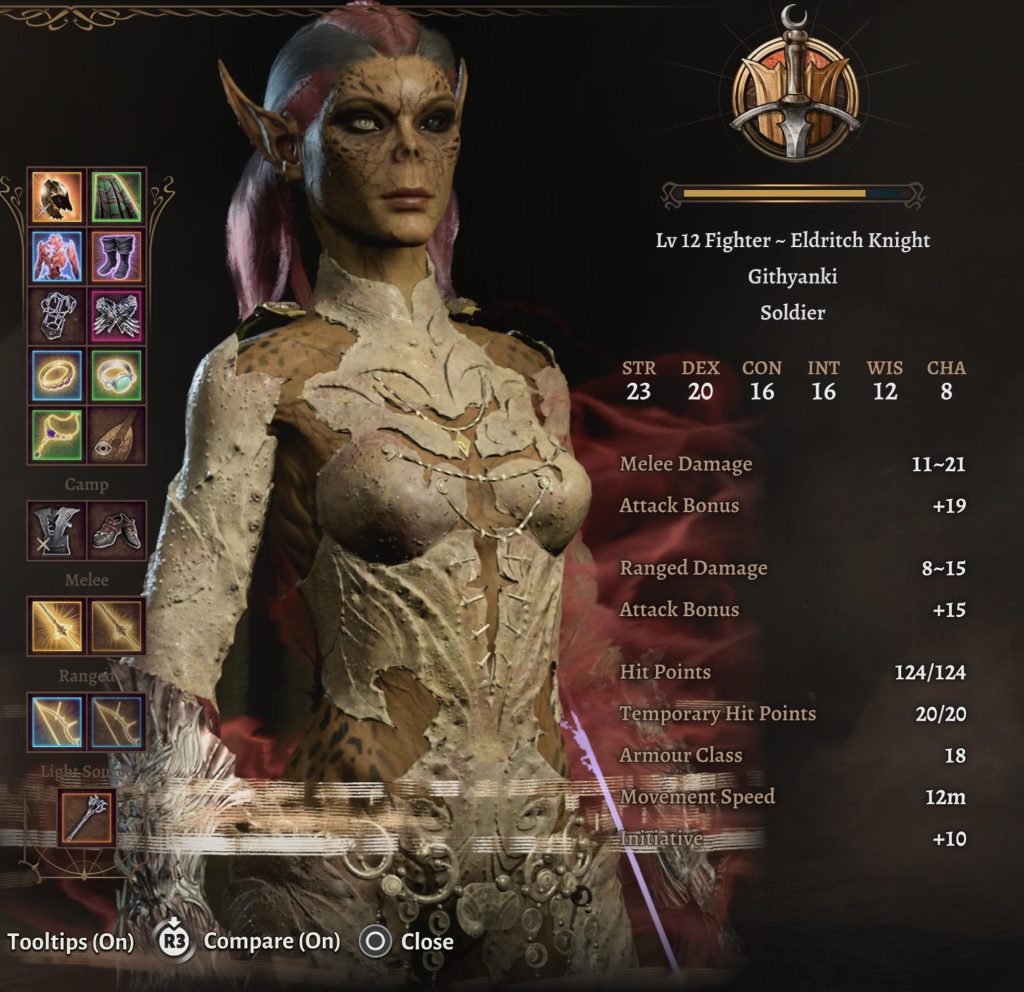
For the final battle, I decided that I would go for slightly higher damage at the expense of a lower armor class; Lae’zel wore the Mutilated Carapace instead of the Armor of Agility she’d worn up until the final battle.
As an Eldritch Archer, the build was more “Archer” than “Eldritch”. She was doing so much damage with each hit that I rarely had incentive to cast any spells. Still, her damage was fairly impressive; she did 360 points of damage to a 400-point Dragon in a single turn.
Her final armor, the Mutilated Carapace, is made from the flayed skin of the victims of the Assassin Queen. This has a rather gory appearance.
However, I found that the clothing dyes work on it. I tried a few, finally settling on one that I thought kept her dignity.


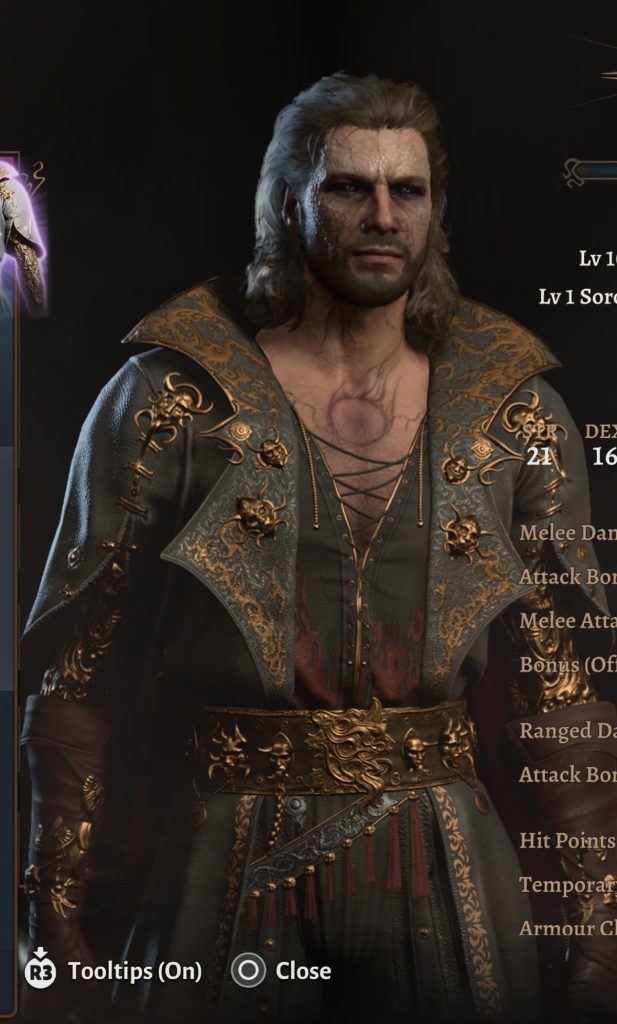
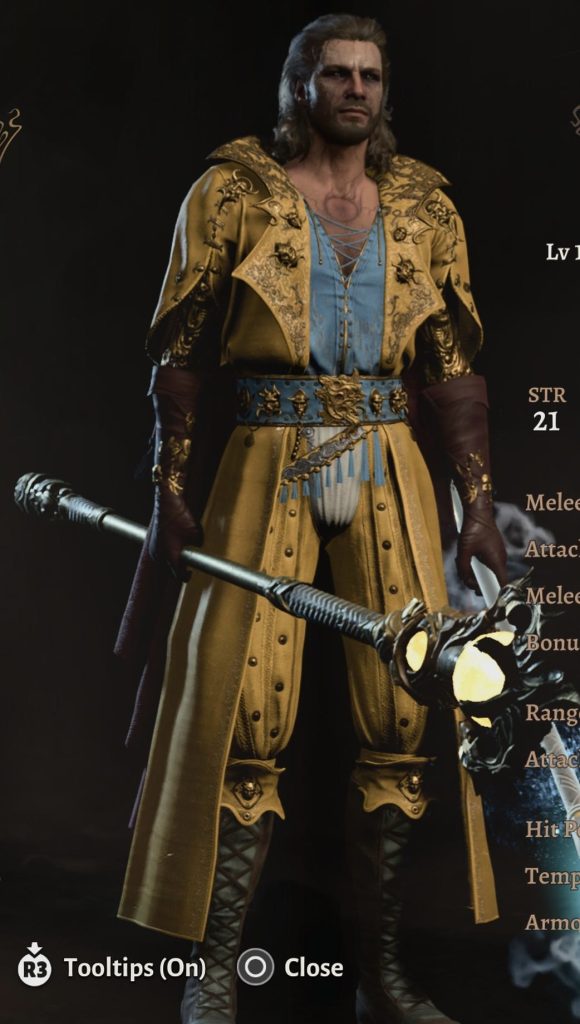
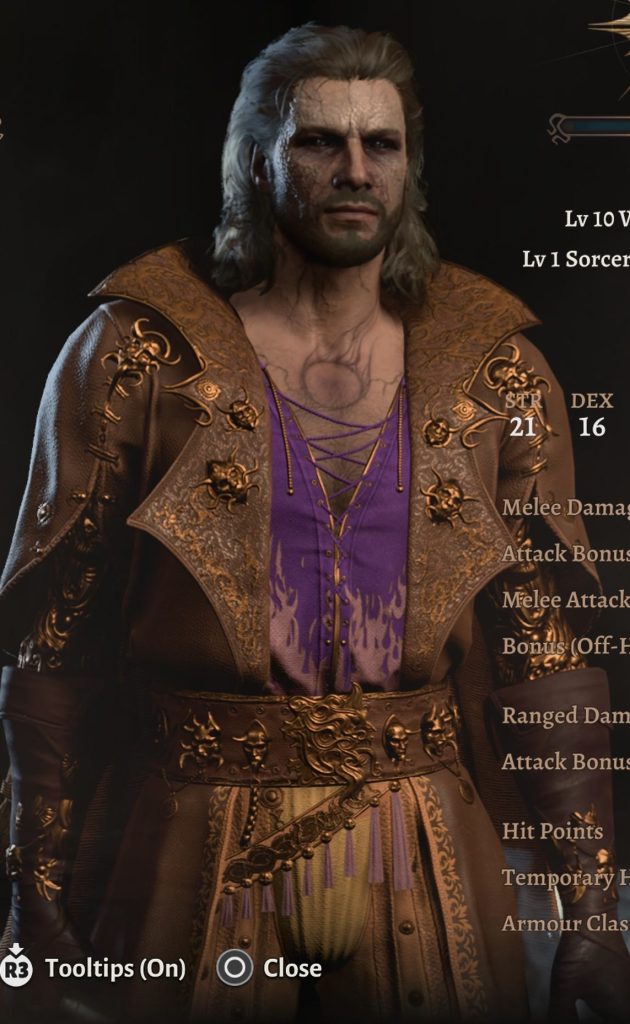
Wyll as a Sorlock
I’ve used a “Sorlock” (part Sorcerer, part Warlock) build previously. It was just as successful now as it was then, if not more so.
6 levels of Draconic Sorcerer, 2 levels of Great Old One Warlock, 4 levels of Fighter
STR 8, DEX 16, CON 23 (with amulet, orig 14), INT 8, WIS 10, CHA 22 (orig 17, +1 from Hag, +2 from Mirror)
AC 21
Spell Save DC 21, Spell Attack +15
Fistbreaker Helm
Cloak of Protection
Potent Robe
Helldusk Boots
Craterflesh Gloves
Ring of Protection
Risky Ring – at final battle, failed checks against Flee and Fear
Amulet of Greater Health
Infernal Rapier
Ketheric’s Shield
The Dead Shot
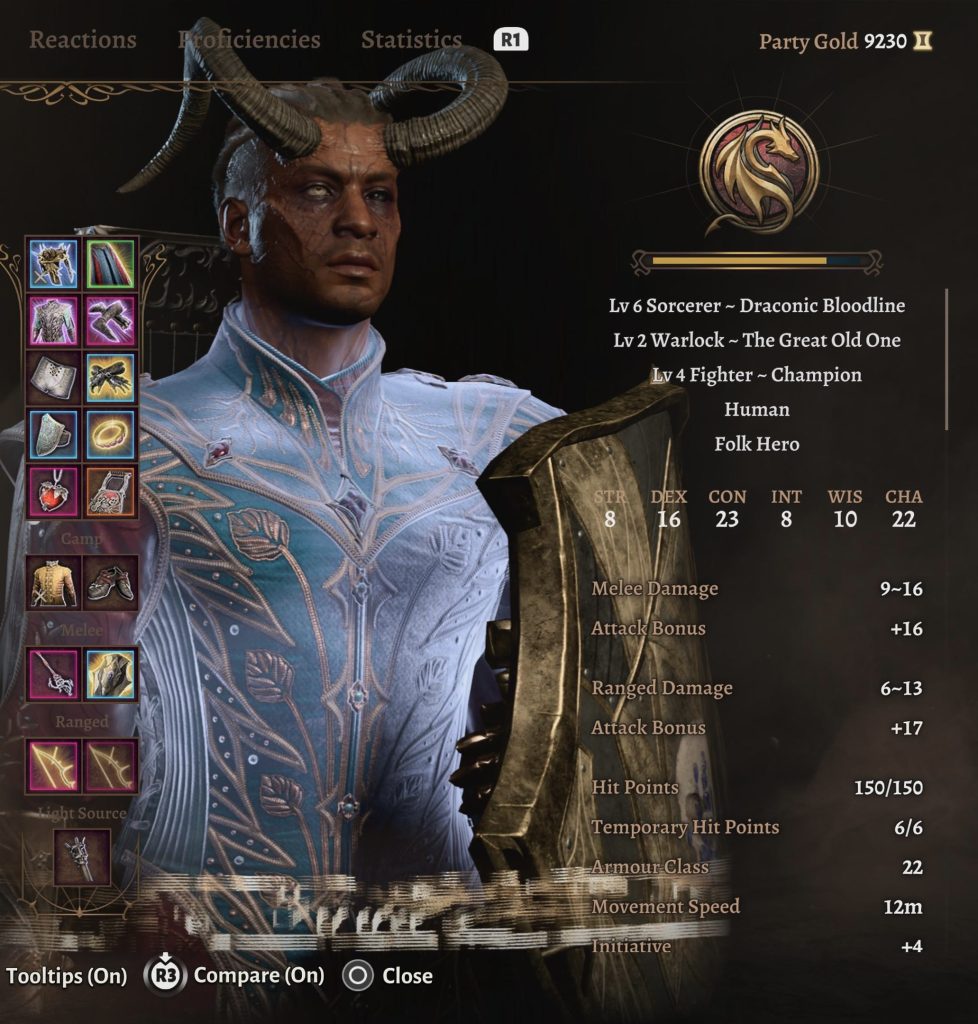
The main mistake I made with Wyll’s gear was the Risky Ring. He became the target of Flee and Fear spells; because the ring gave him disadvantage on mental saving throws, he was effectively paralyzed for half the battle. If I’d been smarter, I would have given him the Fey Semblance Amulet or the Cloth of Authority, instead of giving those to Shadowheart and Gale respectively.
Lesson: keep in mind gear combos that negate disadvantages.
Shadowheart as a Radiant Brawler Cleric
6 levels of Light Domain Cleric, 6 Levels of Open Hand Monk
STR 8, DEX 18, CON 16, INT 8, WIS 16, CHA 8
AC 20
Spell Save DC 15, Spell Attack +11
Diadem of Arcane Synergy
Thunderskin Cloak
Luminous Armor
Boots of Stormy Clamour
Luminous Gloves
Callous Glow Ring
Coruscation Ring
Fey Semblance Amulet
Devotee’s Mace
Viconia’s Walking Fortress
Darkfire Shortbow

Another successful build. According to the video, the main function of the Radiant Brawler is to apply many debuffs to the enemy so that other characters can more easily defeat it. However, Shadowheart did so much damage on her own that she typically defeated any enemy she attacked.
Gale as a Retaliation Wizard
Level 1 Fighter (dual-wield staffs), Level 1 Draconic Sorcerer (for Armor of Agathys), 10 levels of Abjuration Wizard
STR 8, DEX 16, CON 12, INT 20 (+2 from Mirror), WIS 14, CHA 8
AC 21 (Armor of Persistence), AC 18 (Cloth of Authority for Assassin Queen fight; might have been good for Wyll during final battle), AC 19 (Robe of the Weave)
Spell Save DC 26, Spell Attack +22
Hood of the Weave
Cloak of the Weave
Cloth of Authority
also: Armor of Agility
also: Robe of the Weave (didn’t depend much on spells with saves)
Hoarfrost Boots (to maneuver with Ice spells during Queen fight; should have switched to Boots of Speed)
Helldusk Gloves
Ring of Elemental Infusion (which didn’t do anything; bonus actions went to Dash)
Ring of Free Action
Necklace of Elemental Augmentation (for Ray of Frost)
Markoheshkir
Staff of Spellpower
Gontr Mael
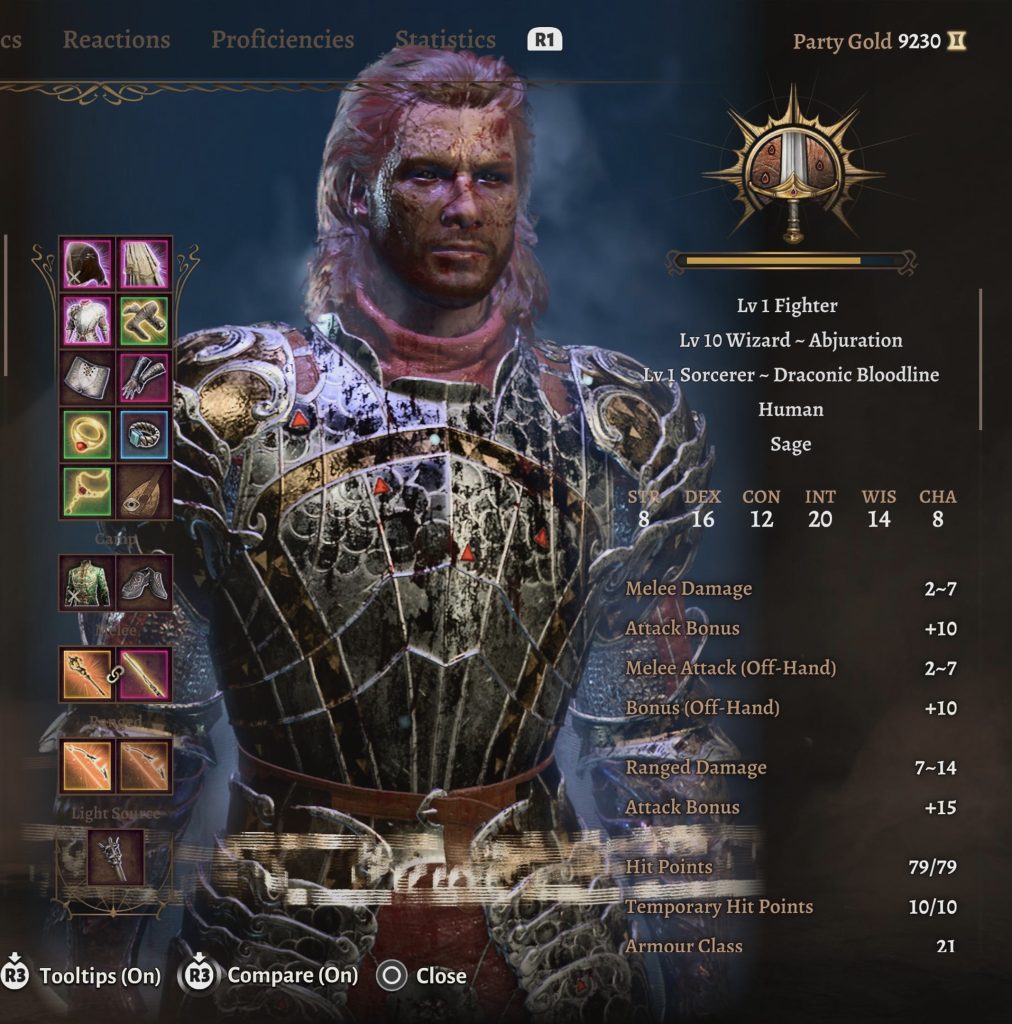
This was more successful than the last time I tried it. I managed to get at least some enemies to kill themselves by hitting Gale.
I decided to put the build to the ultimate test and had him enter a solo battle with the Assassin Queen. He got through it. However, the battle was more complex than I planned. I set up the story to make it a one-on-one battle between just Gale and the Queen. Instead the fight was with all her forces against just Gale, the way it would have been if she had fought the entire party.
It’s a testament to the build that Gale got through it. However, I hoped for that one-on-one confrontation so I could see the Queen kill herself with her multiple attacks. She used her “defeat the party” strategy instead of her “one-on-one” strategy so I didn’t get a chance to see her commit suicide.
Gale wore the Cloth of Authority into the fight because the Queen often begins the fight with multiple casts of Fear.
Like the Mutilated Carapace, the Cloth of Authority takes nicely to dyes.
Now that I’ve made Retaliation Wizard work, I think I’ll retire the build. There are more interesting things to do with spellcasters.
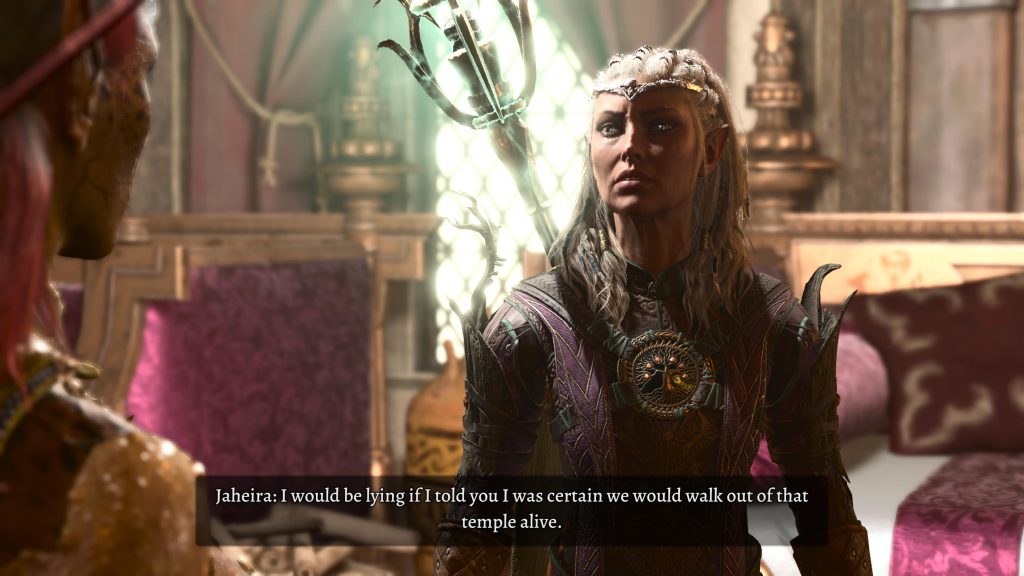
Jaheira as a Spore Druid
As a “side-quest”, I was able to complete my “Druid trifecta”: I previously got the Moon Druid (animal transformation) and Land Druid (area control) sub-classes to work. For the first time, I got a Spore Druid to work by “adopting” Jaheira as soon as she became available to include in the party.
Level 6 Circle of the Spores Druid / Level 6 Necromancy Wizard
STR 10, DEX 8 (18 with Gloves of Dexterity), CON 14, INT 16, WIS 16, CHA 10
AC 19
Spell Save DC 16, Spell Attack +8
Circle of Bones
Cloak of Displacement
Armour of the Sporekeeper
Boots of Striding
Gloves of Dexterity
Ring of Exalted Marrow
Crypt Lord Ring
Corvid Token
Staff of Cherished Necromancy
Adamantine Shield
Light Crossbow +1 (all the nifty bows were in use by others)
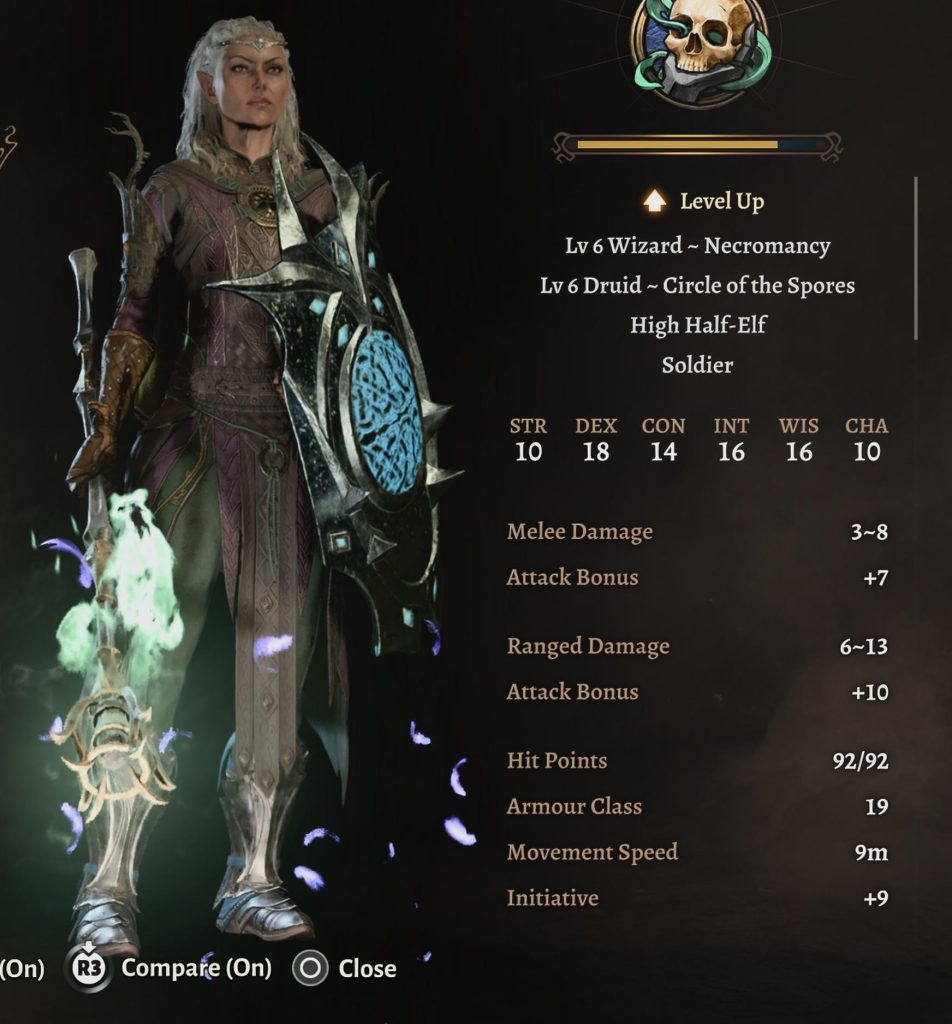
To be specific, the build was basically a Necromancer, leveraging a Spore Druid’s ability to create many creatures with a Necromancy Wizard’s ability to control Undead. In combat, Jaheira mostly used the “bug zapper” strategy: She kept recasting Moonbeam or Sunbeam on enemies. Instead of attacking her to break her concentration, the enemies attacked her less-armored Zombies.
This a successful build and I could have taken her all the way through to the final battle. However, there was something story-related I wanted to explore with Gale at the end of the game; he was in the final party instead of Jaheira.
Wrapping it up
Pingback: Baldur’s Gate 3 – Playthrough 11 – Break it down – The Argothald Journal
Pingback: Baldur’s Gate 3 – Playthrough 11 – Zapper Disaster – The Argothald Journal
Pingback: Baldur’s Gate 3 – Playthrough 11 – Romancing a Wizard – The Argothald Journal
Pingback: Divinity Original Sin II – The Argothald Journal
Pingback: Baldur’s Gate 3 – Playthrough 12 – More Relationships – The Argothald Journal
Pingback: Baldur’s Gate 3 – Playthrough 12 – Bits and Pieces and Nudity – The Argothald Journal
Pingback: Baldur’s Gate 3 – Playthrough 12 – Wrapping it up – The Argothald Journal
Pingback: Baldur’s Gate 3 – Playthrough 13 – Wicked – Coven – The Argothald Journal
Pingback: Baldur’s Gate 3 – Playthrough 1/14 – Approvals and Interruptions – The Argothald Journal
Pingback: Baldur’s Gate 3 – Playthrough 2/14.5 – Raelia and Tavelle – The Argothald Journal
Pingback: BG3 – Summoned creatures, throwing potions, and consoles – The Argothald Journal
Pingback: Baldur’s Gate 3 – Playthrough 8’/2.5 – Reality – The Argothald Journal
Pingback: Baldur’s Gate 3 – Playthrough 8’/2.5 – Druid Angela and Mor’lith – The Argothald Journal