About two years ago I wrote a series of posts on why I didn’t want to upgrade the operating system on my 27-inch iMac.
You’ve guessed it: I had to upgrade last October. That 2013 iMac was showing increasing problems, and there were software incompatibility issues that become too much to overlook.
In this post, I’ll review my previous objections and how I resolved them on my new computer, an Apple Studio M1.
Entertainment
In Part 1, I wrote about how my old Konfabulator widgets would finally no longer be available.
As I anticipated, I simply got over it. With the availablity of Wordle and its various clones, and my daily Klingon lesson, I just don’t feel the need for those old mini-games anymore.
Remote Control
In Part 2, I talked about how I would no longer be able to reprogram my universal remote control, a Logitech Harmony Remote One. If you read the comments on that post, you’ll see that the problem was exacerbated by Logitech ending its sales of its universal remotes.
I had a little bit of luck, and got hold of an Intel Mac Mini. The Mini had a recent version of Mac OS installed, so I purchased VMware Fusion and used it to install Mojave as a guest operating system. If I ever need to reprogram that remote, I’ll have to dig out the Mini, run Mojave, and run the Harmony Remote software.
This may be optimistic. The Harmony Remote software requires access to servers that Logitech maintains. I only need to reprogram the remote when I make major changes to my entertainment system, which I might do every 5-10 years. Will Logitech’s servers still be there when that happens?
As a precaution, I purchased a Logitech Harmony Hub, which (I believe) doesn’t require Logitech’s servers to reprogram. If the Harmony One ever breaks and Logitech’s server go down so a replacement won’t help, I’ll switch to the Hub.
It’s not the most elegant solution, and all this “just-in-case” hardware takes up room in the closet. Hopefully it will be good enough.
A better solution would be if VMWare Fusion could run Mojave on an M1 Mac. That’s seems unlikely, but the folks at VMware are clever; who knows?
Keyboard
As I discussed in Part 3, I’m very accustomed to my Microsoft Natural Ergonomic Keyboard. The problem was that neither the last vestiges of Microsoft’s Intellitype software nor ControllerMate would run in anything past Mojave; those programs allowed me to use my customization of the keyboard’s function keys:
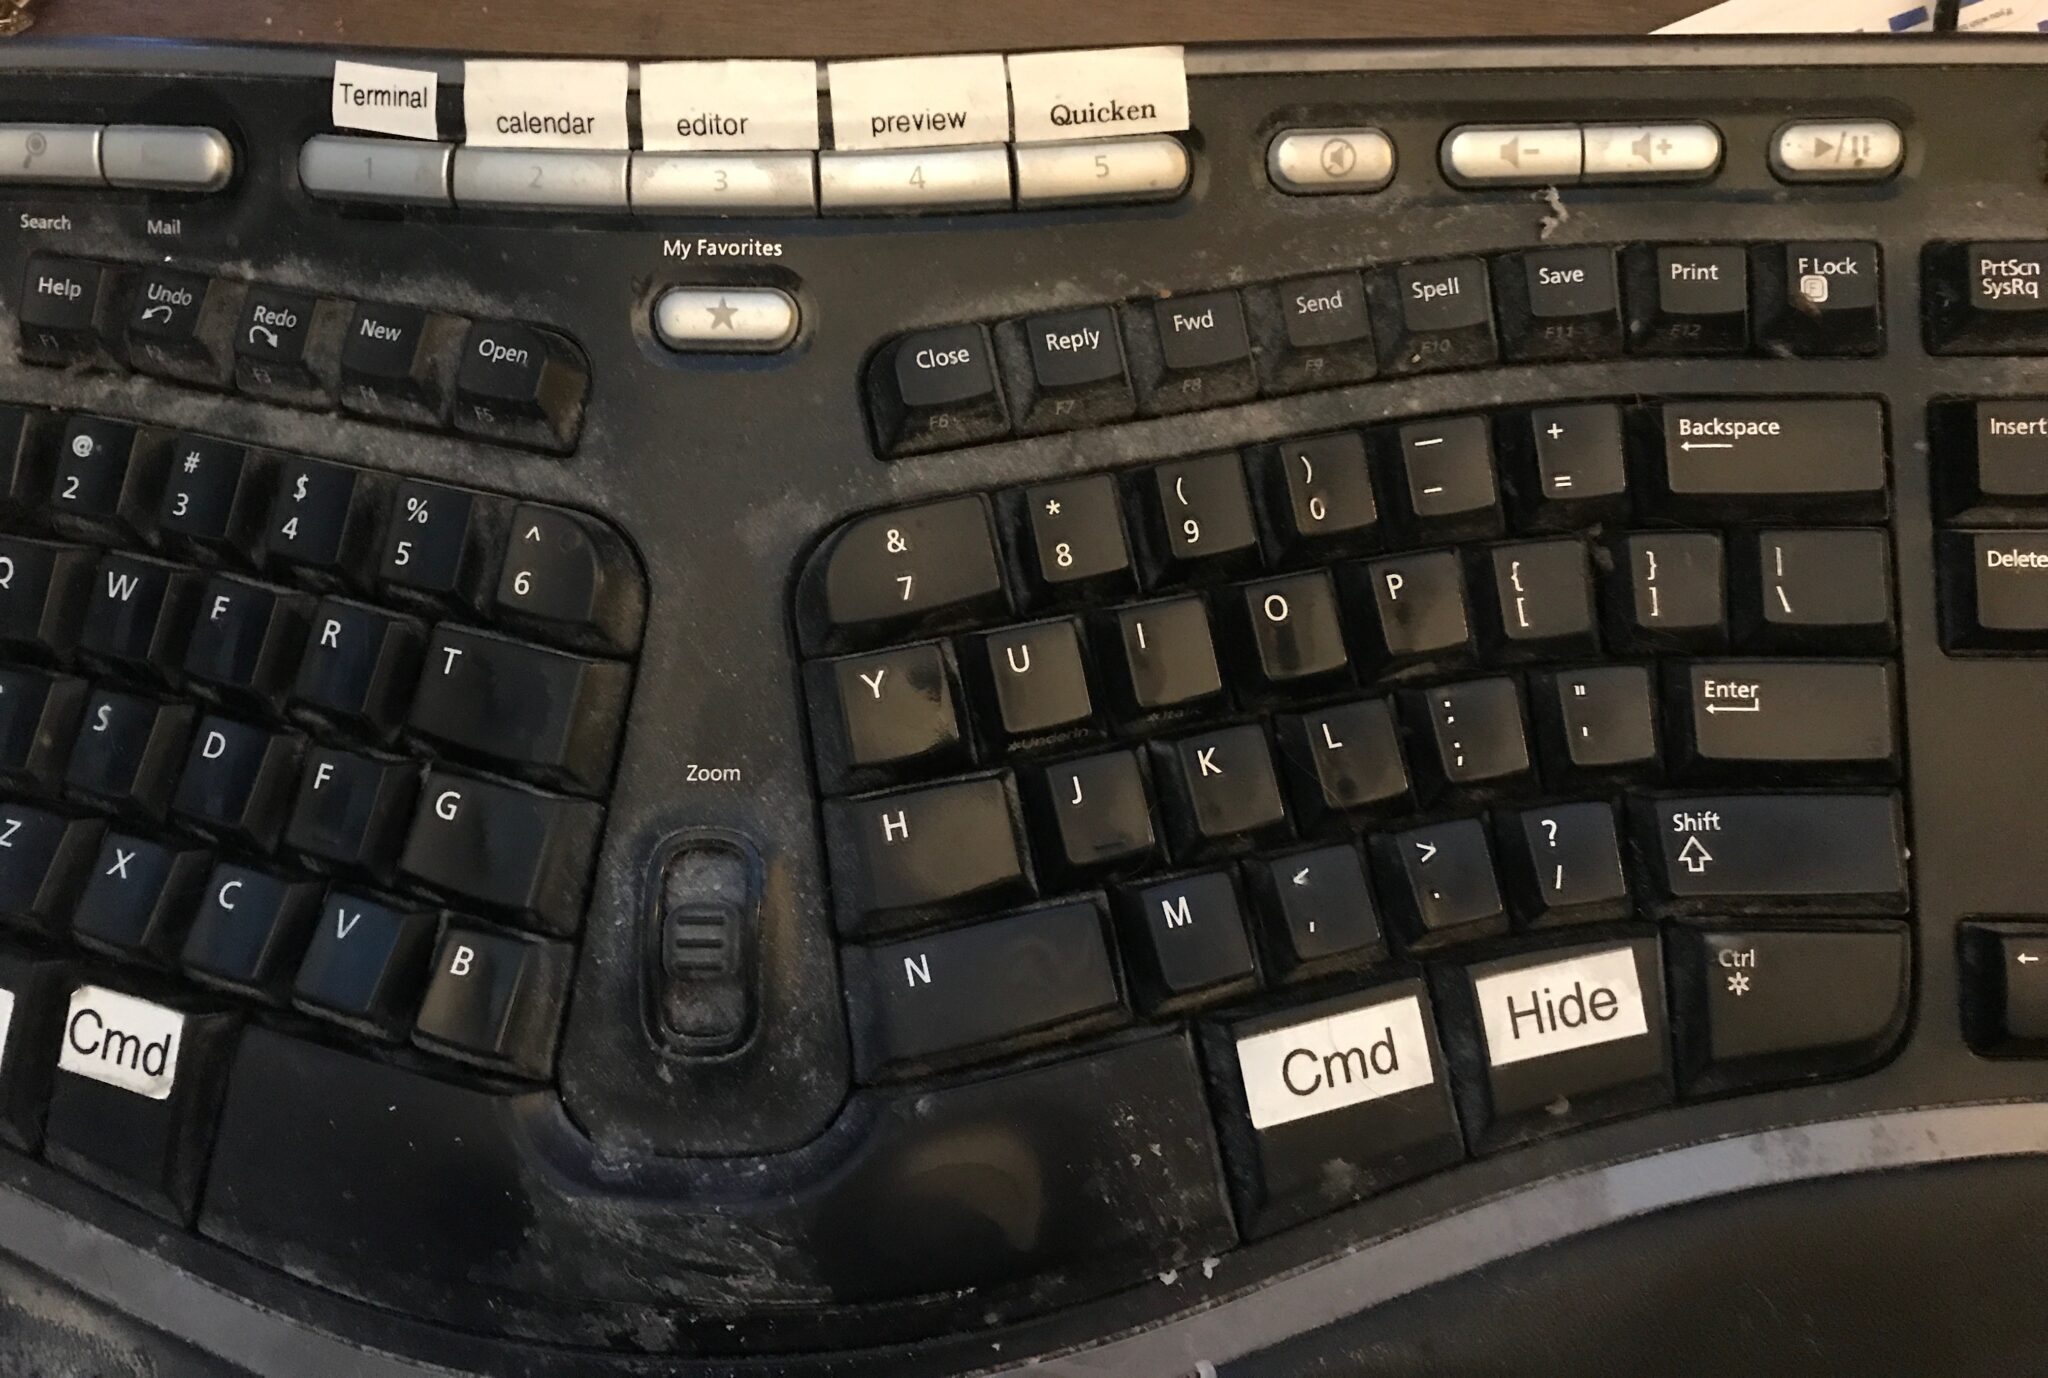
Despite its limitations, I eventually had to settle for USB Overdrive. The result:
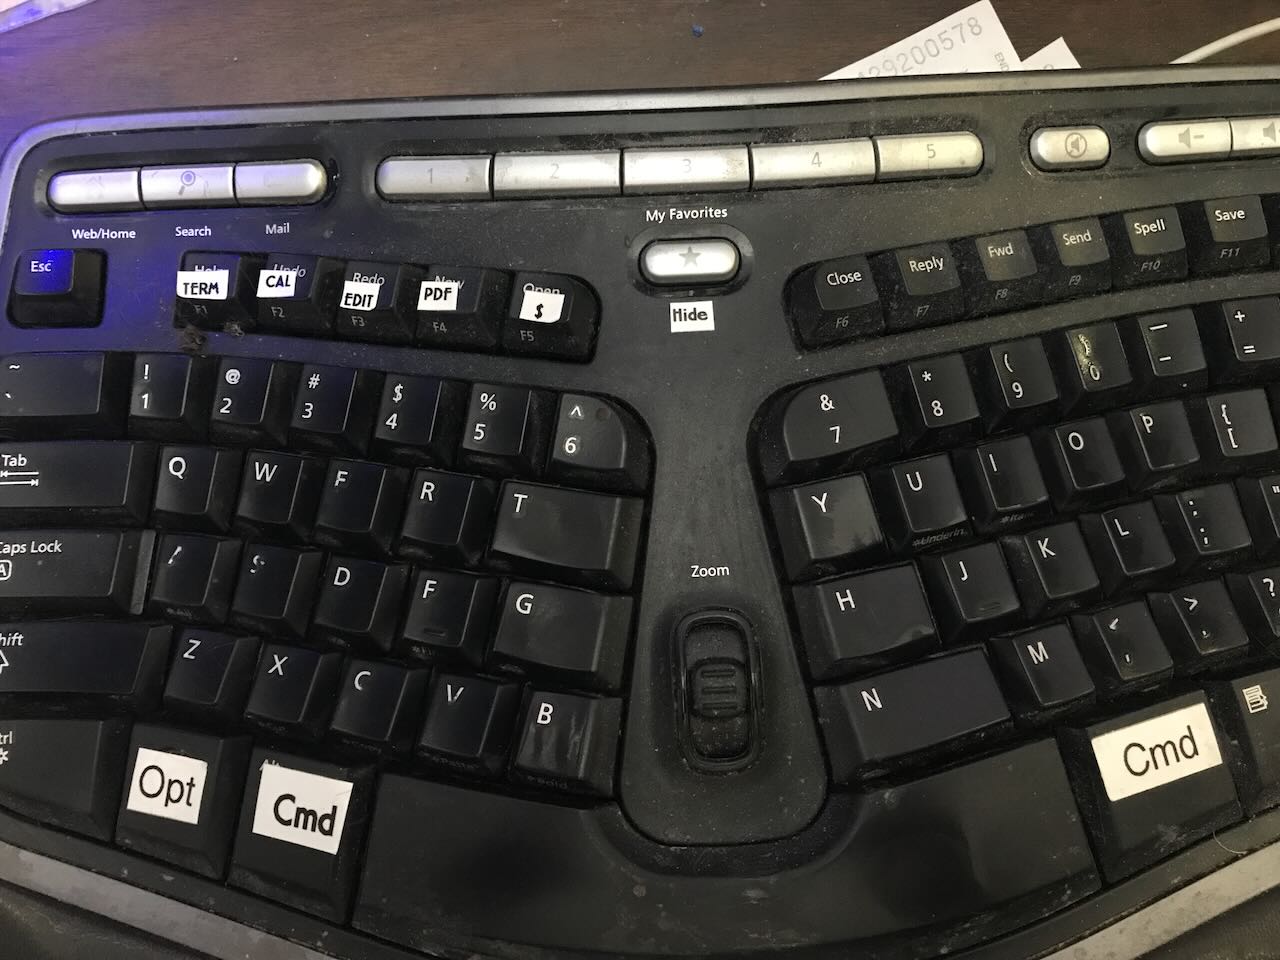
USB Overdrive does not recognize the dedicated “My Favorites” function keys of the Ergonomic 4000; apparently they send custom USB signals, and I know of no Mac program that can recognize them. I had to shift those functions to the key in the “F-row”, as you can see in the picture. This works fine, except when I accidentally hit the FLock key (you can see it in the first picture, in the upper right) which changes the meaning of F-row keys and so USB Overdrive doesn’t recognize them.
Fortunately, USB Overdrive can also be used to program the Web, Search, and Mail keys in the upper right-hand corner of the keyboard, as well as the Calculator key. (You can’t see the Calculator in the pictures above; it’s to the right of the Play/Pause button. I have that key set to start PCalc, one of the best calculator programs I’ve seen on any computer system.)
USB Overdrive isn’t perfect. Its interface is quirky, especially when I wanted to have a single key issue different commands in different programs. Also, although Overdrive recognizes the “Application” key (which I used to use as a Hide button), it’s not able to intercept that keypress outside of Overdrive. As you can see, I had to shift the Hide function to that star button.
I tried Karabiner, now that I had a computer that could run it. The program is annoyingly difficult to use (a classic case of user-interface issues being ignored in an shared-developer open-source program). Also, none of the examples showed how to do what I wanted to do, namely have a program start when I pressed a certain key. Karabiner is oriented towards key-press remapping (e.g., issue Cmd+Ctrl+Shift when you hit the Print button), which is not useful in my particular case.
Audiobooks
Finally, in Part 4, I went into detail about Apple’s increasingly-poor support for audiobooks, and the inability to create audiobook playlists in Apple’s software in any versions of the OS past Mojave.
In Part 5 I briefly discussed Plex, and why I thought it couldn’t work. I was wrong. I finally managed to configure Plex and Prologue, a Plex-based audiobook player for iOS.
The rest of this post is going to discuss how I made things work. If you’ve no interest in audiobooks, you can skip the rest.
Plex is basically what iTunes used to be: a general media content manager, with the ability to stream content you store on a computer to any other device you own. Plex also offers what I’ll generously call “B-grade” movie and TV content, usually ad-based; one item that interested me was the Men in Black animated series. But let’s stick to my audiobook collection.
When you install, start, and open Plex, you see the Plex interface in your web browser. Plex automatically scanned my Mac’s media folders and created Movies, Music, and Photo libraries for me. However, I wasn’t interested in that; I wanted to create Audiobook playlists.
Plex has an understandable limitation: it can’t play files in certain formats associated with digital-rights management. In order to play my audiobooks within Plex, I had to convert the .aax files I purchased from Audible to the standard .m4b audiobook file. In Part 4, I gave instructions for how I did this, but it involves experience with the Mac OS command line.
As of Dec-2022, there is a web site that will simply do this for you. While the site is simple to use, it only converts one file at a time. Remember my audiobook collection?
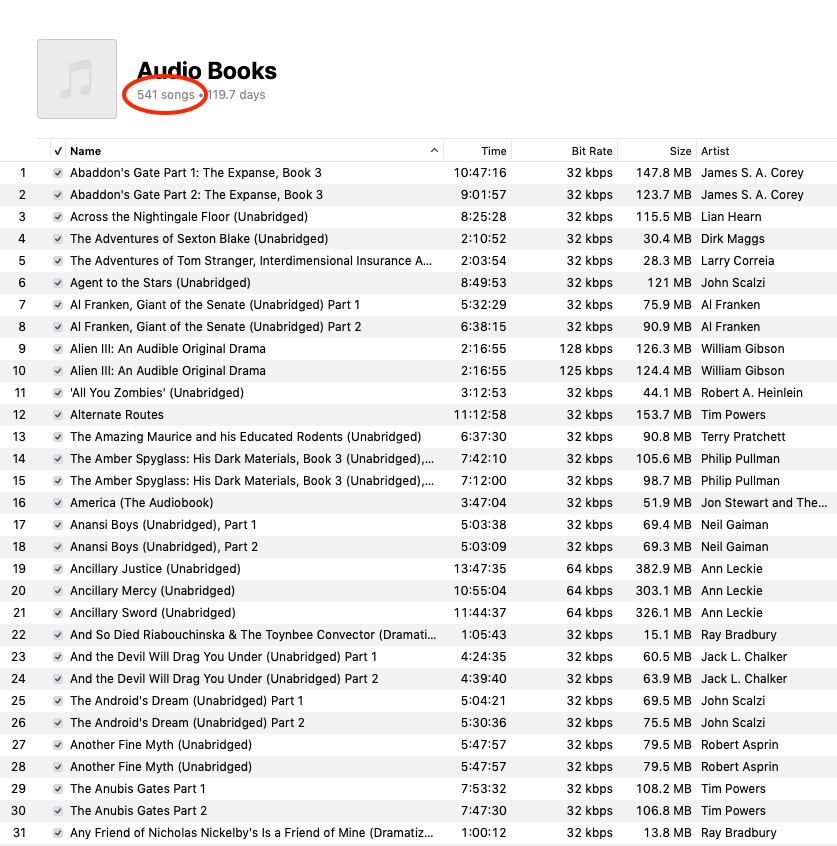
Converting each file one-at-a-time via that site did not appeal to me.
Here’s an alternative solution, which still requires familiarity with Mac OS command line, but not as intensely as what I described in Part 4. If you can go through these steps (which will absolutely require initiative and work on your part; this is not a complete “how-to”) you’ll not only learn how to manipulate audiobook files, but you’ll have greater control over your computer than you had before.
The first trick is to use that conversion web site to learn the “activation bytes” for your Audible files. Those same bytes apply to every .aax file you purchase from Audible on your account.
What I did next, to simplify my life a bit, was to re-download many (if not all) the multi-part audiobooks I purchased from Audible as a single file. For example, in the case of Abaddon’s Gate, I downloaded the single long version from my Audible library to minimize the number of files I’d have to work with. The only reason I originally downloaded those books in multiple parts is so they’d be in a format that the iPhone could play; that issue would not apply to the .m4b files.
The next step is install ffmpeg using the Mac’s Terminal program (in Applications/Utilities). Ffmpeg is an enormously powerful audio/video media-conversion program, and can do much more than simple conversion of audio files. It’s commonly adopted by companies that charge you money to put a graphical wrapper around the steps below, but I advise you to accept the challenge and do it yourself; some of those companies that advertise graphical .aax to .m4b conversion programs seem dodgy to me.
Installing ffmpeg is easiest with a package manager. I use MacPorts, many Mac users prefer Homebrew, and I’ve had success trying out conda. Each of those web sites has instructions for installing their package managers. Once set up, they all have ffmpeg available. For example, using MacPorts, the Terminal command is:
sudo port install ffmpeg
Go to the .aax to .m4b conversion site, drag an .aax file to the “drag&drop” box, click on the pop-up menu that begins “Generate ffmpeg command…”, click on “AAC .m4b” and “Mac”. You’ll see a command that resembles this:
ffmpeg -y -activation_bytes f47c243c3 -i 'TheBestBookEver.aax' -codec copy 'TheBestBookEver.m4b'
There’s a button that copies the command to the clipboard. If you’ve managed to install any of the Mac package managers I mentioned above, you probably have learned how to navigate between directories on the Terminal’s command line. Use the Terminal program to go to the directory/folder that contains your .aax file and paste that command. The result will be a new .m4b file that can be played by Plex.
What I did, since I had hundreds of files, was to write a shell script. I put all of my .aax files in a single directory, then used a text editor to create a script file. Here’s the contents of that file; note that you will have to change the activation_bytes to the value you got above. (By the way, f47c243c3 are not my activation bytes; I’m not sharing that, and I advise you not to share yours either.)
#!/bin/bash
# Convert all the .aax files I see in this directory into .m4b files.
suffix="aax"
for f in *.${suffix}
do
    file=$(basename -s .${suffix} "${f}")
    ffmpeg -activation_bytes f47c243c3 -i "${file}.${suffix}" -c copy "${file}.m4b"
done
After chugging away, the result will be a bunch of .m4b files. You may want to learn about the mv command so you can place all those .m4b files into your audiobook directory; it might resemble something like this:
mv *.m4b ../audiobooks/
The hard part is over. Now comes the anal-retentive part. I organized my converted audiobook files into folders based on the author’s name. (There are lots of organizational methods, including organizing the books by title into folders with names like A, B, C… This is the scheme that worked for me.)
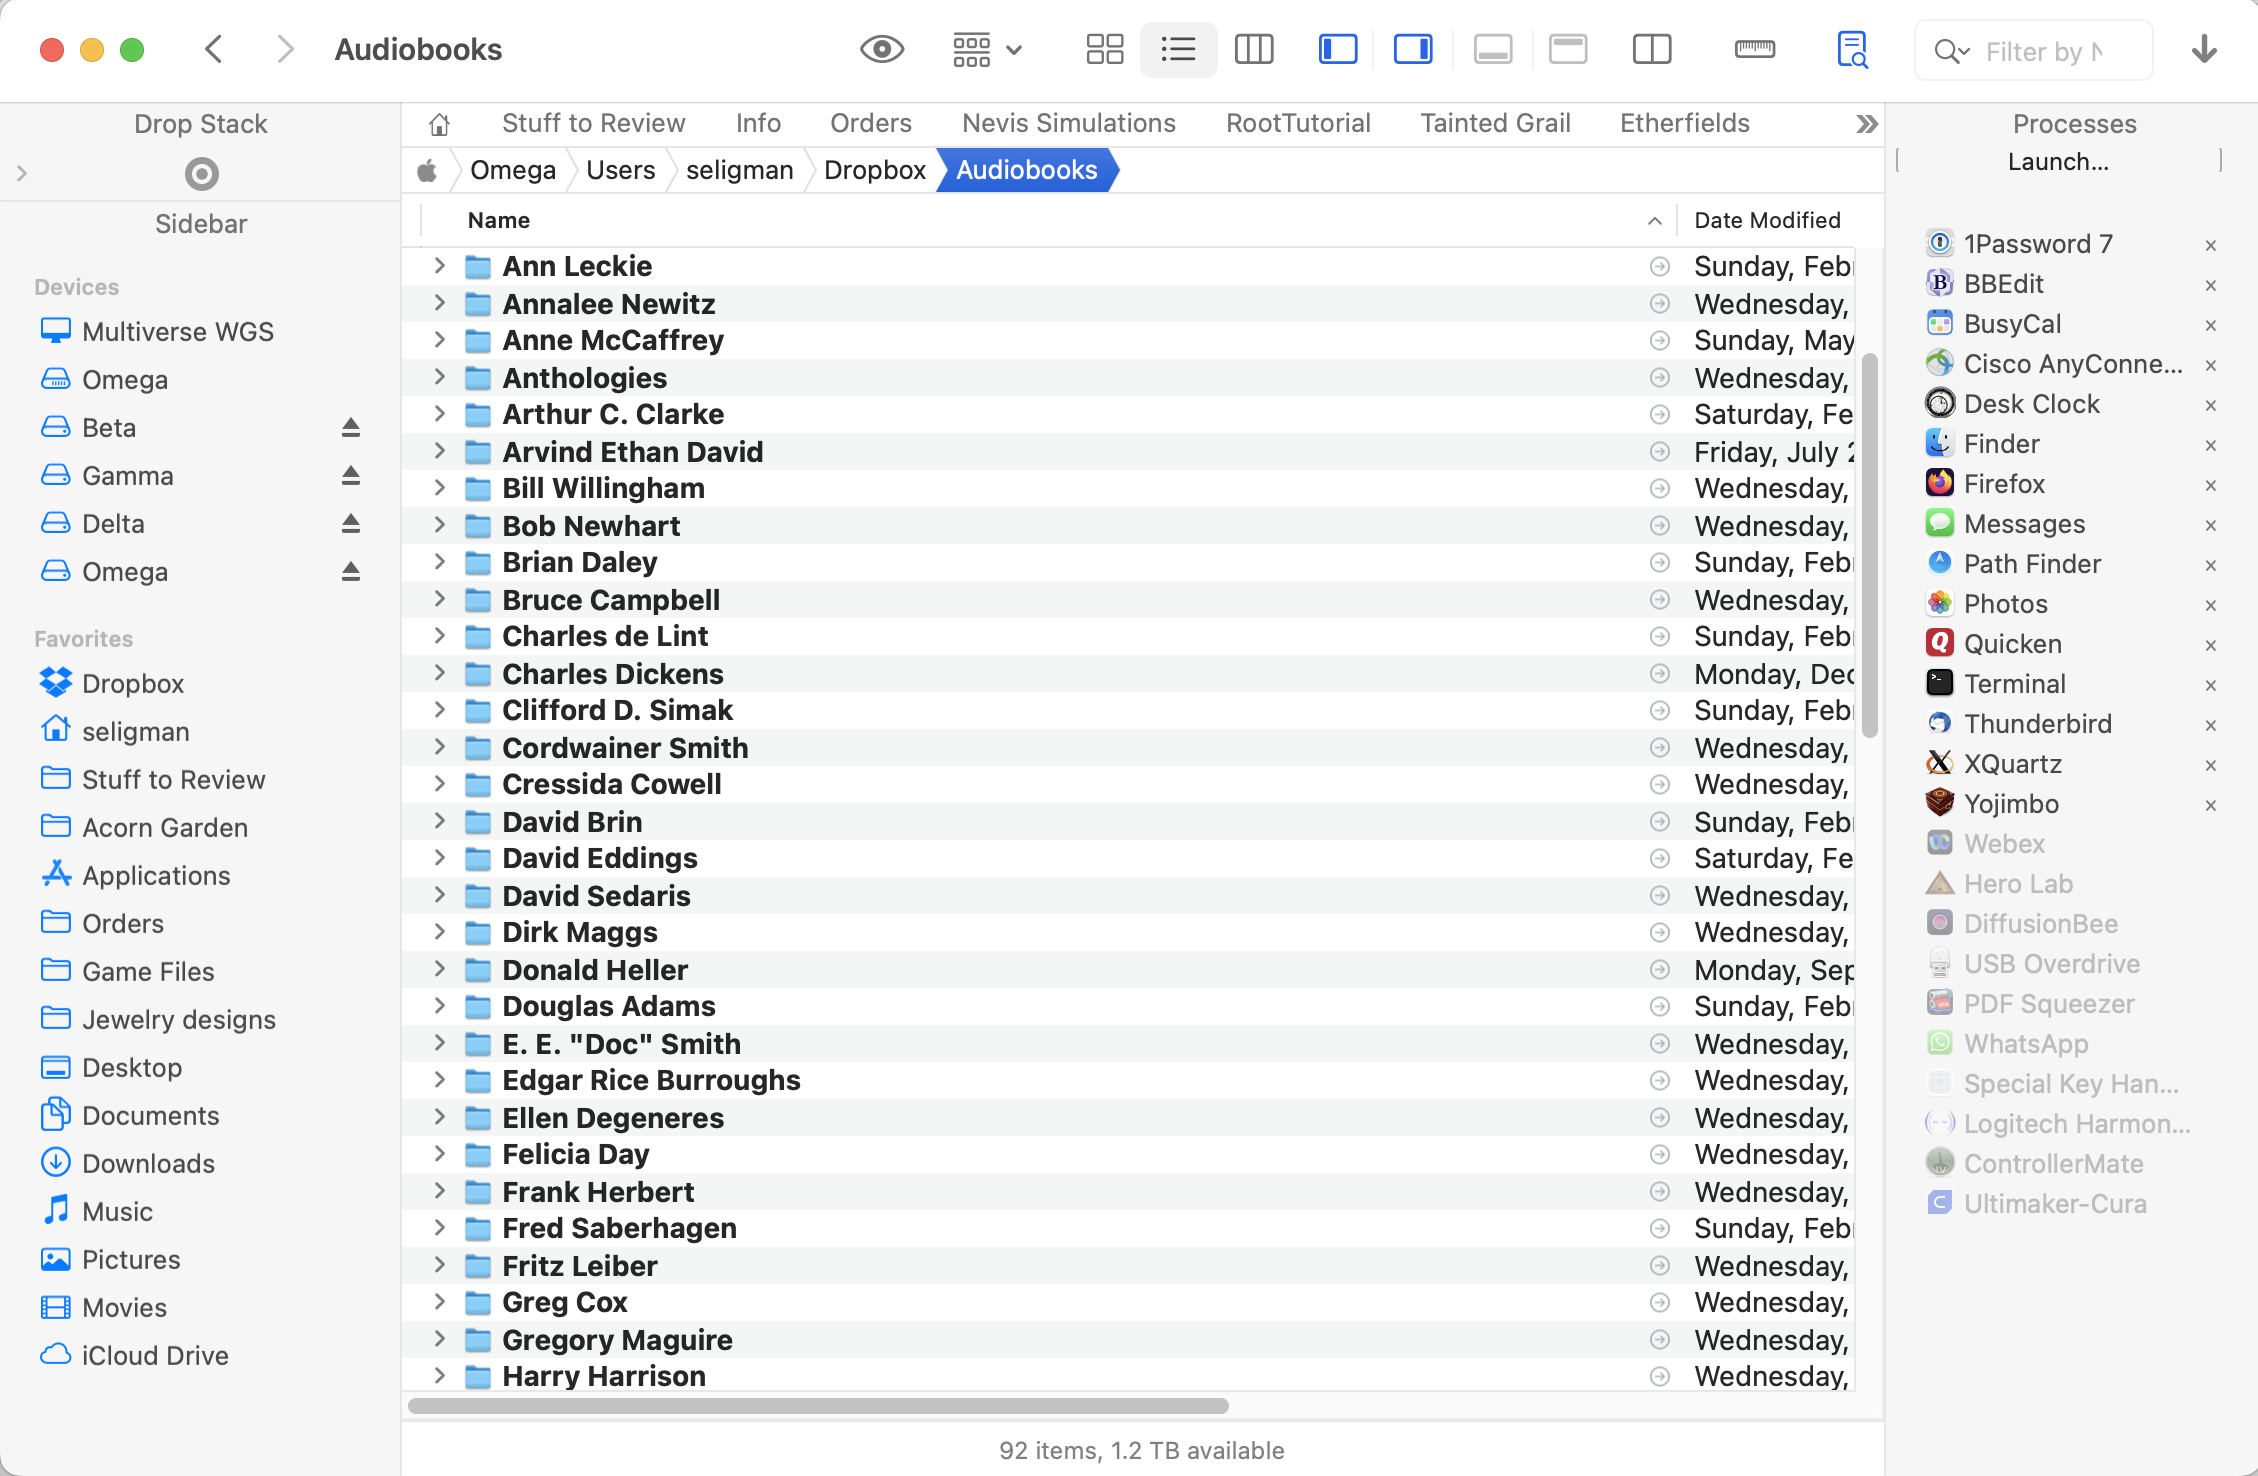
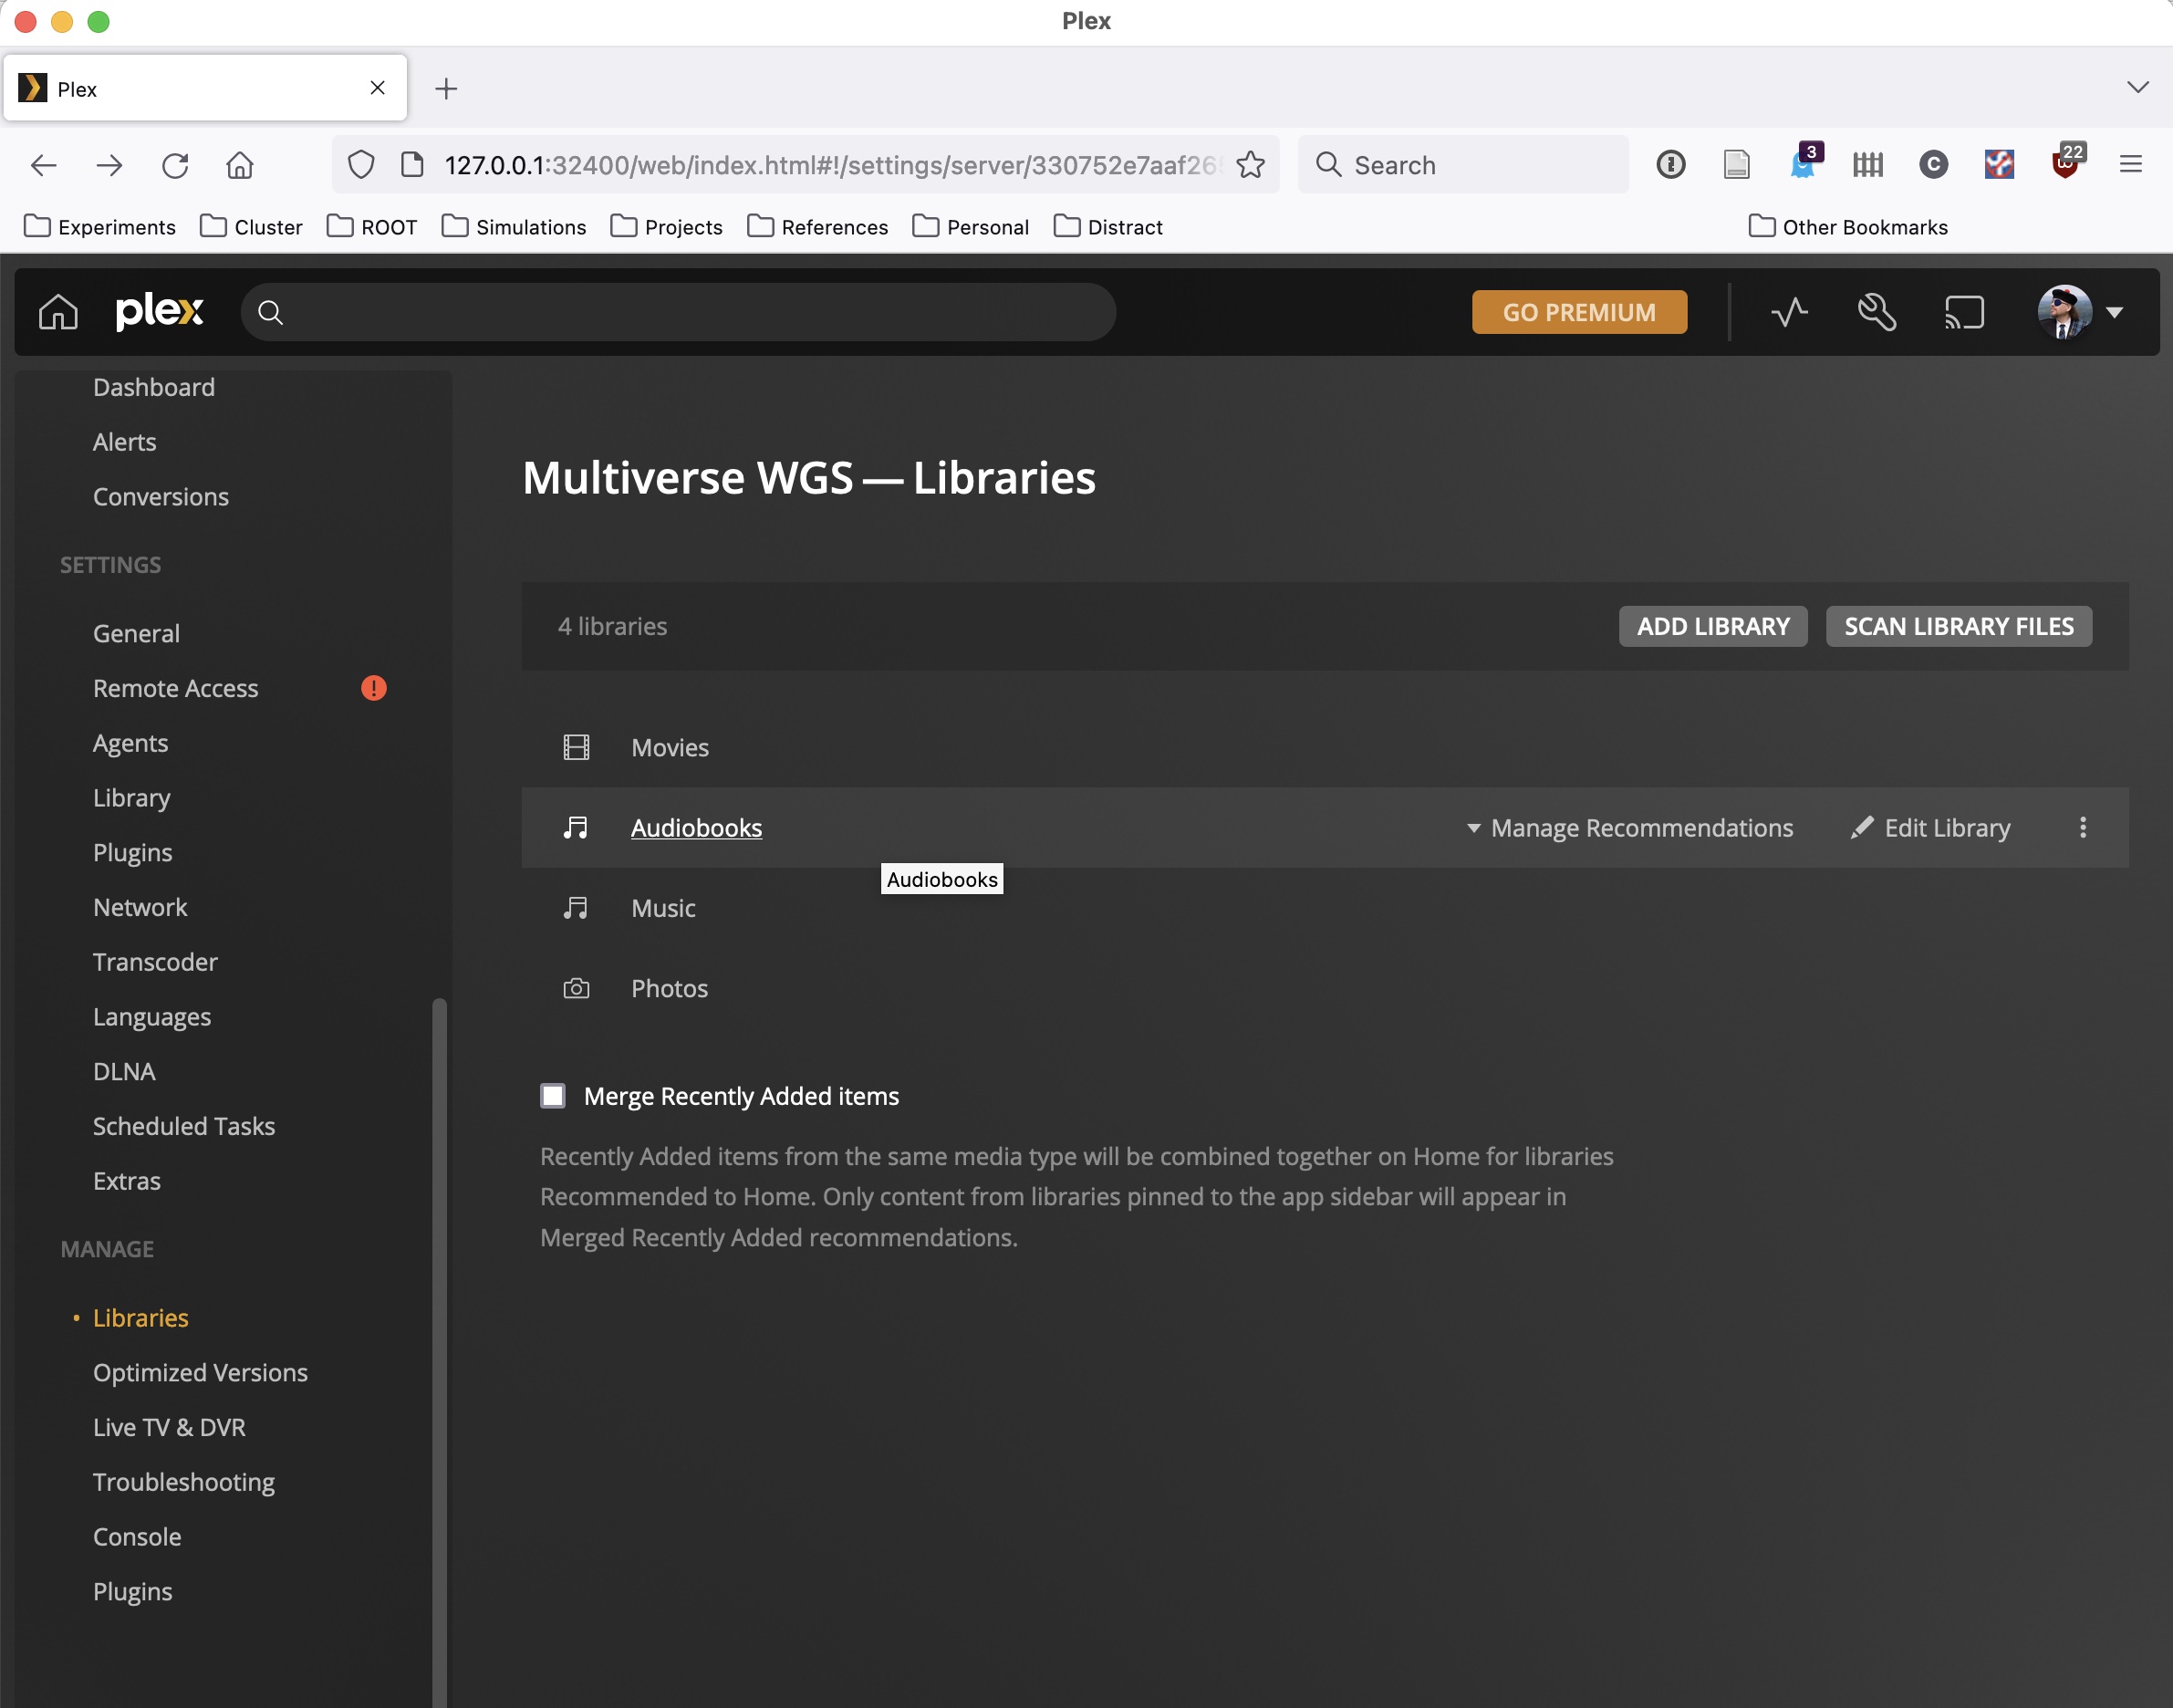
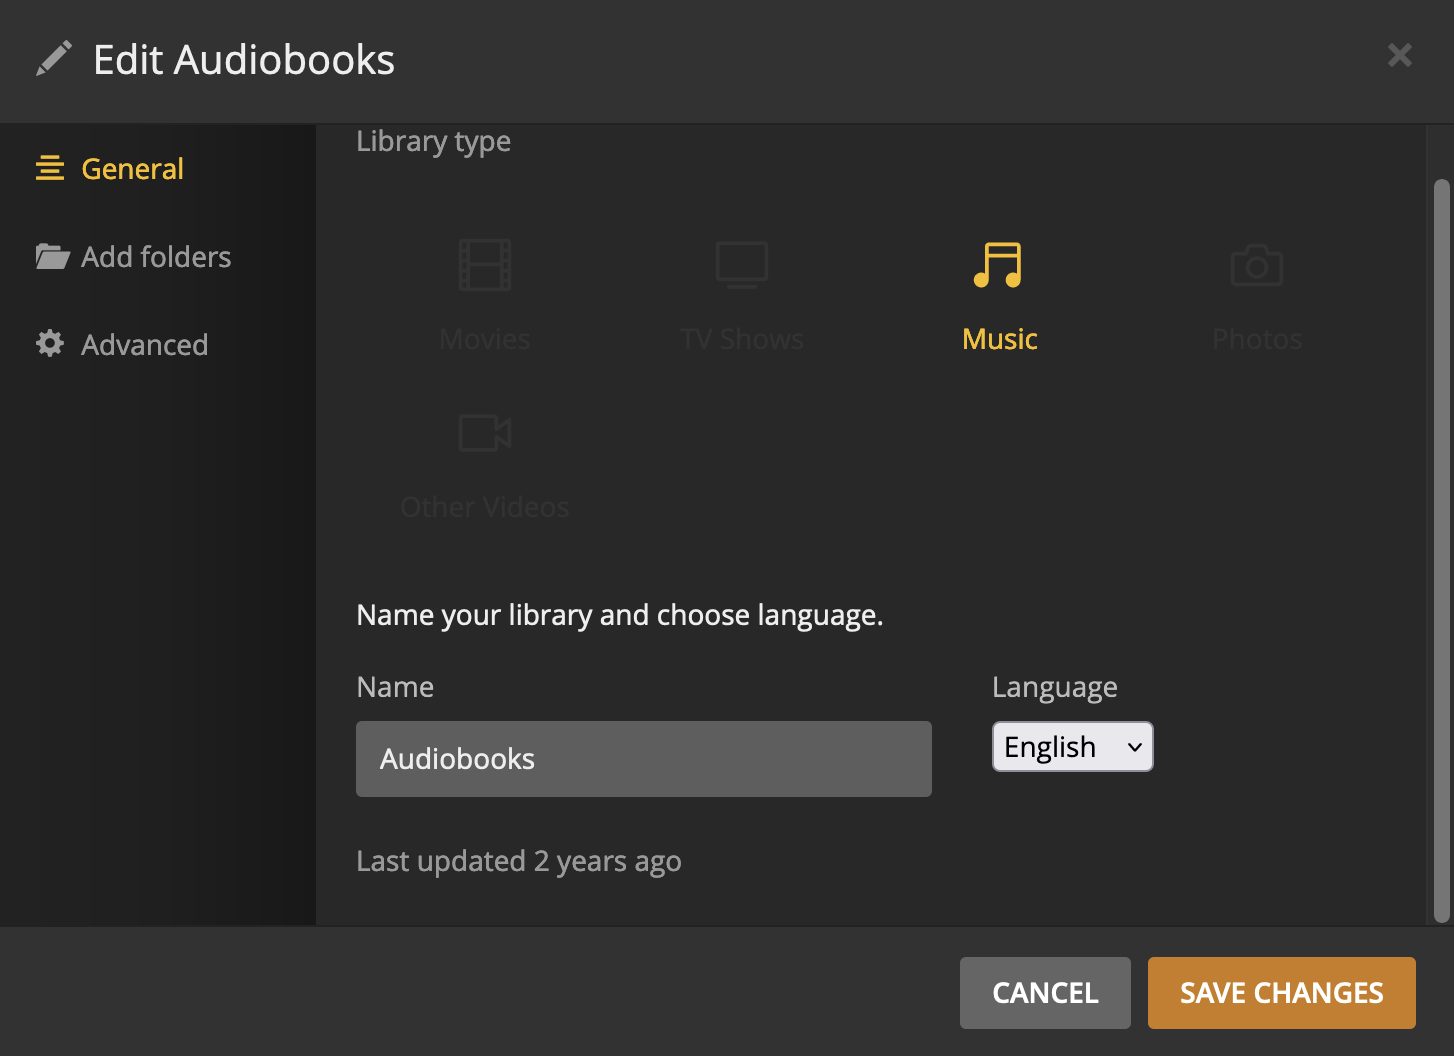
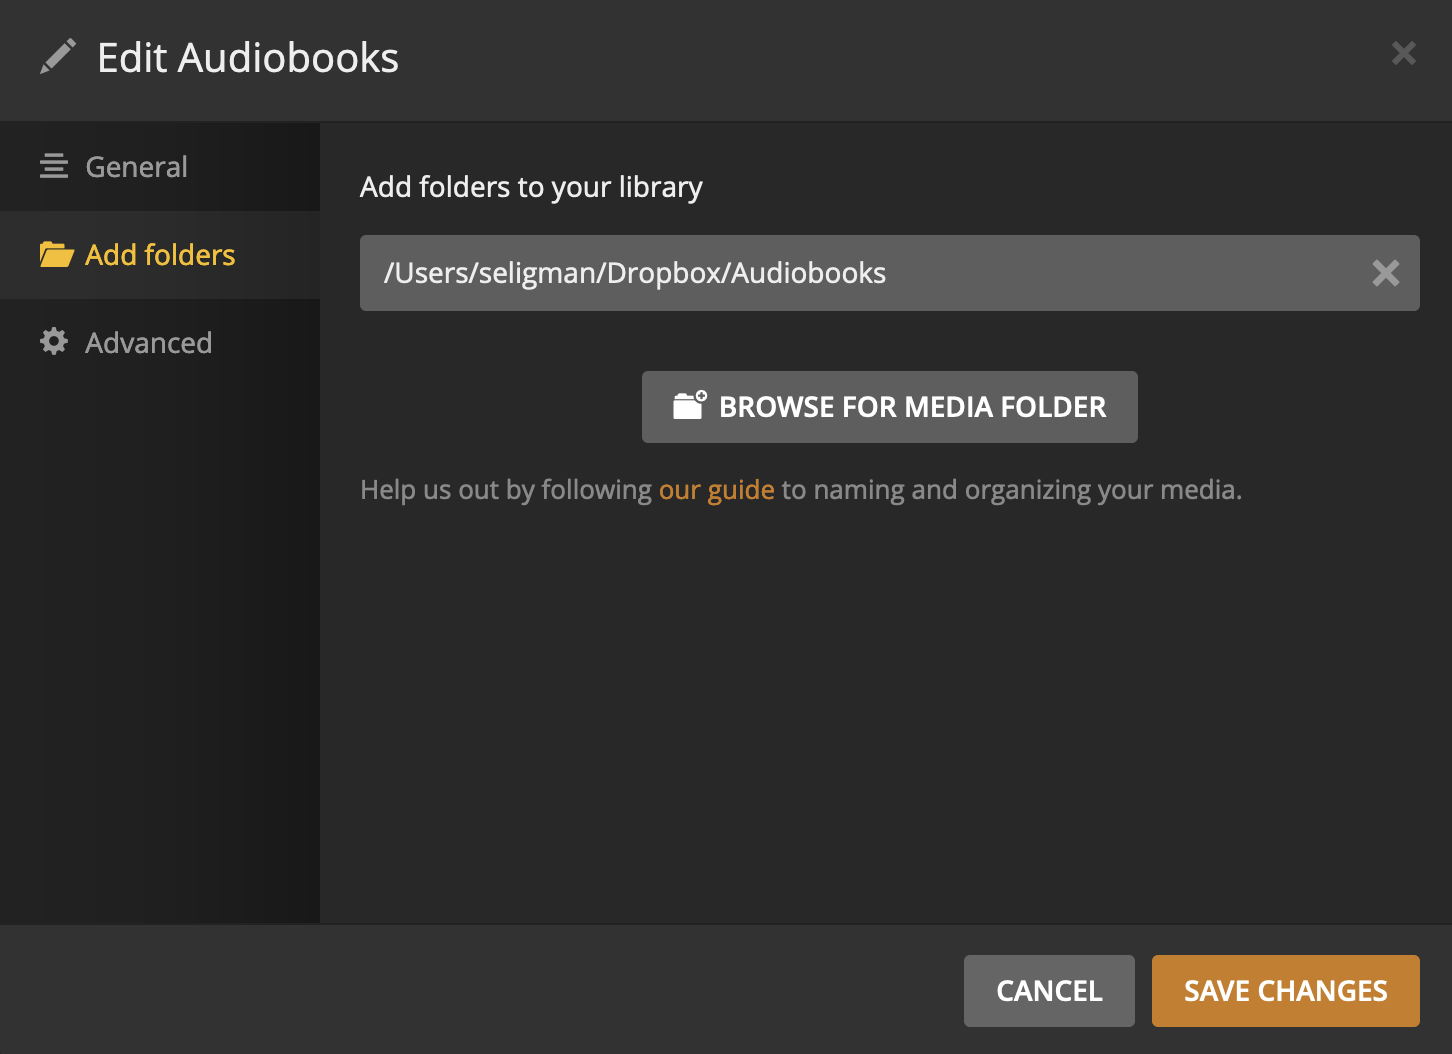
The next step is to tell Plex to add this folder into its internal libraries:
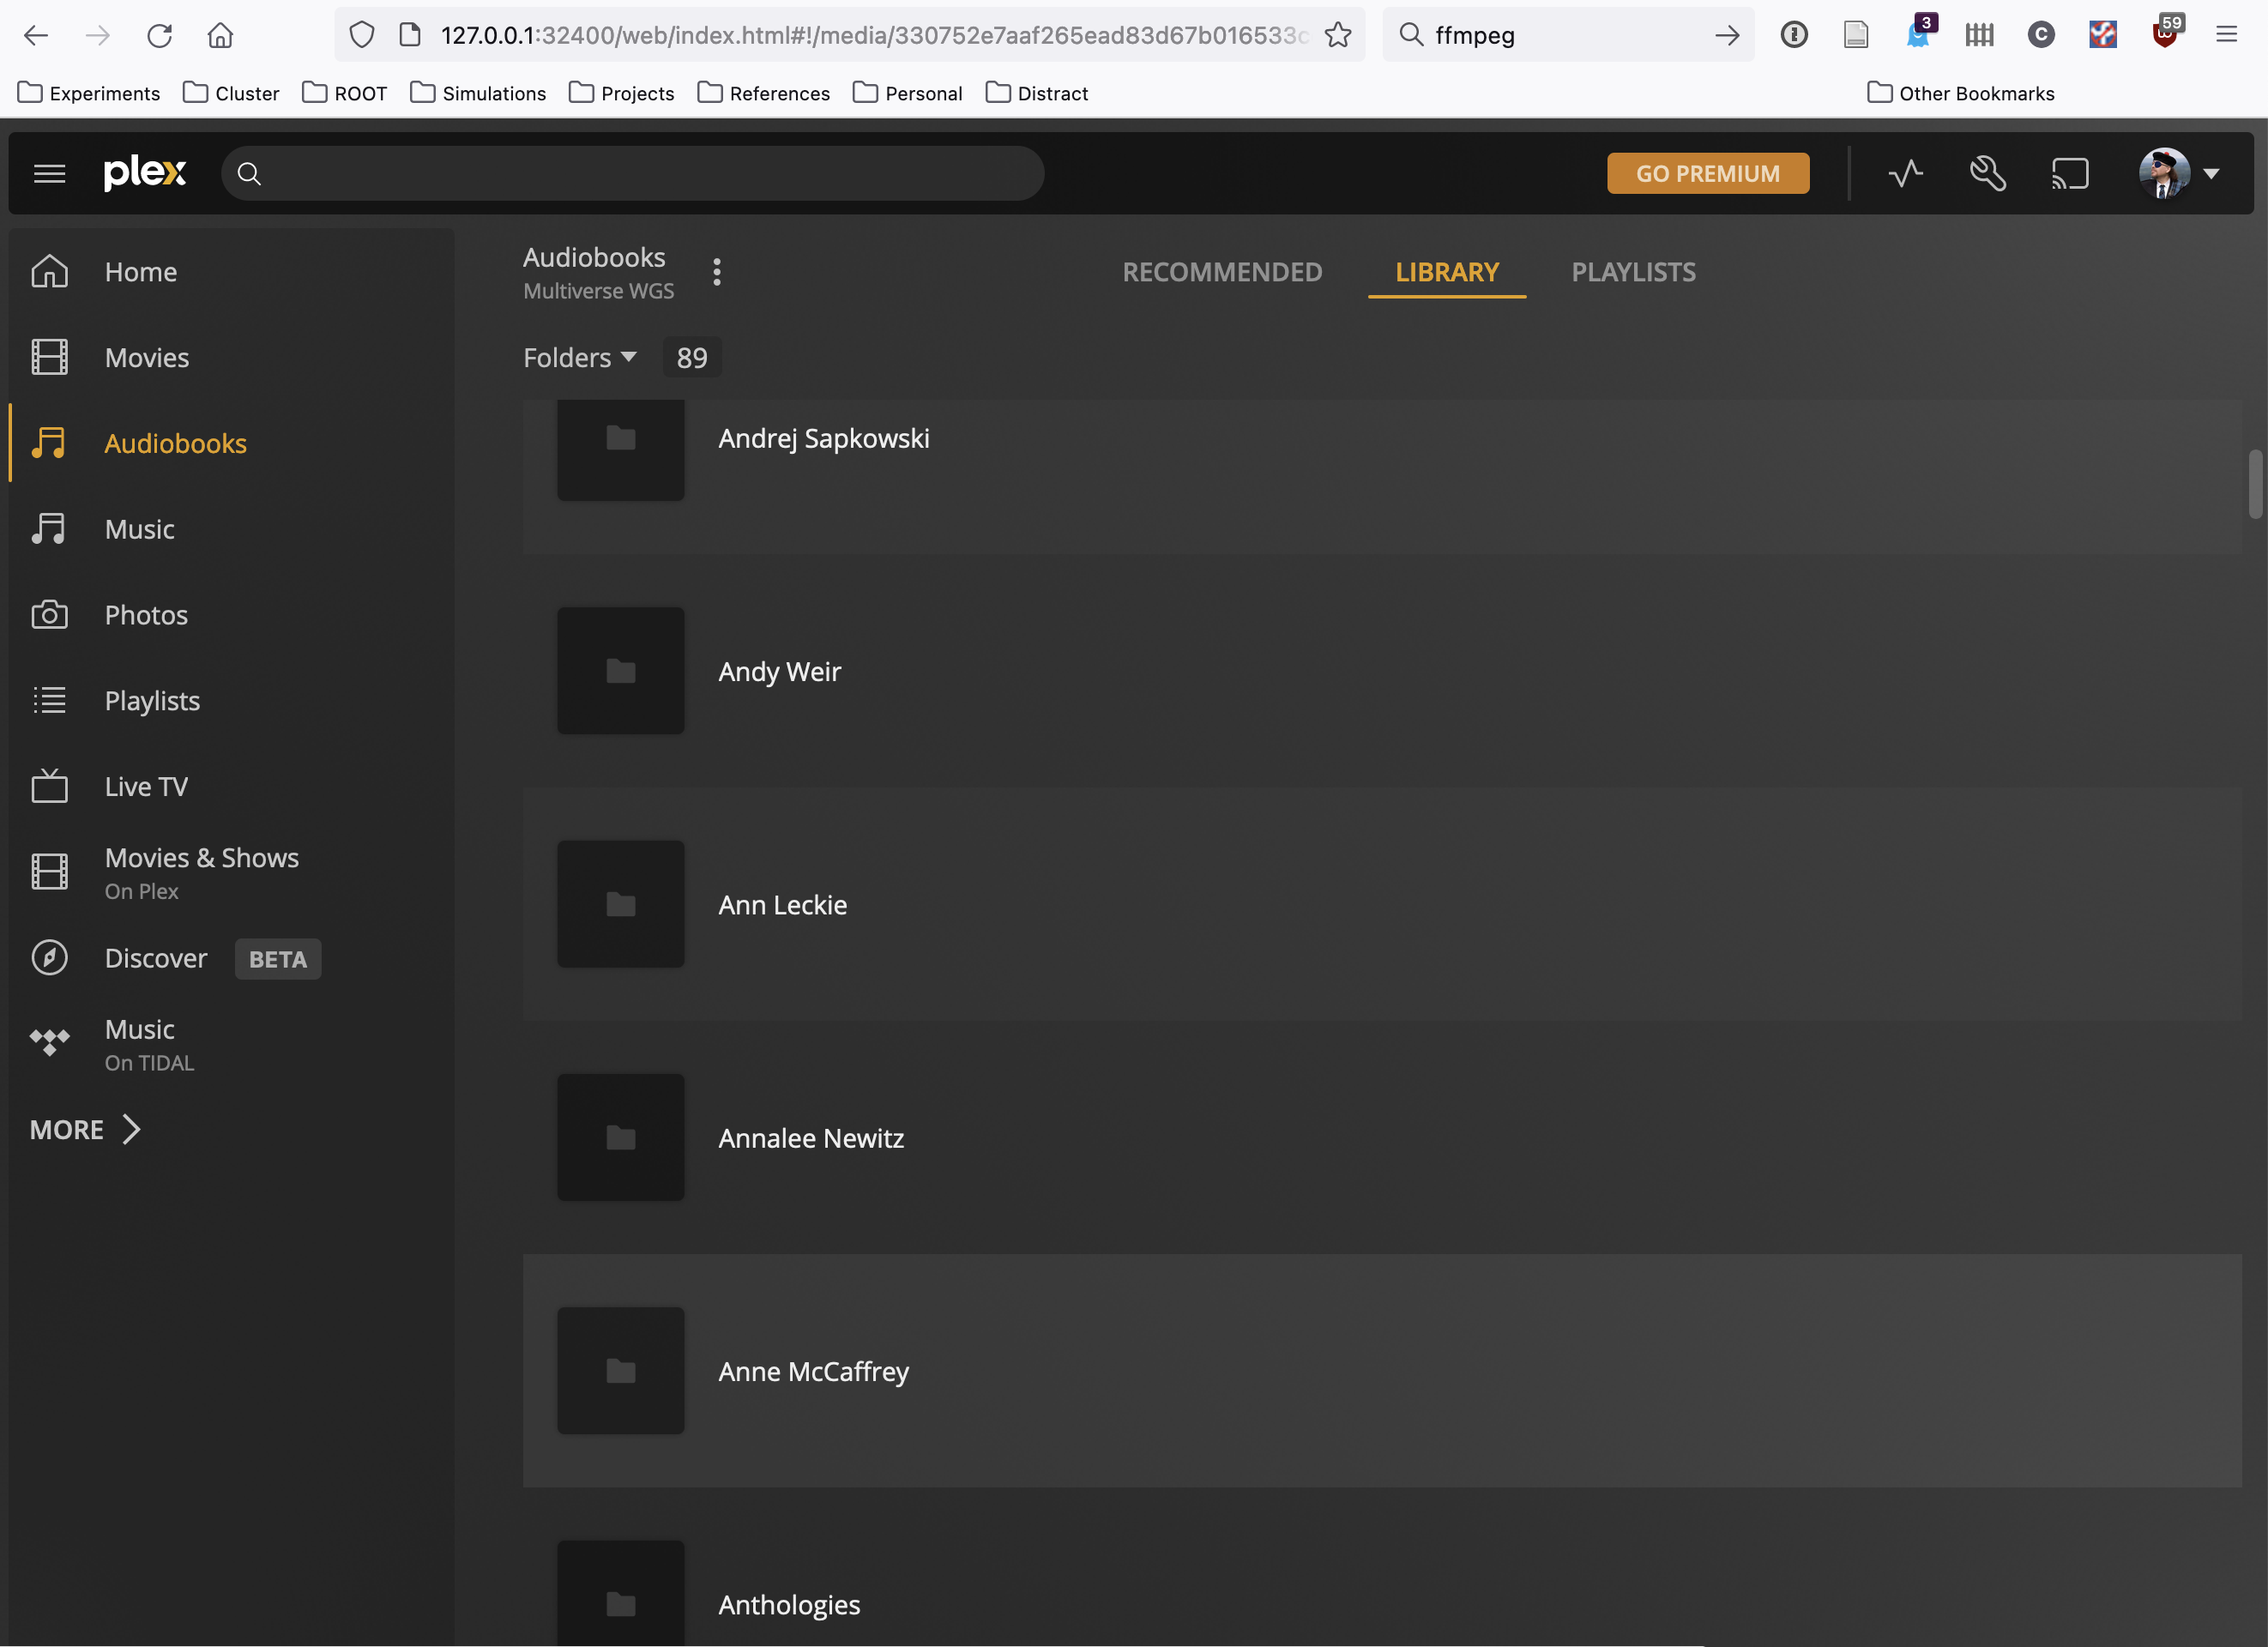
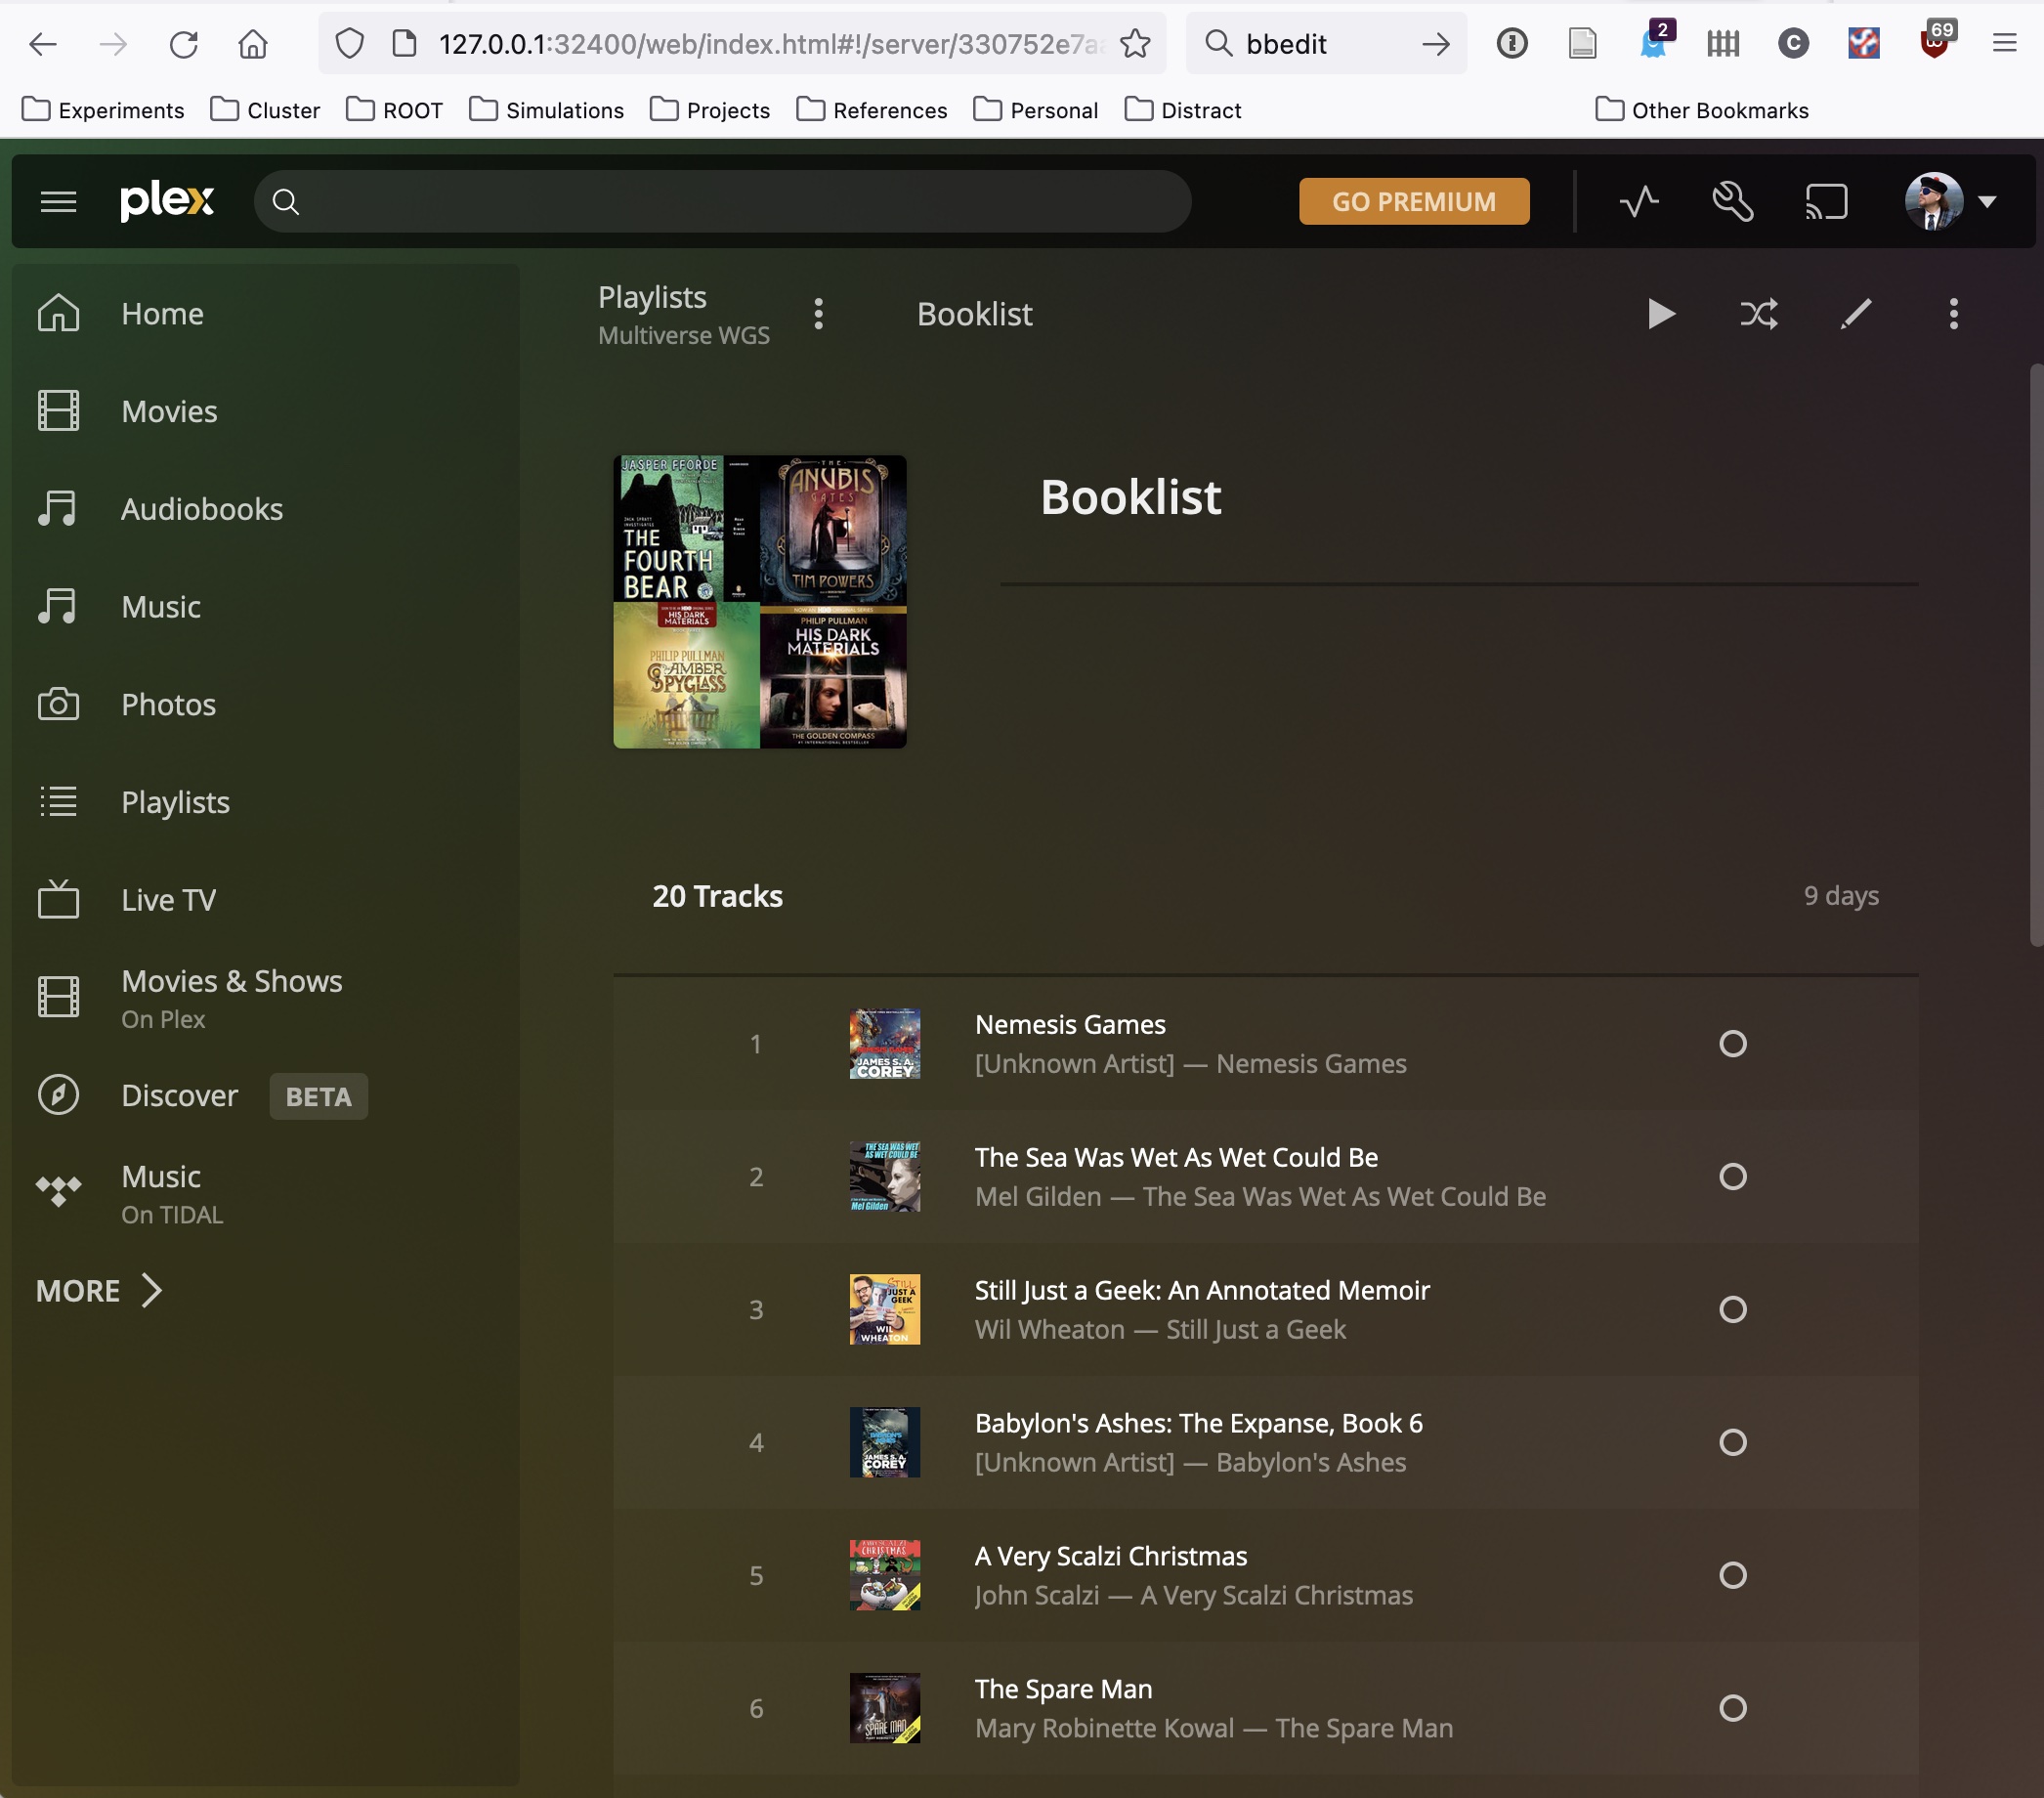
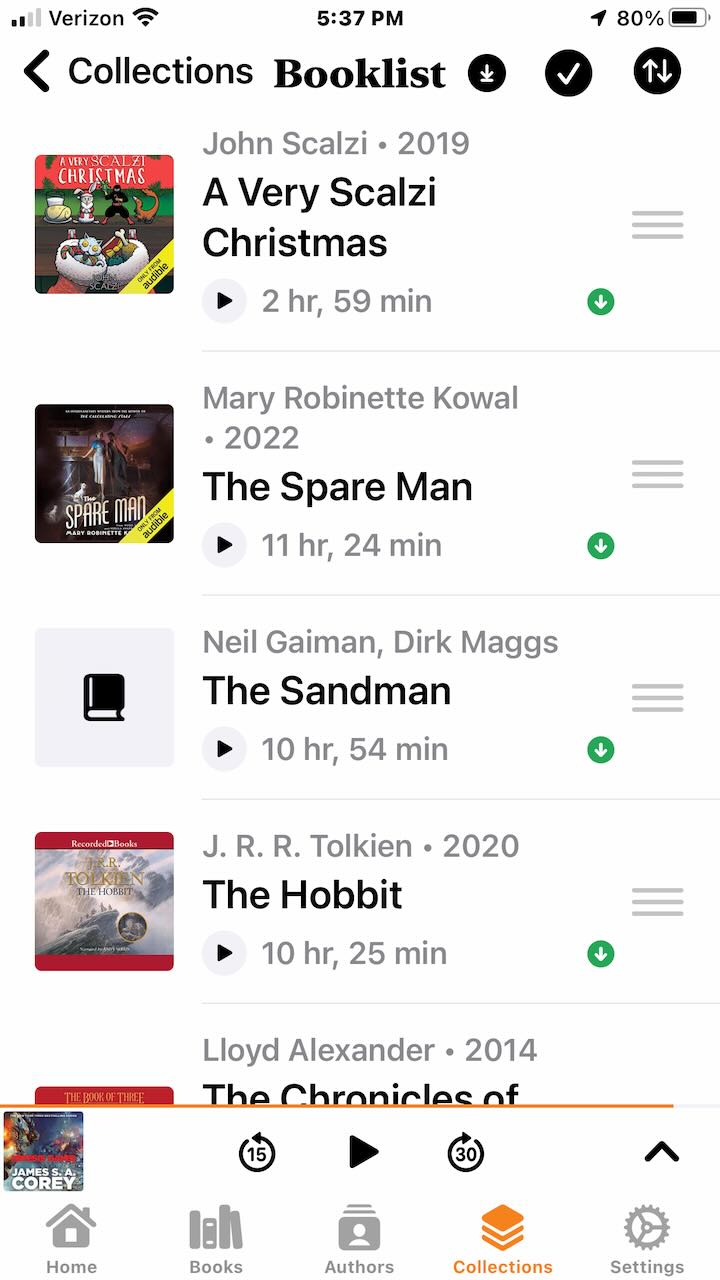
We want to create playlists:
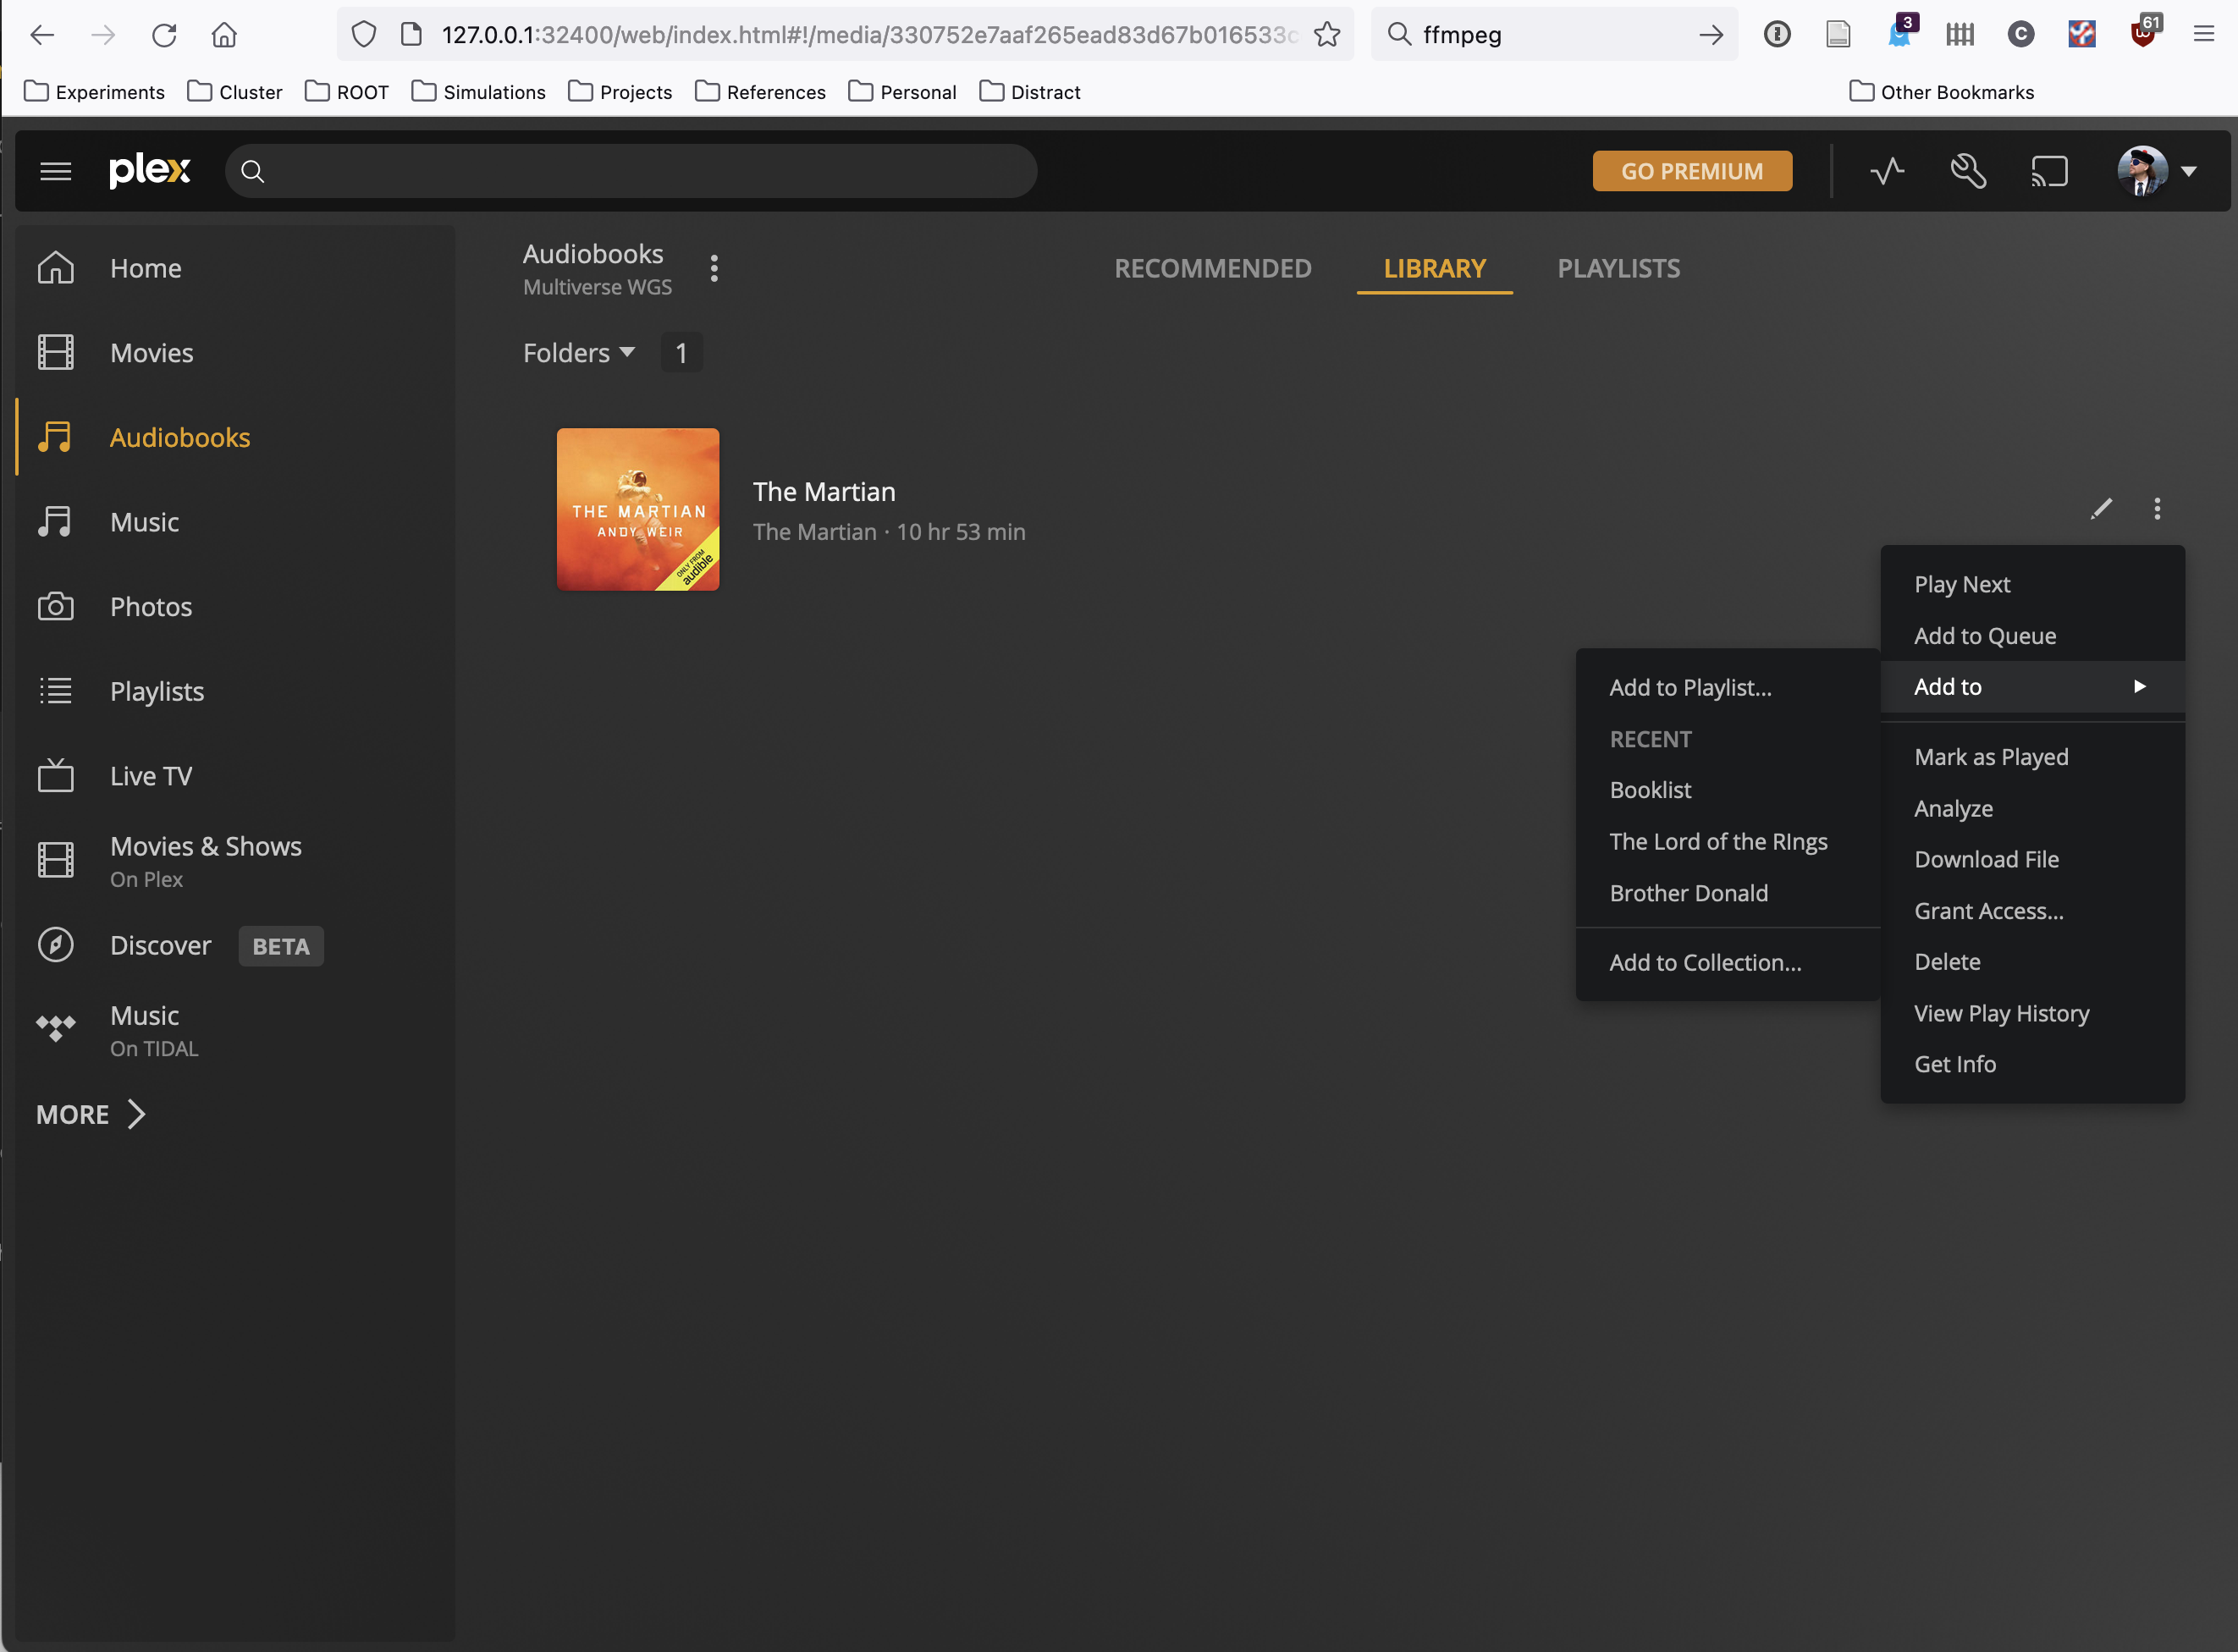
Despite all this apparent detail, there are a number of things I have not yet mentioned:
- You’ll be prompted to create a Plex account. I advise you to do this; otherwise you won’t be able to sync these playlists from your computer to your iPhone. For what I describe below, you won’t need a paid account.
- If you scroll up a bit, you’ll see that in my settings there’s a red dot next to Remote Access. I recommend that you make sure that this is turned off. These works are copyrighted, and you don’t want to risk them “getting out to the wild.”
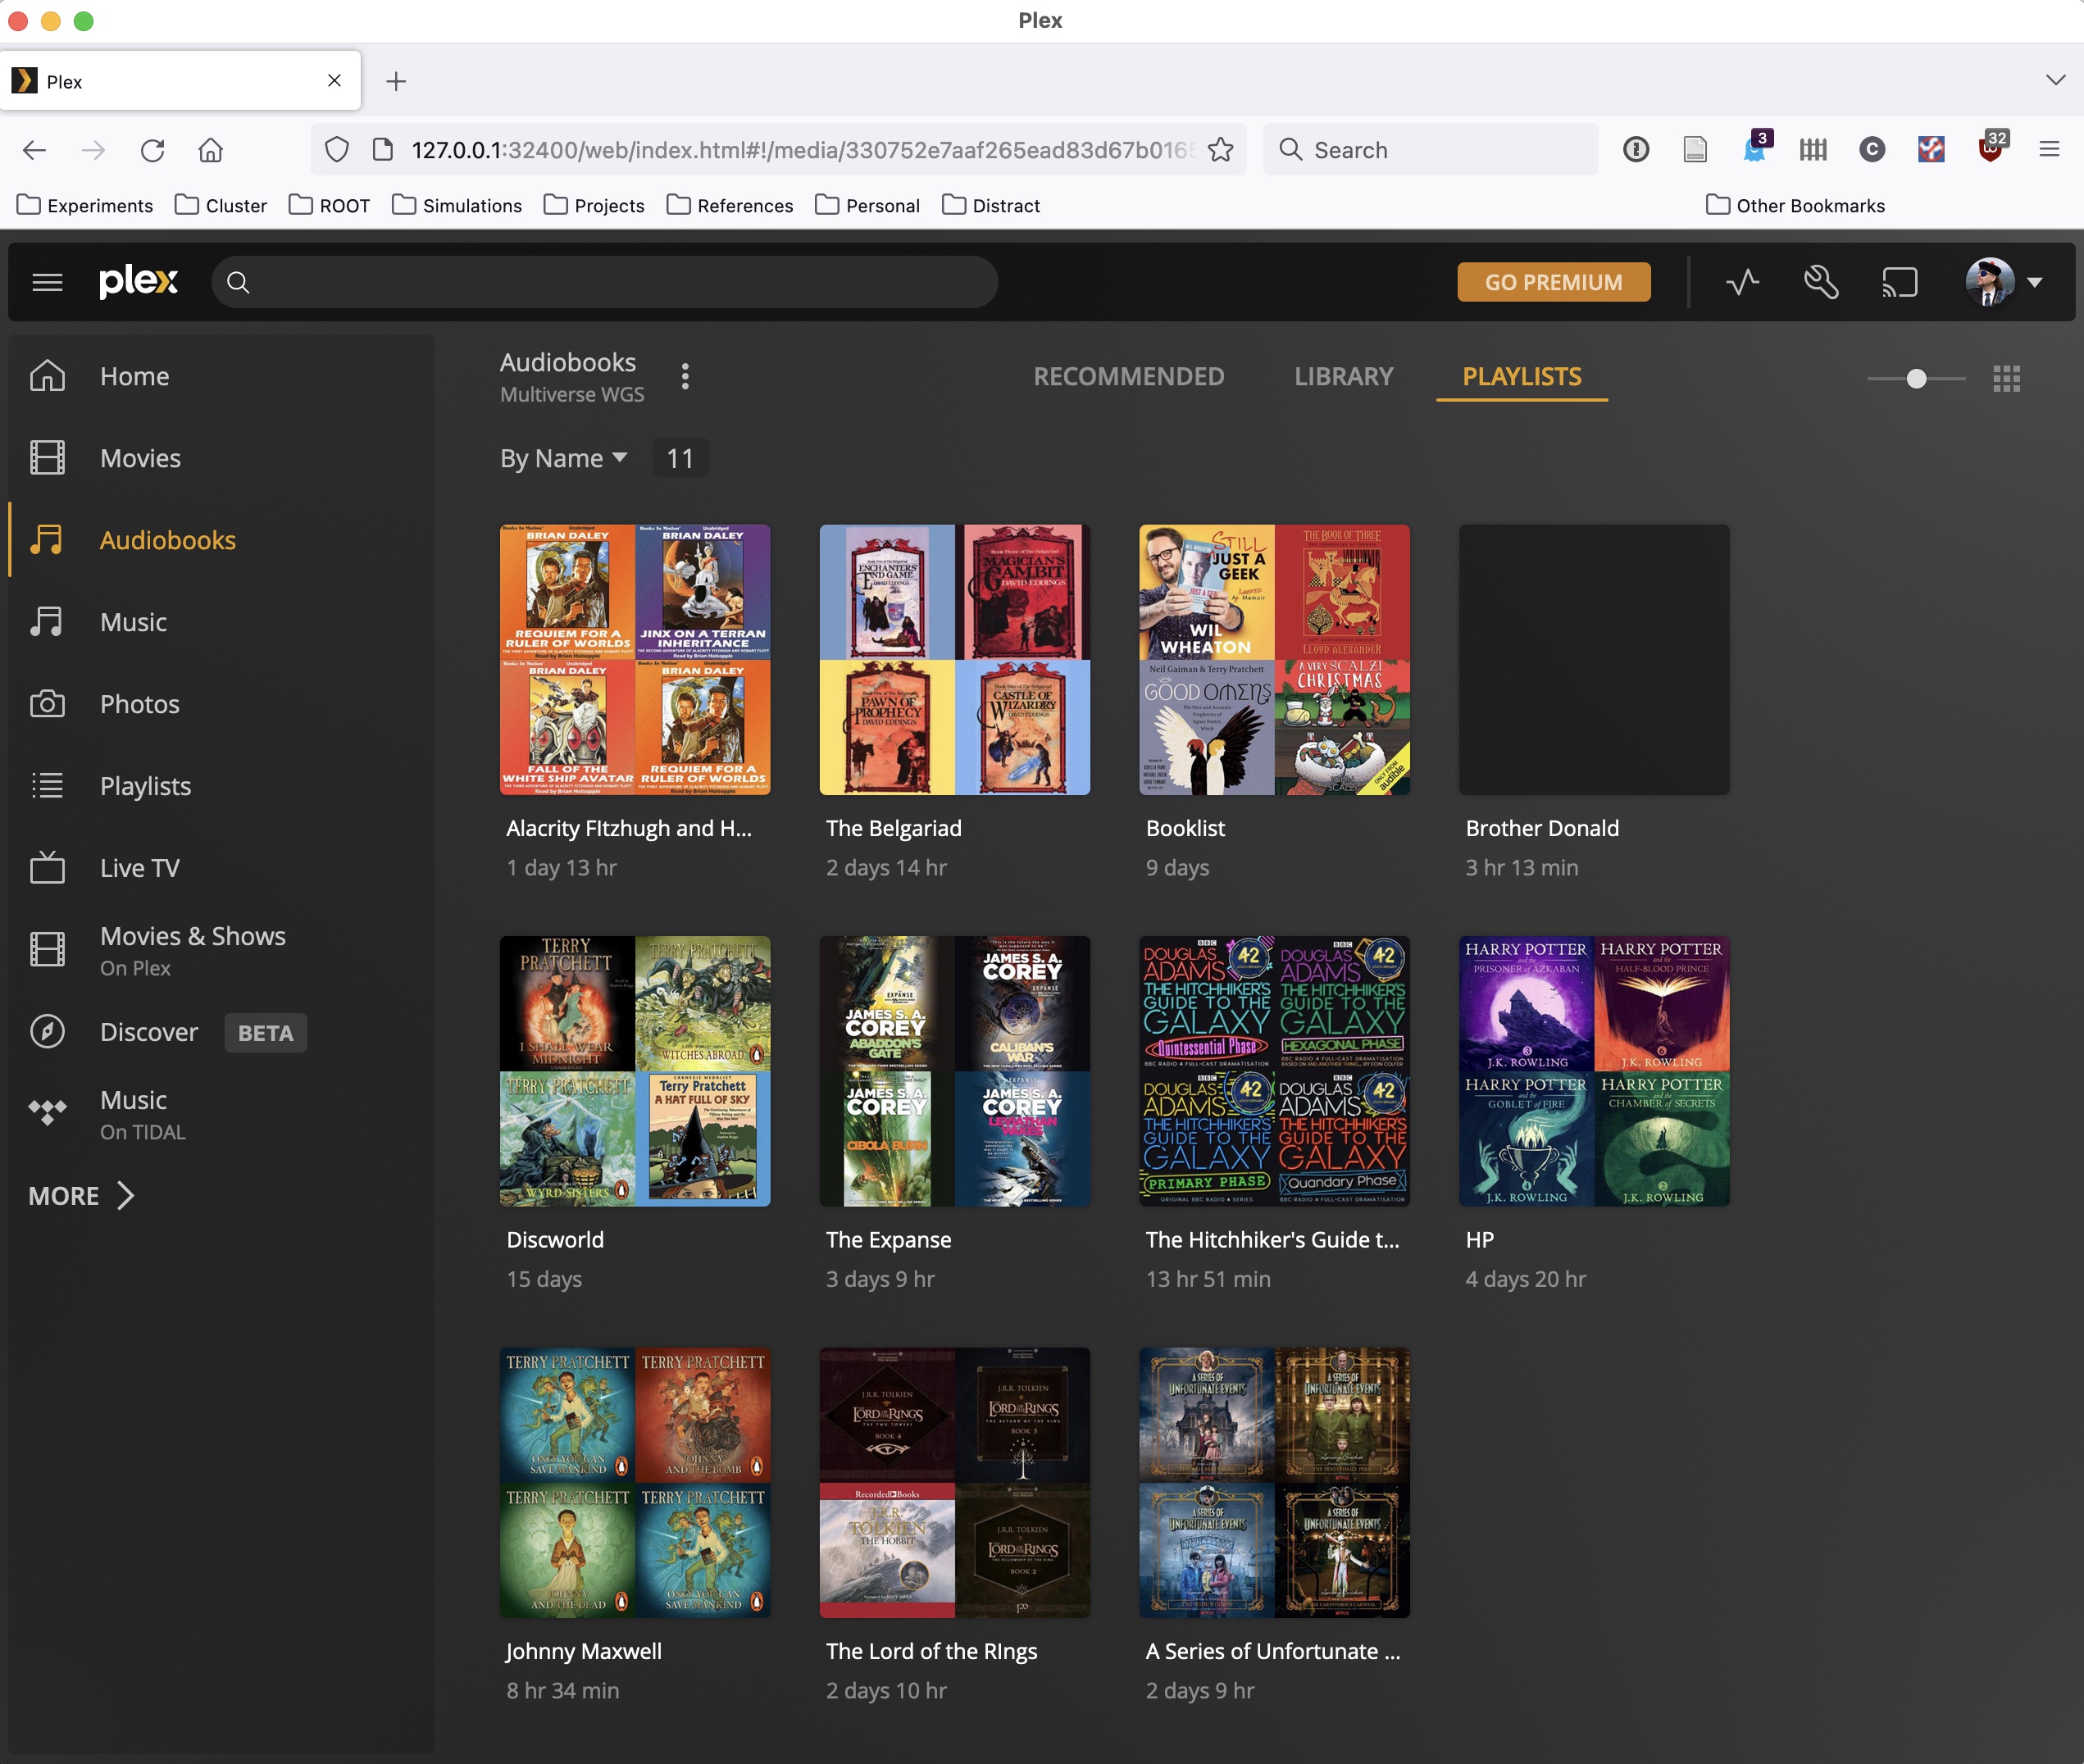
- One of the things I complained about in Part 5 was the tedium of setting the metadata for all these audiobook files. At this point I know that’s not necessary… but I did it anyway. If you click on one of those library folders (J.R.R. Tolkien is one example), you can “mass select” them and edit their metadata all at once. This lets me make sure that the author of all the audiobooks in that folder is “J.R.R. Tolkien”, eliminating variants like “JRR Tolkien” or “J. R. R. Tolkien” or “Tolkien, JRR”. The sole purpose of this is cosmetic: If I sort my audiobooks by author (which I rarely do) I don’t see authors’ names scrambled all over the place.
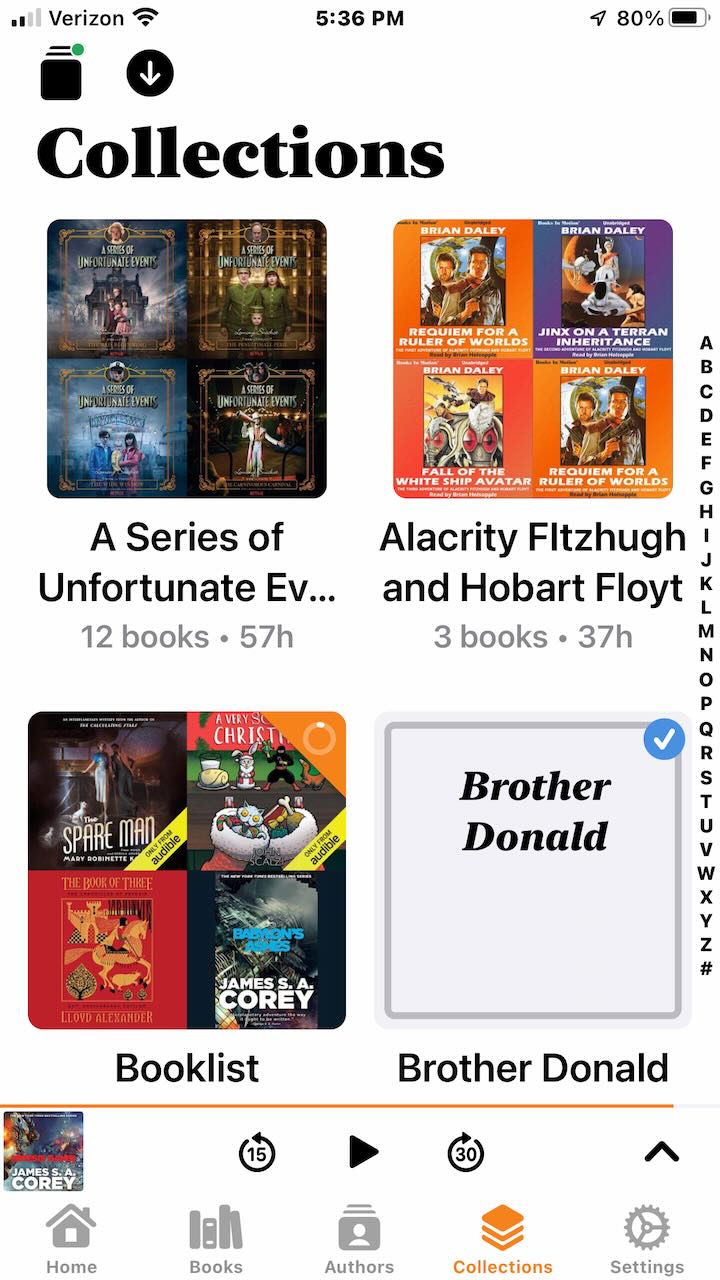
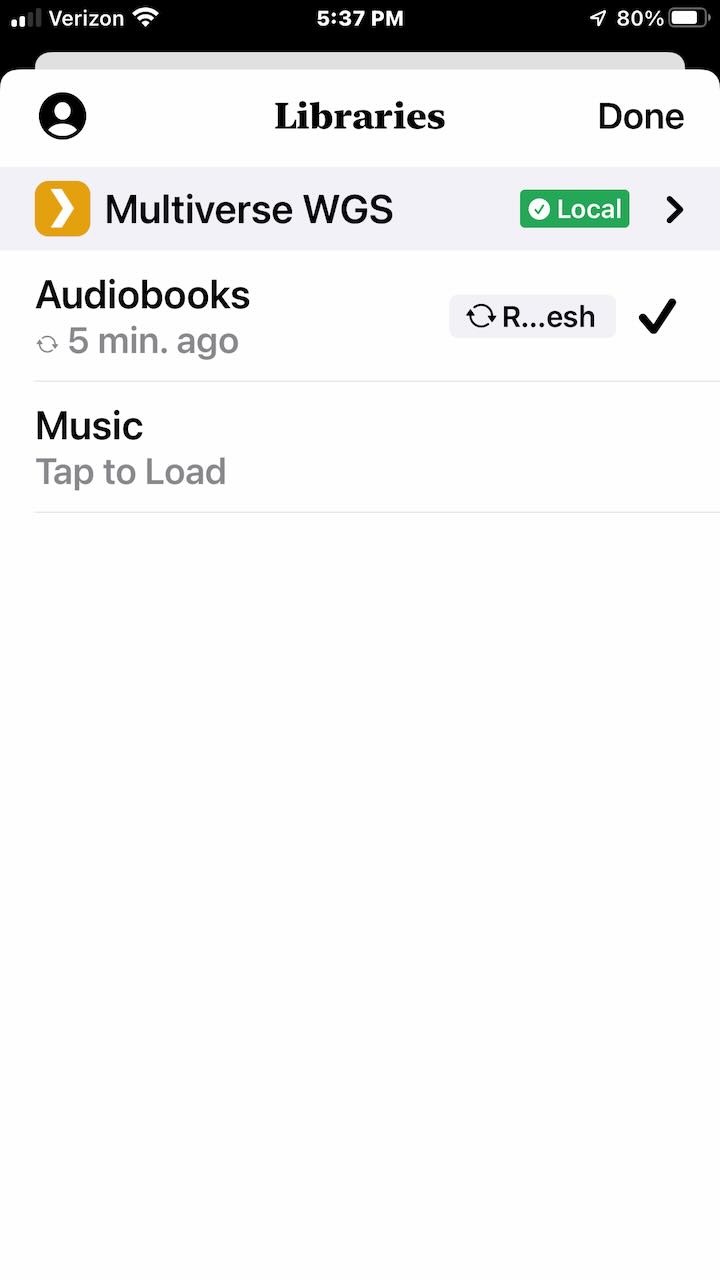
Now comes the final bit: Synchronizing the playlists with the Prologue app on the iPhone.
It’s been a while, and I couldn’t find the setting on the iPhone, but I believe you’ll be prompted for your Plex account when you first start the app. Once that’s set up, Prologue will be able to “talk” to Plex on your computer and download playlists. Again, I don’t remember the initial set-up since I did it two years ago, but I believe you’ll be given the choice of Plex folder on your computer to synchronize with Prologue.

Some Prologue notes:
- Unlike some similar apps, Prologue does not continually pester you to make a donation to its author, Lachlan Charlick. However, I’ll pester you: This is a great app that, in my opinion, fulfills a sincere need that both Apple and Audible have allowed to drop. Be generous.
- This app is tuned for playing audiobooks. In particular, if the playback is interrupted for some reason (e.g., Apple’s Map app gives you spoken directions) Prologue will back up a few seconds so you can catch up on what’s happening in the book.
- The crucial bit for me: If you play an audiobook from within its Collection, when that book finishes playing, Prologue will automatically move on to the next book in the playlist. This is the feature that Audible and Apple think you don’t need. However, take a bit of care: If you choose the Books view at the bottom of the app and play book from that screen, Prologue won’t “know” it’s part of a Collection and will stop playing at the end of the book.
-
When you connect an iOS device to a player like Carplay, it will automatically start playing audio. By default, it’s the Music app that will start. I want the Prologue app to play, but iOS offers no easy way to set the default audio player to anything except Music. What I’ve found:
- If I’ve run Prologue within the past day or so, or perhaps when I haven’t run too many apps between trips, Prologue will usually be the app that plays when I start up my car.
- The “Apple-approved” way to make some other app the default audio player is to frequently use Siri to start that app. I find that’s hit-or-miss. Sometimes I can tell Siri “Play Good Omens in Prologue” and it does it. Other times it says that it doesn’t know what I’m talking about. And yet other times it starts playing a song entitled “Prologue” in the Music app.
- Otherwise, when I start the car, the Music app starts playing some title. I have to manually stop it and start up Prologue instead. It’s annoying, but barring a bit of sanity on Apple’s part, there’s nothing to be done.
In case all it’s not clear: All of the above is one-time set-up. Now that it’s done, handling my Audible purchases is relatively simple: Buy the audiobook, download it, convert it to .m4b, drag the file to the Audiobooks folder on my computer, use Plex to add it to a playlist. On the iPhone, go to Prologue, click that button in the upper left, and click on R…esh.
Even that may seem like a bit much to you, but to me it’s about the same as what I did in the early 2000s, when audiobooks were .mp3 files.
Pingback: Opening the Trunks, Part 2 – APAs – The Argothald Journal